
10 End of Tenancy Cleaning Tips for Tenants in London

Last modified on: 12/09/2026
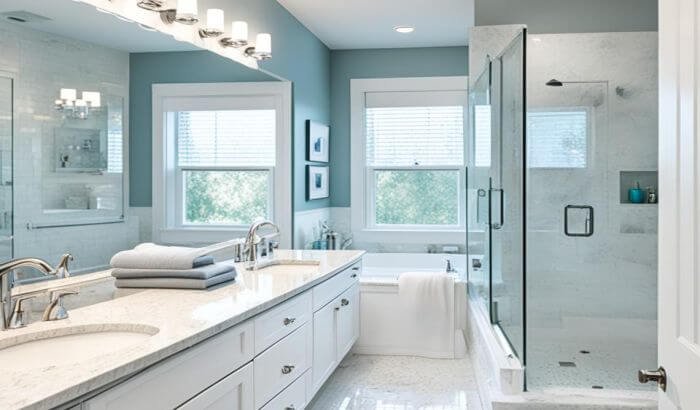
End of tenancy cleaning tips work best when they are tied to the handover standard, not to how tidy the flat looks at a glance. For a London tenant, the safest starting point is the check-in inventory, followed by a clean that removes the residue, dust and marks that have built up during the tenancy without damaging the surfaces underneath.
Clean for the handover, not for appearance alone
- Check the inventory and tenancy documents before cleaning so you know the recorded starting condition.
- Empty rooms, cupboards and appliances before the final clean. Dirt hidden behind belongings is easy to miss.
- Give the most time to grease, limescale, carpets, painted walls and the edges that a checkout inspection exposes.
- Finish with a room-by-room recheck after surfaces and carpets have dried, then photograph the completed condition.
Key takeaways
- Use the check-in inventory as the reference point before deciding what needs extra attention.
- Empty rooms and storage spaces before the final clean so hidden dust, grease and rubbish are exposed.
- Match products and tools to the surface, follow the label and never mix cleaning chemicals.
- Plan extra time for ovens, limescale, carpets, painted walls, skirting boards and other inspection-heavy areas.
- Recheck the property only after cleaned surfaces have dried, then photograph the condition before key handover.
Table of Contents
1. Start with the check-in inventory, not a generic list
An end of tenancy clean is easier to plan when you know what condition was recorded at the start of the tenancy. Read the inventory, check any dated photographs and note areas that were already marked, worn or damaged. Cleaning can remove soil and residue. It cannot repair a chipped worktop, worn carpet pile or damaged paint. Keeping those categories separate prevents wasted work and makes the final comparison clearer.
For tenancies in England, a landlord or agent cannot simply add any checkout payment they choose. The current Tenant Fees Act guidance lists the payments that can be required. A professional clean can still be a practical choice when the property condition, deadline or equipment needed makes DIY cleaning unrealistic.
Use the Samyx end of tenancy checklist for the room-by-room task list. The ten tips here are about the order, judgement and failure points that decide whether the work holds up at handover.
2. Empty the property before the final clean
Cleaning around boxes, clothes and kitchen items creates blind spots. Empty cupboards, wardrobes and drawers, remove rubbish, and move lightweight furniture where it is safe to do so. The last clean should happen after most packing is finished, otherwise fresh dust and packaging debris land on surfaces you have already completed.
Defrost the freezer early if it needs cleaning inside, and leave enough time for meltwater to drain safely. Empty the fridge, remove loose shelves or drawers only when the manufacturer allows it, and keep doors open after cleaning so trapped moisture does not create odour before checkout.
A cleared property also makes the final inspection faster. You can see skirting boards, corners, radiator edges, sockets, door frames and the inside of storage spaces without moving belongings twice.
3. Use cleaning products matched to the surface
End of tenancy cleaning products do not need to fill a cupboard. A small set normally covers most jobs: a neutral general cleaner, washing-up liquid, glass cleaner, a suitable bathroom descaler, an oven or kitchen degreaser, and any surface-specific product required by the care instructions. Microfibre cloths, non-scratch pads, brushes, a vacuum and a mop cover most of the tool work.
Product strength matters less than compatibility. Read the label, use the stated dilution and contact time, ventilate where instructed, and patch-test finishes that can mark or dull. Never combine cleaning products unless the manufacturer specifically tells you to. Bleach must not be mixed with acids, ammonia or other cleaners.
Start with dry removal before adding liquid. Vacuuming crumbs, dust and hair first prevents them turning into residue when a damp cloth or mop reaches the same area.
Where end of tenancy cleaning usually needs the most time
Kitchen appliances
Oven grease, extractor filters, fridge interiors and cupboard edges take time because residue sits in joints, seals and corners.
Bathroom fittings
Limescale and soap residue show clearly after drying, especially on taps, shower glass, tiles, grout and the base of the toilet.
Carpets and rugs
Vacuum first, treat stains by fibre and substance, and allow enough drying time if extraction cleaning is used.
Walls and woodwork
Dust before damp wiping. Patch-test painted walls and focus on scuffs, grease, skirting boards, doors, frames and handles.
Need the Handover Clean Handled?
Enter your postcode to view our rates and availability in your area.

4. Clean the kitchen from grease traps outward
The kitchen usually needs more time than an ordinary weekly clean because grease migrates beyond the obvious worktop. Start with the oven, hob and extractor so loosened residue does not fall onto finished surfaces. Remove racks and filters only when the appliance instructions allow it, use the correct degreaser, and give the product its labelled dwell time. Harder scrubbing increases the chance of surface damage.
Then clean the fridge, freezer, dishwasher edges, cupboard interiors, handles, splashback, sink and taps. Grease collects around hinges, seals and the underside of handles. Crumbs settle in drawer runners and cupboard corners. Those narrow areas are easy to miss when the room is still full.
If the oven is heavily carbonised or the door glass has baked-on residue, rushing the job increases the risk of scratches and incomplete degreasing. The separate oven cleaning mistakes page covers the errors that cause problems close to a tenancy deadline.
5. Remove bathroom limescale, soap residue and hidden dirt
Hard London water leaves mineral deposits where droplets dry repeatedly. Shower glass, taps, tile edges and the area around the plughole can look clean and still carry a pale mineral film. Use a product compatible with the surface, allow the stated contact time, rinse fully and dry the area before judging the result.
Clean the toilet outside as well as inside the bowl, including the base, hinges and the floor around it. Wipe the extractor cover, mirror edges, cabinet interiors, shower fittings and the underside of taps. Grout needs a gentler approach than glazed tile because aggressive scrubbing can damage weak joints without removing the cause of dark staining.
Do not rely on vinegar and bicarbonate mixed together as a universal bathroom cleaner. Their reaction quickly reduces the acidity and alkalinity that make each ingredient useful on its own, and either ingredient can be unsuitable for some finishes.
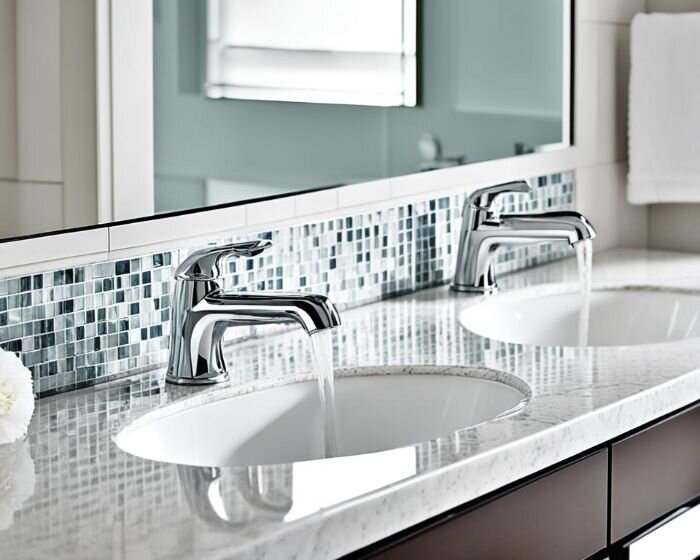
6. Treat carpets by fibre, stain and drying time
Vacuum carpets slowly before using any wet method. Dry soil is easier to remove before it becomes suspended in cleaning solution, and edge tools help lift debris along skirting boards and around radiator pipes. Treat visible stains separately. One machine pass will not remove every substance.
Extraction cleaning can be useful when the carpet is suitable for it. More water is not better. Over-wetting can lengthen drying time, encourage odour and leave residue in the pile or underlay. Check the fibre and care guidance, use the correct chemistry, and allow enough ventilation for the carpet to dry before furniture is replaced or the property is closed.
Tenants working close to checkout should avoid experimenting with unfamiliar spot cleaners. The carpet cleaning mistakes page explains common problems with scrubbing, excess product and poor drying.
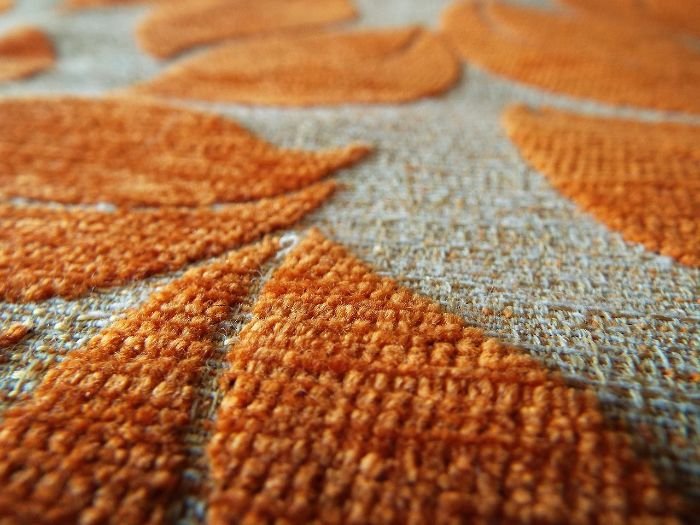
7. Clean walls and skirting without damaging the finish
End of tenancy cleaning walls is mostly a material-identification job. Dust the surface first, then test any damp method on a small hidden area. Matt paint, washable paint, wallpaper and bare plaster tolerate very different amounts of moisture and friction. A mark that looks removable can become a lighter polished patch if the paint is scrubbed too hard.
Use a soft cloth with a mild solution on compatible painted walls and work locally to avoid soaking a large area. Kitchen grease needs a different approach from dry scuffs, so identify the residue before reaching for a stronger product. If the mark is damage, paint loss or an etch, further cleaning will not restore the finish.
Skirting boards, door frames and the tops of doors collect fine dust that becomes visible once the main wall is clean. Vacuum or dust them first, then damp wipe where the finish allows.
You may also enjoy:

8. Work from high surfaces down, then finish the floors
A top-to-bottom sequence prevents repeated work. Start with cobwebs, high shelves, light fittings and the tops of wardrobes, then move through radiators, switches, sockets, doors, frames and skirting boards. Vacuum soft floors and mop hard floors only after the higher surfaces are finished.
Switch off lights before wiping fittings and let bulbs cool fully. Use a dry cloth on bulbs and avoid pushing moisture into electrical fittings. Ceiling fans should also be isolated before the blades are dusted. If access needs an unstable chair or improvised platform, leave the task until safe access equipment is available.
Doors and handles deserve a separate pass because fingerprints and grey buildup around touch points stand out once surrounding paintwork is clean. Use a product suitable for the finish. Strong disinfectants are not the default choice for painted or coated surfaces. Cleaning and disinfection are different jobs, and many homes only need routine soil removal on low-risk surfaces.
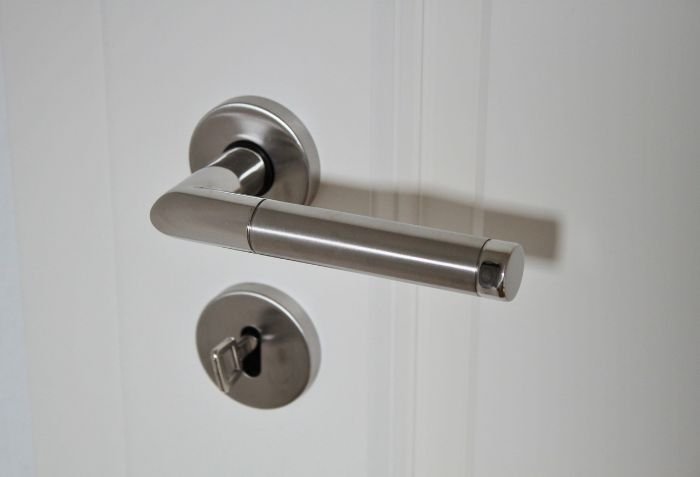
9. Leave time for drying, airing and one second look
A surface can look finished when wet and show streaks, limescale or residue after drying. Build a pause into the schedule before the final inspection. Dry shower glass, mirrors, taps and glossy worktops, check hard floors for mop marks, and make sure carpet or upholstery cleaning has had enough ventilation.
Open windows where it is safe and practical, especially after wet cleaning or label-directed ventilation. Fresh air can clear moisture and product odour. Source cleaning still has to remove the cause. A persistent damp, smoke or pet smell needs the source identified before fragrance is added.
Keep the last hour free from packing and moving boxes across cleaned floors. New scuffs and debris created after the clean are harder to spot when the handover deadline is already close.
10. Do a checkout-style final inspection
Walk through the property as if you had not cleaned it. Open cupboards and drawers, look behind doors, inspect the oven and fridge interiors, check the toilet base, run your eye along skirting boards and look at glass from an angle. Small missed areas become obvious when the rest of the room is finished.
Compare the result with the check-in inventory and any agreed tenancy requirements. Take clear photographs after the property is dry and before the keys are handed over. Photos do not replace the clean. They give you a record of the condition you left behind.
A final inspection is also the point to stop trying to clean damage. Burn marks, chipped laminate, worn carpet, failed sealant and paint loss need repair or replacement decisions, not stronger chemicals.
Can you do end of tenancy cleaning yourself?
Yes, if the property is in manageable condition, you have enough time and you can safely use the equipment needed. A small, regularly maintained flat with an empty kitchen and light carpet wear is a very different job from a larger property with a greasy oven, heavy limescale, carpet stains and a same-day key deadline.
The decision is mainly about time, condition and risk. DIY makes sense when you can finish the work and still leave time for drying and rechecking. Professional cleaning becomes more practical when specialist equipment is needed, several rooms need intensive work, or the move itself leaves too little time for a full handover clean.
If timing is the main uncertainty, the separate guide to end of tenancy cleaning time breaks down the factors that make a job shorter or longer.
When the handover clean is bigger than the time left
Samyx Cleaning handles end of tenancy cleaning in London as a checklist-led handover service designed around checkout inspection points. The cleaning team works through kitchens, bathrooms, living areas and the smaller inspection points that are easy to miss when packing and cleaning happen at the same time.
The service is designed for tenants who want the property prepared for checkout without spending the final moving day on ovens, limescale, skirting boards and floor edges. Carpet cleaning and other specialist work can be assessed separately where the property needs it. The 72-hour re-clean applies to end of tenancy cleaning when the checkout flags an area covered by the service. It does not promise a deposit return.
Get an End of Tenancy Cleaning Quote
Enter your postcode to view our rates and availability in your area.
End of tenancy cleaning tips: common questions
-
What cleaning products do I need for end of tenancy cleaning?
A neutral general cleaner, washing-up liquid, glass cleaner, a surface-compatible bathroom descaler and a suitable kitchen degreaser cover many jobs. Add surface-specific products only when the care instructions call for them. Follow every label and do not mix cleaning chemicals.
-
Do I have to pay for a professional end of tenancy clean?
In England, a landlord or agent cannot require arbitrary checkout payments outside the permitted payments under the Tenant Fees Act. A professional clean can still be your choice when the condition, time available or equipment needed makes DIY cleaning impractical.
-
Should carpets always be steam cleaned at the end of a tenancy?
No. The right method depends on the carpet fibre, condition, staining and tenancy requirements. Vacuum first, treat stains by substance and fibre, and use extraction only when the carpet is suitable and there is enough time for proper drying.
-
What should I check on walls before moving out?
Dust first, identify the wall finish and patch-test any damp cleaning method. Focus on removable scuffs, grease and dirt around switches, doors and skirting boards. Stop if cleaning starts lifting paint or changing the finish.
-
What areas are most often missed during an end of tenancy clean?
Commonly missed areas include cupboard interiors, extractor covers, appliance seals, the toilet base, radiator edges, tops of doors, skirting boards, window tracks and floor edges. An empty property makes them much easier to inspect.
-
When should I do the final cleaning before handing back the keys?
Finish after most belongings and rubbish have left the property and leave enough time for wet surfaces and carpets to dry. Reserve a final walkthrough after drying so streaks, residue and missed corners can be corrected before key handover.
Author: Svetlana Georgieva (Clara)
Hi, I’m Svetlana Georgieva, but you can call me Clara. As the co-founder and heart behind Samyx Cleaning, I’m devoted to sharing the art of a clean space. Let’s journey into a cleaner, more joyful life together with tips from London's cleaning experts.

Discover more of our cleaning secrets: