
How to Clean an Entrance Hall: A High-Traffic Checklist

Last modified on: 27/08/2026

How to clean an entrance hall depends on where the dirt enters, whether it is dry or wet, and which floor finish is underfoot.
A good routine stops grit and moisture at the door, keeps the walking route clear, removes loose soil before any damp work, and gives frequently touched points sensible attention. This guide turns those decisions into a practical domestic entrance cleaning checklist for busy homes.
Clean the entrance in four controlled passes
- Contain tracked dirt with correctly placed mats and deal with fresh mud or water before it spreads.
- Clear shoes, bags and post from the walking route so every edge and surface is accessible.
- Work from high to low, removing dry dust, grit and hair before choosing any damp floor method.
- Clean according to the material, control access during drying, and leave the entrance fully dry.
Key Takeaways
- Stop dirt at the threshold with an outside scraper mat where suitable and an absorbent mat inside.
- Remove grit before damp cleaning because abrasive particles can mark a floor as they are moved around.
- Match moisture and product choice to the floor finish, not merely to the visible stain.
- Increase mat, threshold and floor checks during wet weather without waiting for the weekly clean.
- Keep a safe walking route open and prevent use of a damp floor until it is dry.
Table of Contents
Entrance cleaning checklist by frequency
The entrance is a transfer zone. Footwear, wheels, parcels, pets and outdoor clothing all bring material into a small area, so frequency should follow use and weather. A quiet household may need only a brief daily reset. A busy family entrance can need several short checks on a rainy day.
| When | Priority tasks | Decision point |
|---|---|---|
| Daily | Return shoes and bags to storage, shake or vacuum the inside mat, remove visible grit, wipe fresh splashes and check the route. | Act sooner if moisture, mud or anything slippery is present. |
| Weekly | Vacuum edges and mat wells, dust ledges and skirting, clean the floor by material, wipe suitable door furniture and inspect the threshold. | Separate dry dusting from damp floor work. |
| Monthly or seasonal | Move accessible storage, clean beneath it, inspect corners and vents, launder washable mats as labelled, and review unused items. | Do not move heavy fitted furniture or disturb damaged finishes. |
| Weather-triggered | Add an absorbent mat, remove standing water, contain road salt or grit, and check the floor more often. | Protect the route immediately and dry it before normal use resumes. |
The table is a starting point, not a fixed timetable. A ground-floor London flat beside a busy pavement will collect different soil from an upper-floor home behind a shared internal corridor. Watch what reaches your own threshold and shorten the interval where necessary.
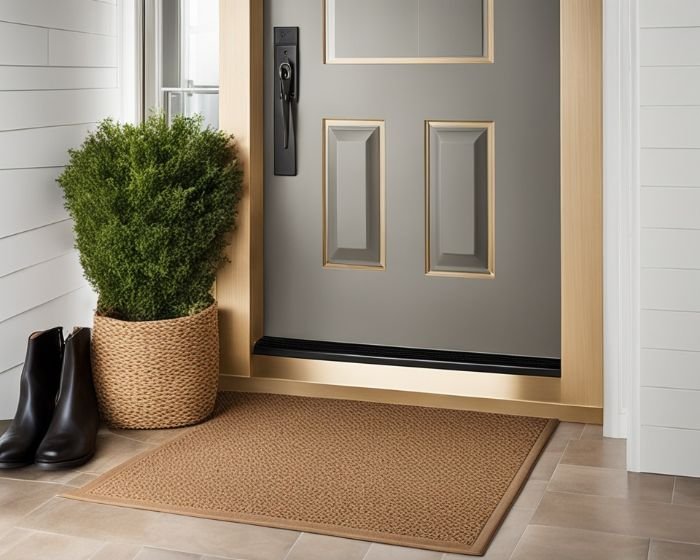
How to clean an entrance hall in the right order
The order matters because each pass prepares the area for the next. Starting with a wet mop can turn loose dust into residue and carry grit across the finish. Begin at the source and keep cleaned areas separate from the route still in use.
Prepare a compact entrance kit
Bring only what the materials require: a vacuum or soft broom, clean colour-separated cloths, a well-wrung floor tool, a small container for loose items and the labelled product approved for the surface. A second dry cloth is useful for door furniture and edges. Keeping the kit compact reduces trips through the area and makes it easier to keep dirty tools away from cleaned surfaces.
Inspect tools before starting. Stones caught in a vacuum head, a loaded broom, a dirty mop or a rough cloth can create more work. Do not use one cloth for the floor, handle and shelf. If the entrance opens directly onto a pavement or shared space, keep equipment inside the property and never create an obstruction outside.
1. Make the route safe
Open the door only when it is safe to do so. Check for water, mud, loose grit, trailing laces, parcels and anything that narrows the route. Move portable items to a clean holding area, not a pile on an unclean floor. If several people need access, divide the work into small sections.
2. Reset mats and movable items
Lift only mats that are safe to handle. Vacuum both sides if the construction permits, then clean beneath them. Follow the care label for washing and drying. A damp mat returned to the floor can trap moisture, create odour and transfer dirt back onto footwear, so let it dry completely first.
3. Dust from high to low
Use a clean cloth or a suitable vacuum attachment on reachable ledges, the top of freestanding storage, skirting and corners. Avoid disturbing electrical fittings, unstable objects or delicate decorations. Collecting falling dust before the floor pass prevents a second round of work.
4. Remove dry floor soil
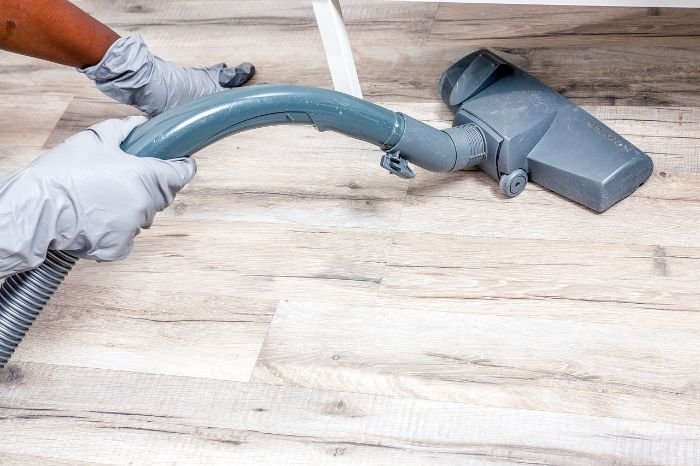
Vacuum or sweep slowly around the perimeter, beneath the radiator where accessible, along the threshold and across the main route. Use a hard-floor setting or attachment suitable for the surface. Check the head for trapped stones and follow basic vacuum maintenance so a dirty brush or blocked tool does not redistribute debris.
5. Treat local marks carefully
Identify both the mark and the material before applying anything. Blot fresh moisture without spreading it. Test a labelled, compatible method in a discreet place, use the smallest workable amount and stop if colour transfers, the finish dulls, fibres distort or adhesive edges begin to lift.
6. Clean and dry the floor
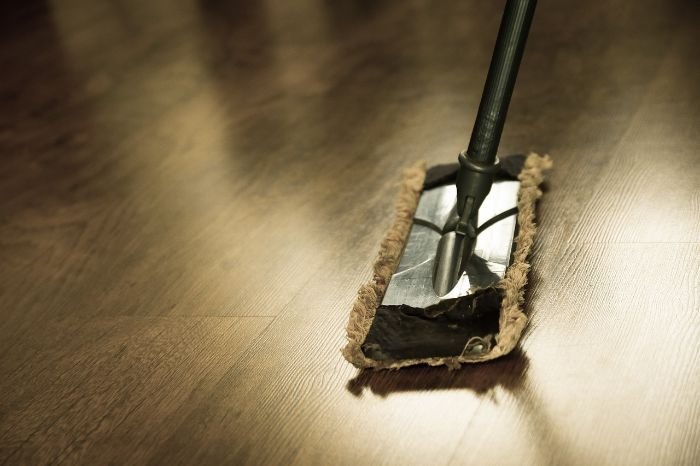
Work away from the furthest point towards your exit. Keep the tool clean and replace dirty solution before it carries grey water across the floor. Use warning or access control where another person could step onto the damp area. Replace mats and storage only after the surface is dry.
For a deeper hallway clean, repeat the same sequence with extra attention to edges and the spaces beneath movable storage. Remove one item at a time, clean its normal position, and return it only when both the item and floor are dry. This is safer and more controlled than emptying the whole entrance into another room. Leave fitted units, heavy benches, wiring, alarm equipment and unstable furniture in place unless a suitable person has made them safe to move.
Choose the floor method by material
The finish controls the method. If you cannot identify it, pause before using water, acid, alkali, solvent or abrasion. The guidance below is deliberately conservative and does not replace the flooring maker’s care instructions.
| Entrance floor | Routine approach | Main limit |
|---|---|---|
| Sealed wood or laminate | Vacuum with a suitable head, then use a barely damp compatible method if the care instructions permit it. | Avoid standing water, soaked tools and liquid entering joints or damaged edges. |
| Vinyl or resilient flooring | Remove grit, then damp clean with a labelled compatible product and a well-wrung tool. | Avoid harsh abrasion, excess liquid at seams and unapproved solvents. |
| Ceramic or porcelain tile | Vacuum edges and grout lines, then clean with a surface-compatible solution and rinse where the label requires it. | Glazed tile, unglazed tile and grout may have different care needs. |
| Natural stone | Use only a stone-compatible neutral method after confirming the stone and sealer. | Avoid acidic homemade cleaners and stop if the surface changes colour or sheen. |
| Carpet | Vacuum slowly in overlapping passes and deal with fresh spills according to fibre and care guidance. | Do not saturate the backing or improvise a stain mixture on unknown fibres. |
You may also enjoy:

A wider floor clean may involve different rooms, finishes and access decisions. The related guide covers that broader task. This page focuses on the entrance as the point where outdoor soil is intercepted.
Book Regular Entrance Cleaning
Enter your postcode to view our rates and availability in your area.

Use mats as a two-stage barrier
A mat works best when its job is clear. A robust external mat, where the property and access rules allow one, removes coarse soil. An absorbent internal mat collects finer particles and moisture. It should lie flat, suit the traffic level and leave enough clear floor for the door to operate safely.
Vacuum mats before they look full. Soil held deep in the pile can be released whenever someone walks across it. Clean beneath them too, because trapped grit may mark the floor and retained moisture may affect some finishes. A curled, split or unstable mat needs replacement, not another cleaning treatment.
Mat size and placement matter as much as appearance. People need enough length to take more than one step on the absorbent surface without having to change direction. The mat must not catch under the door, cover a floor vent or create a raised edge in the route. If a mat slides, use only a backing or restraint approved for both the mat and floor, since some rubber backings can react with resilient finishes.
Do not treat the mat as permanent storage for wet shoes. Give footwear a ventilated place where it can dry without dripping onto the route. Empty umbrella stands and boot trays before stale water develops, then clean and dry them before reuse.
Adjust the routine for rain, mud and winter grit
Wet-weather dirt needs faster intervention. Blot or collect moisture near the threshold, remove loose mud after it has dried where that is safe for the material, and clean the affected section with the compatible method. Do not spread a small contaminated area across the whole hall with the same cloth or mop water.
Road grit and de-icing residue can be abrasive and may leave a pale deposit. Vacuum particles carefully before damp cleaning. If residue remains, follow the floor maker’s instructions and do not increase chemical strength. Keep pets and people away from the damp route, then ventilate and dry the area as the product label directs.
Use a short reset when a full clean cannot happen
A timed reset can help on a busy day. The condition of the entrance still decides the order. Spend the first minutes removing slip and trip risks, then contain fresh dirt, clear the route and vacuum the most-used path. Stop at a safe point if there is not enough time to complete and dry a damp-cleaned section. A rushed wet floor is not an improvement.
Use the next available session for edges, skirting, storage and the full material-compatible floor pass. This separates urgent control from planned cleaning without pretending that every entrance can be completed to the same standard in twenty minutes.
Clean doors and high-touch points without over-treating them
Entrance doors combine several materials: painted or finished panels, glazing, metal hardware, seals and sometimes electronic access parts. Dust first, then use a method approved for each component. Apply liquid to the cloth when appropriate without flooding locks, hinges, keypads or the edge of a door.
Handles, switches and handrails may need more frequent cleaning because they are touched often. Routine cleaning removes soil; disinfection is a separate decision that depends on the setting, product and reason for use. The guide to high-touch surfaces explains that boundary in more detail.
Clean visible dirt with a suitable method before considering a disinfectant. If disinfection is justified, the product must be authorised for that use, compatible with the surface and applied for the labelled contact time. More product is not a substitute for correct application. Never spray towards a face, letterbox opening, electrical control or unprotected food and pet items.
Include skirting, walls and storage in the route
Skirting and low wall areas collect dust, shoe marks and splashes. Vacuum loose soil with a soft attachment, then test a compatible wipe on a discreet area. Painted finishes vary in washability, and repeated rubbing can change sheen even when no colour appears on the cloth.
Keep storage simple enough to use every day. Give shoes, coats, umbrellas, bags and post a defined place without blocking ventilation, a radiator, a meter, the door swing or the exit route. A small tray for wet footwear can contain moisture if it is emptied, cleaned and dried. For a wider household reset, use the room-by-room decluttering checklist.
Avoid mistakes that move dirt further into the home
- Do not shake a dirty mat inside. Vacuum it in place if suitable or take it to an appropriate outdoor location without carrying loose soil through cleaned rooms.
- Do not start with fragrance or a heavily perfumed product. Odour may indicate a damp mat, wet footwear, trapped debris or poor drying that needs direct attention.
- Do not use the same solution on every visible surface. A tiled floor, painted door, metal handle and natural-stone threshold can require different care.
- Do not push shoes and parcels against the wall to clear the centre. This hides the edge, restricts air movement and can transfer marks to paintwork.
- Do not return damp tools to a closed cupboard. Rinse or maintain them as directed, let them dry and store products securely in their original labelled containers.
Know when the entrance needs more frequent professional cleaning
Frequency should rise when several occupants use the entrance, children or pets bring in more soil, outdoor works create dust, or wet footwear repeatedly crosses the same floor. Another sign is that the household can remove visible dirt and still cannot keep up with edges, mats, skirting and the rest of the home on the same schedule.
Samyx Cleaning can include agreed, accessible entrance floors, mats, skirting, doors and surfaces as part of regular domestic cleaning in London. The exact task list depends on the property, materials, access and booking. External areas, specialist restoration, repairs and hazardous or damaged surfaces are not implied by this routine-cleaning guide.
Important: Follow the floor, mat, door and product manufacturer’s care instructions. Patch-test where appropriate, use ventilation and personal protective equipment stated on the label, and rinse or dry as directed. Never mix cleaning products, especially bleach with ammonia or acids. Stop if colour transfers, a coating softens, fibres distort, joints swell, stone changes sheen, a surface becomes unstable or fumes cause discomfort. Seek suitable professional advice for valuable, unknown, damaged or safety-critical materials.
Plan Regular Domestic Cleaning
Enter your postcode to view our rates and availability in your area.
Author: Svetlana Georgieva (Clara)
Hi, I’m Svetlana Georgieva, but you can call me Clara. As the co-founder and heart behind Samyx Cleaning, I’m devoted to sharing the art of a clean space. Let’s journey into a cleaner, more joyful life together with tips from London's cleaning experts.

Discover more of our cleaning secrets: