
Oven Deep Clean: A Safe Step-by-Step Guide

Last modified on: 15/08/2026
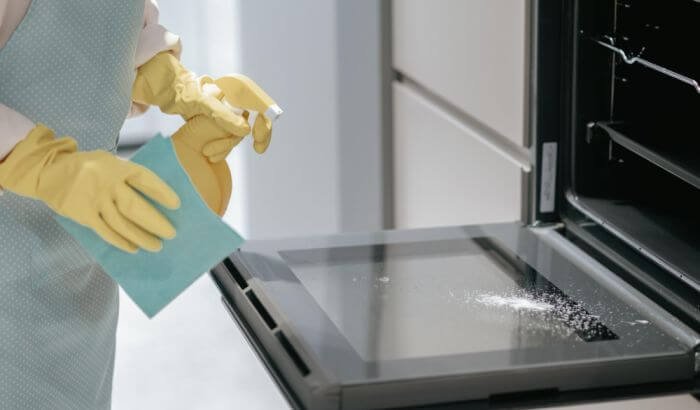
Oven deep clean work starts with the appliance manual, a completely cold oven and a clear look at which surfaces can be removed, soaked, wiped or left alone. The safest useful method changes with the liner, door construction, heating system and cleaner label, so a single paste or spray is never right for every model.
A good result means more than a brighter cavity. Loose crumbs, soft grease, carbonised patches, racks, glass and seals each need a controlled route, followed by thorough residue removal and drying before the oven is heated again.
Match the method to the oven before you start
- Read the model instructions and identify enamel, catalytic liners, exposed elements, fan openings, vents, seals and removable parts.
- Switch the appliance off as directed, let every surface cool and remove only the racks, trays or supports the manual treats as user-removable.
- Lift loose crumbs first, then use one compatible cleaner for the stated dwell time. Keep liquids away from electrical, ignition and ventilation points.
- Clean racks and trays separately, working in repeated gentle passes without forcing carbon from a coated surface with a blade or harsh scourer.
- Remove cleaner residue, dry the oven and stop for qualified help if you find a damaged seal, exposed wiring, unusual flames, soot, persistent fumes or a recurring fault.
Key takeaways
- The appliance manual and cleaner label outrank any universal DIY recipe.
- Loose debris, soft grease and carbonised deposits need different levels of dwell time and agitation.
- Racks and permitted removable parts are usually easier to clean away from the oven cavity.
- Elements, vents, fans, ignition points, seals and catalytic liners have stricter moisture and product limits.
- Heavy accessible build-up is a cleaning job; damaged components, fault codes, gas smells and electrical symptoms are repair boundaries.
Table of Contents
Oven deep clean: check the model before choosing a method
Find the model number and cleaning section before buying a product or mixing a paste. Manuals commonly separate ordinary enamel from self-cleaning or catalytic panels, and some coatings can be damaged by abrasive pads, alkaline sprays or long soaking. A removable rack may tolerate a washing-up solution that an attached rail, telescopic runner or catalytic side panel does not.
Check the isolation instructions too. A plug may be accessible on a freestanding cooker, whereas a built-in electric oven can be connected through a fused switch. A gas appliance adds ignition ports and fuel-supply boundaries. Do not move a heavy fitted appliance, disconnect a gas connection or remove a fixed panel to reach hidden dirt.
| Part | Safe starting point | Avoid | Stop or escalate when |
|---|---|---|---|
| Enamel cavity | Loose-debris removal, then a manufacturer-compatible cleaner and non-scratch cloth or pad | Metal blades, steel wool and flooding seams | The finish flakes, dulls, scratches or exposes metal |
| Catalytic liner | Manual-approved care only, often limited to gentle wiping around the panel | Oven spray, abrasive paste and hard scrubbing | The panel is cracked, saturated or its identity is uncertain |
| Racks and trays | Remove if permitted; soak or wash according to their finish | Soaking telescopic runners or coated parts without approval | Coating lifts, runners bind or corrosion is visible |
| Door glass | Damp cloth and compatible degreaser on accessible glass | Flooding the edge, scraping coated glass or unapproved door dismantling | Liquid enters between panes or glass, hinge or seal is damaged |
| Elements, fan and vents | Dry loose-debris removal around accessible areas if the manual permits | Direct spray, saturation and forced disassembly | Wiring is exposed, a fan binds or a fault returns |
| Seal and ignition points | Light controlled wiping where permitted | Pulling the seal, soaking it or pushing debris into ports | The seal is split, loose or no longer closes evenly |
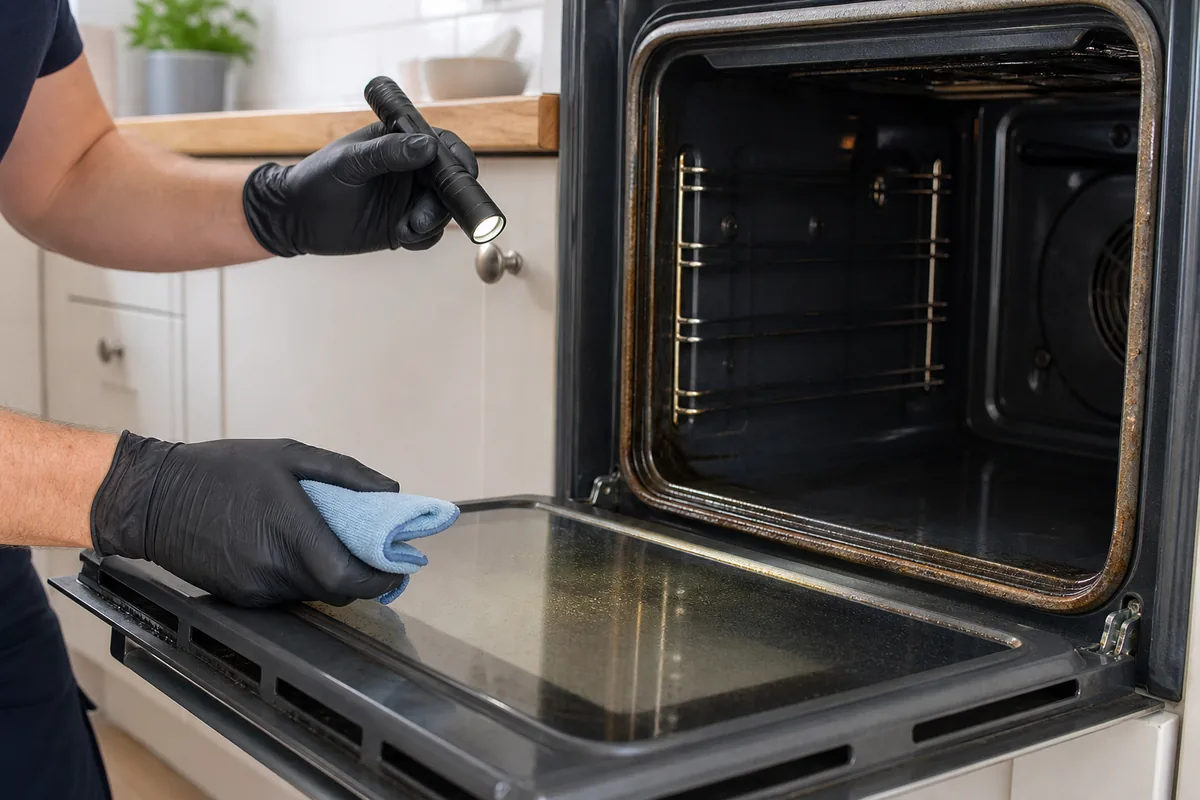
Visible residue does not always explain smoke, odour or uneven operation. The dedicated guide to dirty-oven warning signs separates ordinary build-up from symptoms that call for appliance or gas attention.
Help With Oven Build-Up
Enter your postcode to view our rates and availability in your area.

Prepare the oven and the work area
Choose a period when the oven can remain out of use until every cleaned part is rinsed or wiped as directed and fully dry. Switch it off according to the manual, wait for residual heat to disappear and open nearby ventilation if the product label asks for it. Keep children and pets out of the work zone, because an open door, loose racks and concentrated cleaner create avoidable contact and trip risks.
Wear the gloves and eye protection stated on the label. Set down old towels or a washable protective sheet, then prepare two cloth groups: one for grease removal and one for clean-water residue checks. A soft brush, non-scratch pad, plastic bowl and blunt plastic scraper may be useful where the surface maker allows them. Metal scrapers and razor blades should stay out of a coated cavity.
Remove the racks, trays, thermometer and other user-removable accessories. Photograph rail positions if several supports look similar. Sweep or vacuum loose cold crumbs with a suitable narrow attachment without touching an element or pulling at insulation. Dry debris removal keeps the cleaner focused on adhered soil and prevents a muddy layer forming across the base.
Use one product at a time. Combining oven cleaner with bleach, ammonia, vinegar, lemon, another acid or a second cleaner can create dangerous fumes or unpredictable reactions. Good control comes from label dilution, stated dwell time and full residue removal, not from stacking ingredients. Broader cleaning-product hazards also apply to storage, ventilation and disposal.
Read the product’s surface list and exclusions before opening it. A label that says it is suitable for ovens may still exclude aluminium, self-cleaning panels, painted trim or damaged enamel. Patch-test an inconspicuous permitted area, observe it for the full stated contact period and wipe it clean before treating a larger section. Decanting cleaner into an unlabelled container makes dilution and first-aid information easier to lose, so keep it in its original packaging and close it between applications.
How to deep clean the oven cavity
Start at the least soiled upper area and work towards the base so loosened residue does not fall onto a finished section. Apply the compatible product to a cloth, pad or cavity surface exactly as its label and the oven manual describe. Keep the layer controlled around seams, lamp housings, screw heads and openings. Direct spraying is a poor choice where mist can reach a fan, element, vent or ignition component.
Give the chemistry time to soften grease. Immediate hard scrubbing wastes effort and increases abrasion. Once the stated dwell period ends, agitate a small patch with the permitted pad, lift the slurry with a damp cloth and inspect the finish under good light. A clean cloth turning brown still shows transferred soil; a cloth carrying flakes of coating or coloured finish is a stop signal.
Repeat the same controlled pass on stubborn areas. Do not jump to a harsher tool. Change rinse water and cloths often, because a saturated cloth spreads dissolved grease along the walls and door lip. Work around the seal without pulling it from its channel. Clean the accessible threshold last, where crumbs and cleaner can collect as the rest of the cavity is wiped.
Finish with the residue-removal steps on the product label. Some products call for several damp-water wipes; others have a specific neutralising or rinsing instruction. Inspect corners and the underside of rails, then leave the door open only as the manual permits. Do not heat the oven to “burn off” uncertain cleaner residue. A chemical smell after wiping means the pre-use check is not finished.
Black residue and baked-on grease
Black material on the oven floor may be carbonised food, baked grease, damaged enamel or a loose liner deposit. Test a small cool area with the approved cleaner. Soil should soften or transfer gradually; a damaged finish may remain sharp-edged, pitted or visibly different from the surrounding enamel. Stop if the base reveals bare metal, blistering or a growing chip.
Thick carbon often needs several dwell-and-wipe cycles. Keep the pad lubricated as directed and use a plastic edge only where the maker permits it. Strong pressure concentrated on one spot can scratch the cavity long before the entire deposit moves. The best endpoint is a clean, stable finish, not the removal of every discolouration at the cost of the coating beneath it.
You may also enjoy:

Clean racks and trays separately
Check whether the racks are plain chrome, enamelled, coated or fitted with telescopic runners. Plain removable racks may be washed in warm water with washing-up liquid if their care instructions allow it. Protect the sink or basin with a folded towel, support the rack so it cannot slide, and leave enough space to turn it without striking a tap or worktop.
After the permitted soak, brush along each wire and around the welded joins with a non-scratch tool. Work on the edges and contact points where burnt grease hides. Rinse until the water runs clear, inspect both sides and dry the metal at once. Trapped water around joints or runners can encourage corrosion and may drip into the clean cavity later.
Telescopic runners need special care. Soaking can remove lubricant or drive dirty water into the mechanism, and strong degreaser can leave them stiff. Clean them only by the method stated for the model. A runner that catches, a rack with flaking coating or a tray with deep corrosion is an accessory condition question, not a reason to scrub harder.
Clean oven door glass without damaging seals
Open the cold door to a stable position and check the manual for the glass coating and edge construction. Apply a compatible degreaser to the cloth when direct spraying could run into the lower vent or between panes. Lay the damp cloth over adhered grease for the allowed dwell period, then wipe with light overlapping passes. A dry microfibre finish reveals smears without adding more product.
Do not assume a blade is safe because the visible panel looks like ordinary glass. Printed markings, heat-reflective coatings and fine surface damage can be hard to see. Keep abrasive paste and a razor away unless the manufacturer expressly approves them for that exact panel. Avoid leaning on the open door, which loads the hinges and can disturb its alignment.
Grease between door panes cannot be reached safely on every model. Some doors have a user-cleaning procedure; others require trained disassembly. Do not prise trim, remove hinge locks or loosen random screws. A split seal, loose pane, stiff hinge or door that no longer closes evenly needs the correct part or appliance route before normal use resumes.
A lemon steam clean can suit light fresh soil only where the manual permits steam and mild acid contact. It is not a substitute for removing a heavy carbon layer, and acid should not be combined with chlorine bleach or another cleaning product.
Elements, fans, vents and self-cleaning modes
Heating elements can be exposed, concealed beneath the oven floor or paired with a fan at the rear. Keep cleaner and excess water away from them unless the manual gives a specific method. Do not bend an element to reach behind it. Brush loose cold crumbs from an accessible area only with the appliance isolated as directed and with no pressure on wiring or sensors.
Fan covers and vents control airflow. Pushing foam or slurry through their openings can move contamination into an area the user cannot rinse. Clean the accessible face carefully and stop if the cover must be removed without a documented user procedure. A scraping fan, repeated fault code or electrical smell remains an appliance issue after the visible surface is clean.
Pyrolytic, catalytic and steam-assisted programmes are different systems. A pyrolytic cycle reaches very high temperatures and may require racks or accessories to be removed first. Catalytic liners absorb and oxidise grease within their operating design, and abrasive cleaning can damage them. Steam programmes use a model-specific water quantity and tray position. Run only the programme described for the oven, with the stated preparation and ventilation.
Cancel the cleaning plan if you notice exposed wiring, unusual gas flames, soot, a persistent gas or electrical smell, a failed door seal or smoke that continues after accessible residue is removed. Ventilate and follow the appliance safety instructions. Cleaning cannot correct a fuel, electrical, sensor, fan or structural fault.
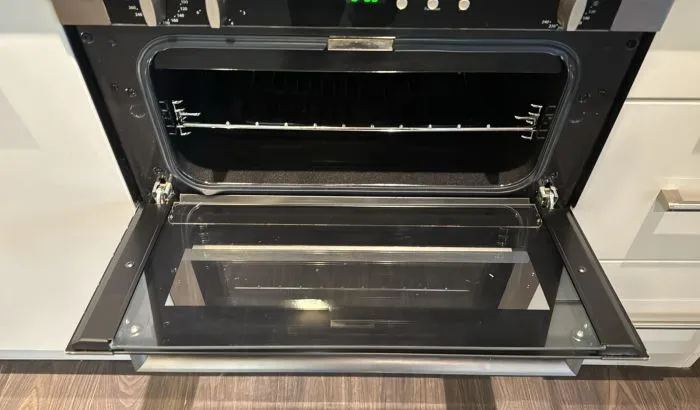
When professional oven cleaning is worth it
Professional help becomes practical when several removable parts are heavily soiled, the cavity carries a thick stable carbon layer, accessible deposits need repeated controlled dwell time, or the work no longer fits the time and ventilation available at home. It can also reduce the temptation to attack an uncertain coating with a blade or stronger unapproved chemical.
Ask what parts will be removed, how the cleaner checks liners and seals, what residue-removal process is used and when the oven can be used again. Samyx professional oven cleaning is the matching service route for London homes. The service covers cleaning work; damaged components and appliance faults still need the appropriate qualified repair route.
Tenancy deadlines add another decision. Cleaning too late leaves no time for drying, reassembly or correction, and using an aggressive method can create visible damage before inspection. The focused list of oven-cleaning mistakes covers that handover boundary without turning this general procedure into a deposit guide.
Book Oven Cleaning
Enter your postcode to view our rates and availability in your area.
Keep the next deep clean smaller
Deal with a fresh spill after cooking once the oven is switched off and fully cool. Lift loose food before it becomes a hard carbon patch, wipe the accessible enamel by the model’s care method and check that no residue sits against a seal or vent. A tray placed on the correct shelf can catch drips, provided it does not block airflow.
Do not line the oven floor with foil unless the manufacturer permits it. Foil can interfere with heat flow, damage enamel or cover an opening on some models. Clean a reusable liner only if it is approved for the appliance and positioned as directed. Replace a warped, cracked or heavily carbonised accessory; loose material should not circulate inside the cavity.
There is no useful universal monthly rule. Cooking frequency, roasting fats, uncovered spills, liner type and self-clean features change the interval. Inspect the cool cavity, door and seal regularly, respond before deposits smoke, and plan a deeper clean when ordinary wiping no longer removes the visible layer. Small controlled resets protect the finish and make the larger job easier to schedule.
Frequently asked questions
-
What’s the best way to deep clean an oven?
Let the oven cool fully, check the model instructions, remove only permitted parts, lift loose debris and use one compatible cleaner for its stated dwell time. Clean racks separately, keep liquids away from elements and vents, remove residue thoroughly and dry before use.
-
How do I get the black stuff off the bottom of my oven?
First check whether it is carbonised food, baked grease or damaged enamel. Test a small cool area with a compatible cleaner, use repeated dwell-and-wipe cycles and a non-scratch tool, then stop if coating flakes, bare metal appears or the deposit does not behave like soil.
-
How do you get black baked grease off the oven?
Soften it with the manufacturer-compatible product for the labelled dwell time, lift the residue with a permitted non-scratch pad and repeat controlled passes. Avoid metal blades and stronger mixed chemicals, because they can damage the cavity before the grease releases.
-
Is it worth getting an oven professionally cleaned?
It can be worthwhile for thick carbon, several heavily soiled removable parts, inaccessible deposits, uncertain coatings or a job that exceeds the time and ventilation available. Cleaning does not replace appliance or gas repair when there are fault symptoms.
Important: Switch the oven off, let it cool fully and follow the appliance manual and cleaning-product label over general guidance. Keep liquids and cleaners away from exposed heating elements, ignition points, fans, vents, electrical parts, seals and catalytic liners unless the manufacturer expressly permits the method. Ventilate and wear PPE as directed, never mix cleaning products, and remove cleaner residue before heating the oven. Stop and arrange qualified appliance or Gas Safe advice for damaged wiring, unusual gas flames, soot, persistent gas or electrical smells, a failed seal, recurring fault codes or smoke that continues after accessible residue has been removed.
Author: Svetlana Georgieva (Clara)
Hi, I’m Svetlana Georgieva, but you can call me Clara. As the co-founder and heart behind Samyx Cleaning, I’m devoted to sharing the art of a clean space. Let’s journey into a cleaner, more joyful life together with tips from London's cleaning experts.

Discover more of our cleaning secrets: