
End of Tenancy Cleaning Checklist for UK Tenants

Last modified on: 17/08/2026
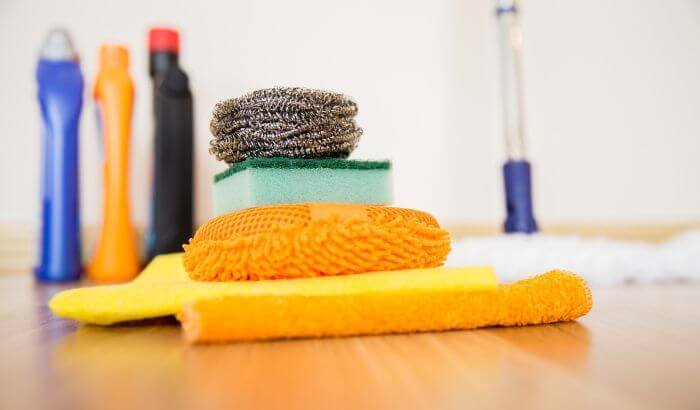
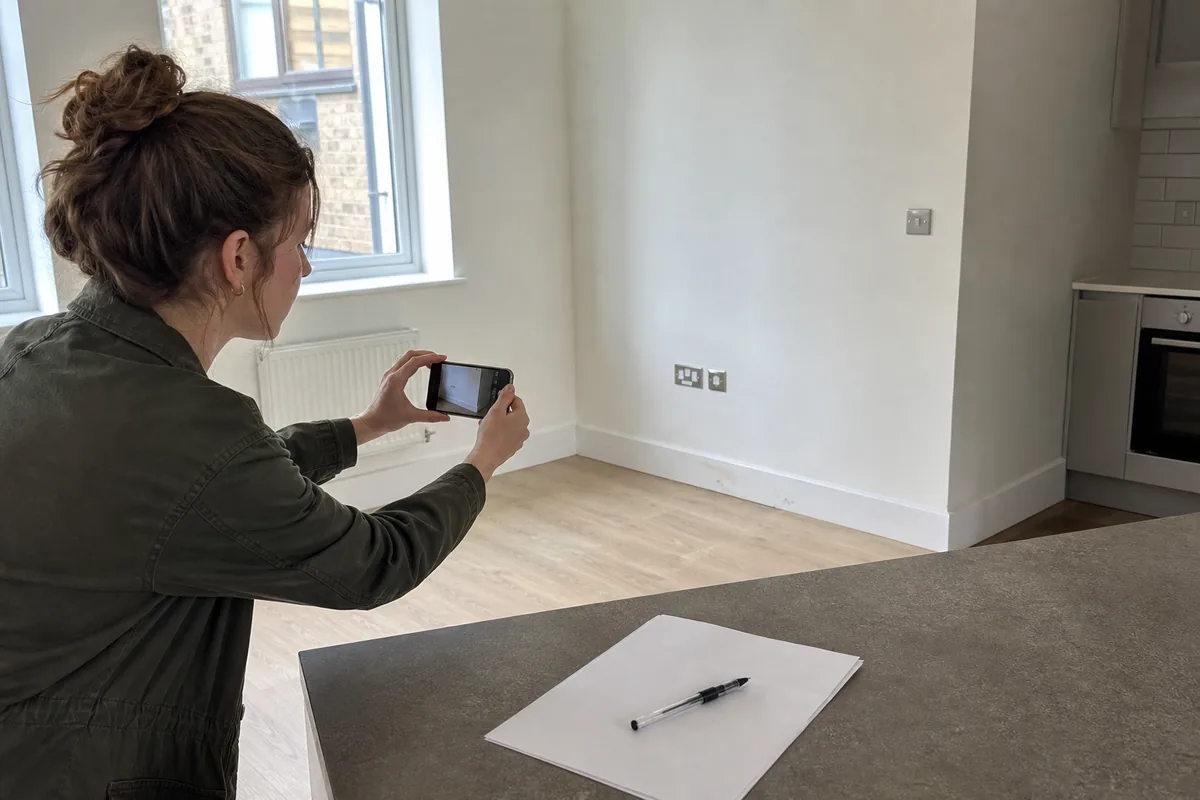
An end of tenancy cleaning checklist should begin with your check-in inventory, because the property is judged against its recorded starting condition rather than an imaginary perfect home. Work through the rooms after belongings have left, photograph the same angles again, and separate dirt you can remove from wear or damage that needs to be reported.
For tenants in England, paying for a professional clean cannot be imposed as a checkout fee. Cleanliness still matters: a landlord may seek a reasonable deduction when evidence shows that the property was returned less clean than at check-in, allowing for fair wear and tear. A clear plan helps you spend time on the points an inventory clerk can actually compare.
Clean to the recorded starting condition
- Read the tenancy agreement, check-in inventory and dated photos before choosing tasks.
- Empty the property first, then clean from high points to low points and from dry work to wet work.
- Check every room for removable dirt, limescale, grease, crumbs, hair, dust and rubbish.
- Record wear, damage and faults separately instead of trying to clean or conceal them.
- Photograph the finished property from the original inventory angles before returning the keys.
Key takeaways
- The check-in evidence sets the practical cleaning benchmark.
- Remove belongings and rubbish before starting detailed work.
- Kitchens, bathrooms, floors and overlooked high points usually carry the largest workload.
- Cleaning cannot correct permanent wear, failed sealant, broken fittings or damaged finishes.
- Matching photographs and a written handover record make the final condition easier to compare.
Table of Contents
Set the standard before you start cleaning
Open the check-in report and compare each description with the current room. Look for dated photographs of the oven, shower screen, carpets, walls, windows, furniture and appliances. Note anything described as stained, chipped, worn, scratched or marked at the start. Your new photographs should use similar positions and lighting where practical.
Use four labels as you inspect: cleaning, wear, damage and missing item. Dust, grease and removable limescale are cleaning issues. Flattened carpet pile and faded paint may be fair wear. A broken shelf, burn, deep scratch or missing key belongs in a different record. Trying stronger chemicals on physical damage can turn a documented defect into fresh surface damage.
| What you find | Action | Evidence to keep |
|---|---|---|
| Loose dirt, grease, dust or residue | Clean with a compatible method | Finished photo |
| Existing mark shown at check-in | Record it and avoid aggressive treatment | Old and new matching photos |
| New damage or failed fitting | Report it and discuss the repair route | Close photo and written message |
| Unknown finish or delicate material | Check manufacturer care or seek specialist advice | Product/material details |
England’s current Tenant Fees Act guidance treats a required professional-cleaning fee as a prohibited payment. That does not remove the duty to meet the agreed cleanliness standard. If a deduction is proposed, the landlord needs evidence and the protected deposit scheme provides a route when the parties disagree.
End of tenancy cleaning checklist: inspection planner
Print this section or keep it open on a phone. Add a tick only after the surface is clean, dry and viewed in normal daylight. Use the evidence column to record a photo number, inventory reference or item that needs reporting.
| Zone | Condition source | Finish check | Evidence or note |
|---|---|---|---|
| □ Whole property | Belongings removed; inventory open | High dust, switches, doors, skirting boards and rubbish checked | Photo/ref: __________ |
| □ Kitchen | Appliance and cupboard photos | Grease, crumbs, sink scale, oven and empty storage checked | Photo/ref: __________ |
| □ Bathroom | Sanitaryware and sealant photos | Soap film, limescale, hair, toilet and ventilation cover checked | Photo/ref: __________ |
| □ Living areas | Wall, furniture and fitting notes | Dust, marks, wardrobes, radiators, lampshades and sockets checked | Photo/ref: __________ |
| □ Floors and windows | Carpet/floor and glass condition | Edges, thresholds, stains, internal glass, sills and tracks checked | Photo/ref: __________ |
| □ Handover | Agreement and checkout instructions | Meter readings, keys, bins, final photos and access recorded | Photo/ref: __________ |
Check Your End of Tenancy Quote
Enter your postcode to view our rates and availability in your area.

Clear and prepare the property
- Remove personal possessions, food, hangers, toiletries and rubbish. Check lofts, balconies, cupboards, drawers and the space beneath furniture.
- Arrange the clean after the main move. Boxes and removal traffic block surfaces and can mark a floor that has already been mopped.
- Defrost the freezer with enough time for meltwater to be removed and the interior to dry. Protect the floor and never use a blade or heat source to force ice away.
- Gather compatible products, colour-separated cloths, non-scratch pads, a vacuum, mop, bucket, gloves and rubbish bags. Check labels before work begins.
- List faults and damage separately. Report a broken handle, cracked tile or failed sealant; cleaning harder will not repair it.
Start with dry high-level work: reachable cobwebs, curtain rails, tops of wardrobes and light shades. Move down through shelves, doors, frames, switches and skirting boards. Vacuum before wet floor work so loose grit does not become muddy residue.
Plan the work around access and drying
Use the last period of access for tasks that need an empty room. Pack and remove possessions first, then deal with dry dust, cupboards and appliances. Wet cleaning follows once loose soil has been collected. Floors, carpet treatment and final glass are best left until people no longer need to carry boxes through the property.
Build in drying and re-check time without assuming a fixed number of hours. Oven products need their labelled dwell period, freezers need controlled defrosting, and carpet or upholstery treatment can remain damp beyond the main clean. A rushed key return can hide streaks, damp edges and missed residue that becomes visible later.
Kitchen checklist
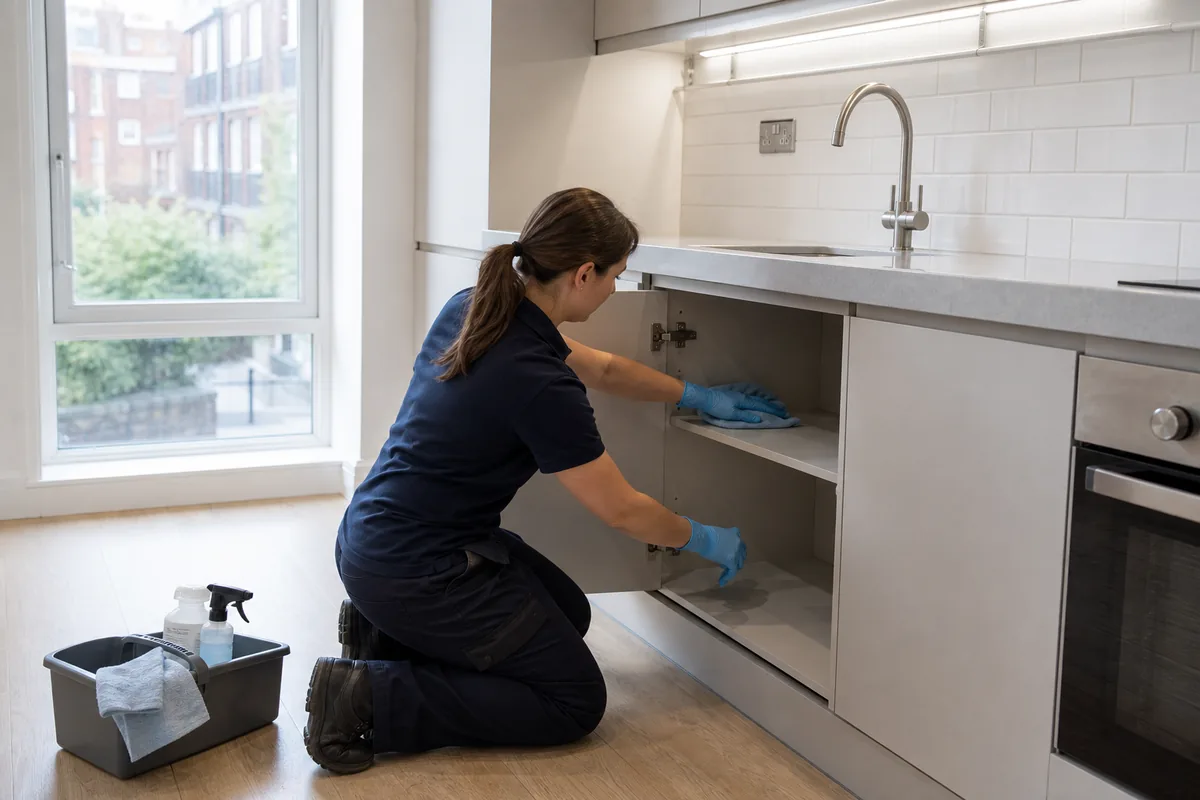
- Empty cupboards and drawers. Vacuum crumbs from corners, then wipe shelves, fronts, handles, hinges and plinths with a finish-compatible product.
- Degrease the hob, splashback, extractor exterior and washable filter only as the manufacturer directs. Isolate power before removing an approved removable part.
- Clean the oven racks, trays, door glass and accessible cavity. Give a labelled oven product its stated dwell time and keep it away from heating elements, catalytic liners and unsuitable aluminium.
- Empty and clean the fridge and freezer, including drawers, seals and drainage areas that the appliance manual identifies as user-accessible. Leave switched-off doors ajar after drying if the handover instructions permit it.
- Wipe the washing machine and dishwasher seals, detergent drawers, filters and exteriors only where the manual treats them as routine user maintenance.
- Remove food residue and scale from the sink, taps and drainer with a method compatible with the metal, coating or stone around them.
- Finish worktops, sockets, doors, bin area and flooring. Look along the surface in daylight for sticky film and missed crumbs.
Heavy grease needs dwell time and controlled removal. The separate oven cleaning route covers the appliance method without turning this checklist into a product recipe.
Bathroom and toilet checklist
- Remove hair and loose debris before wet cleaning. Clear user-accessible waste traps only as the fitting instructions allow.
- Clean the bath, shower tray, screen, basin, taps and tiles. Rinse away product residue and dry polished surfaces to expose any remaining film.
- Descale compatible taps, shower fittings and glass in controlled sections. Natural stone, plated fittings and damaged coatings need their own care route.
- Clean the toilet seat, hinges, rim, exterior, flush control and floor around the base. Do not combine toilet products or add bleach to an acidic descaler.
- Wipe the extractor cover after isolating it where required. Do not dismantle fixed electrical equipment beyond documented user maintenance.
- Check mirrors, shelves, cupboards, towel rails, doors, handles, skirting boards and the area behind removable items.
London hard water can leave a cloudy mineral layer that survives a quick wipe. Match the method to the surface before attempting limescale removal. Blackened or failed sealant may need replacement; widespread or recurring mould needs its moisture source addressed.
Bedrooms, living rooms and hallways
- Dust reachable ceilings, corners, curtain rails, blinds and light fittings before lower surfaces.
- Empty and clean wardrobes, built-in cupboards, shelves and drawers. Check top surfaces and runners.
- Wipe radiators when cool, including accessible tops and the floor beneath. Do not remove fixed covers without permission or instructions.
- Clean doors, frames, handles, switches, socket fronts, bannisters and skirting boards with minimal moisture around electrics and unfinished edges.
- Spot-clean washable painted walls only after a hidden-area test. Stop if colour transfers, sheen changes or paint softens.
- Clean supplied furniture according to its finish and the inventory notes. Record scratches, burns, loose joints and torn upholstery as condition issues.
Floors, carpets and internal windows
Vacuum carpet edges, corners, thresholds and the space beneath movable furniture. Treat a stain only when the fibre and substance are known, and allow enough drying time before the checkout. A returning ring, odour from the backing, dye loss or damaged pile is a signal to stop household treatment.
Vacuum hard floors before mopping with the minimum compatible moisture. Laminated edges, unsealed wood, natural stone and damaged grout need material-specific care. Check the finished floor from the doorway after it dries; wet sheen can hide streaks and grit.
Clean internal window glass, frames, sills and accessible tracks. Do not lean outside, stand on improvised furniture or treat external glazing as a normal indoor task. Record condensation damage, failed seals and cracked panes instead of polishing over the evidence.
Often-missed checkout points
- Look above eye level at door tops, wardrobe tops, curtain rails, picture rails, vents and the upper edges of tiles.
- Open every permitted cupboard and drawer to check corners, shelf supports, runners, hinges and the underside of shelves.
- Inspect the narrow space behind an open door, around radiator pipes, beneath removable bins and along carpet edges.
- Check supplied lampshades, remote controls, appliance trays and inventory-listed small items without attempting electrical repairs.
- Remove pet hair from upholstery, skirting edges and low fabric surfaces with a method suitable for the fibre.
- Empty indoor bins and follow the property instructions for communal refuse, recycling, balconies and accessible outdoor areas.
Build the final evidence pack
- Let cleaned surfaces and floors dry, then inspect in daylight and switch on available room lighting.
- Photograph each room from the check-in angles, followed by close views of the oven, shower, floors and any reported condition issue.
- Save the inventory, tenancy messages, relevant receipts and photo files together. Keep original timestamps where possible.
- Record meter readings, key sets, bin arrangements and the time access ends according to the checkout instructions.
- Ask for any checkout concerns and proposed actions in writing. Keep the cleaning record separate from discussions about damage or missing items.
If a deduction is proposed, compare the reason with the inventory and your evidence before responding. The separate guide to cleaning disputes covers communication and the protected-scheme route in more detail.
You may also enjoy:

Choose DIY or professional cleaning
| Decision factor | DIY may fit | Professional help may fit |
|---|---|---|
| Time after moving out | Several clear work periods plus drying and re-check time | A narrow access window or same-week handover |
| Property condition | Routine dust, light residue and familiar surfaces | Broad grease, scale or build-up across several rooms |
| Equipment | Suitable vacuum, tools and compatible products available | Specialist carpet treatment or commercial-grade process needed |
| Evidence | You can follow the inventory and document each room | The starting report records a professional standard or detailed specification |
| Risk | Materials are known and methods are within label guidance | Valuable, delicate, unknown or previously damaged finishes are present |
Property size alone does not predict the workload. The condition, number of bathrooms, appliance build-up, carpet treatment, parking, access and time available all matter. Use the separate cleaning time guide to plan the work without treating one estimate as a fixed appointment length.
When a professional end of tenancy clean fits the move
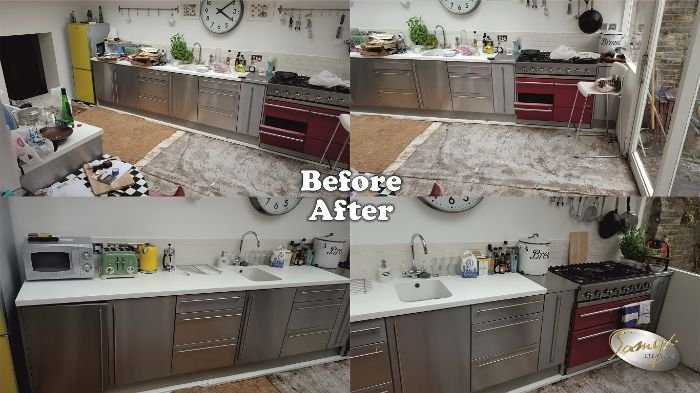
Samyx Cleaning provides end of tenancy cleaning across London when the inventory scope is broader than the tenant can complete within the access window. The professional service checklist sets out standard room tasks, optional work and exclusions, so the booking can be compared with the property and agreement before the date is confirmed.
The service includes a 72-hour re-clean for cleaning points listed in the check-out report. It does not turn wear, damage, failed sealant, permanent staining or repair work into cleaning tasks, and it does not promise a particular deposit outcome. Carpet cleaning, external windows and other specialist work need to be confirmed separately where relevant.
Check access, parking, keys, utilities, empty cupboards, freezer defrosting and the final task scope before booking tenancy cleaning. Accurate property details help the office confirm the right service plan before the team arrives.
Book End of Tenancy Cleaning
Enter your postcode to view our rates and availability in your area.
Frequently asked questions
-
Do tenants have to pay for professional cleaning in England?
No. Current Tenant Fees Act guidance says a landlord cannot require a tenant to pay a professional-cleaning fee at checkout. The tenant may still need to return the property to the evidenced starting standard, allowing for fair wear and tear.
-
Can a landlord deduct money for cleaning?
A landlord may propose a reasonable cleaning deduction when evidence shows the property was returned less clean than at check-in. The starting inventory, checkout report, dated photos and invoices can be considered, and a protected deposit scheme provides a dispute route.
-
When should end of tenancy cleaning be done?
Plan it after belongings and the main removal work have left, with enough time for appliances to defrost, products to work, carpets and floors to dry, and a final daylight inspection before access ends.
-
What proof should I keep after a DIY clean?
Keep the check-in inventory, matching dated photographs of the finished rooms, written reports of damage or faults, relevant receipts, meter readings and a record of returned keys. Original photo timestamps are useful when available.
-
Is professional carpet cleaning always required?
No. Check the tenancy agreement, check-in condition and current carpet state. Vacuuming may be enough for routine loose soil; stains, odour, contamination or a documented professional starting standard can change the appropriate route.
Important: This checklist uses current general guidance for tenants in England. Follow each product label and the surface or appliance manufacturer’s care instructions over general advice. Patch-test where compatibility varies, use suitable gloves and ventilation, and rinse and dry as directed. Never mix cleaning products, including bleach with ammonia or acids. Stop if a finish discolours, dulls, etches, softens or transfers to the cloth. Seek manufacturer or specialist advice before treating delicate, valuable, unknown or damaged materials, and use your tenancy agreement and deposit-scheme guidance for the individual checkout.
Author: Svetlana Georgieva (Clara)
Hi, I’m Svetlana Georgieva, but you can call me Clara. As the co-founder and heart behind Samyx Cleaning, I’m devoted to sharing the art of a clean space. Let’s journey into a cleaner, more joyful life together with tips from London's cleaning experts.

Discover more of our cleaning secrets: