
How to Dust Furniture Properly Without Damaging the Finish

Last modified on: 26/08/2026

How to dust furniture properly starts with one decision: capture loose dust before adding moisture, polish or cleaner. A dry or barely damp microfibre cloth works for many sound, sealed surfaces, provided you keep exposing a clean face and follow the furniture maker’s care instructions.
The wrong tool can push particles into corners, leave oily streaks or drag grit across a delicate finish. Speed comes from preparing the room, choosing a method for the material and following the same route around each piece.
Use the process below for ordinary household dust on accessible furniture. Antique, damaged, unstable or unusually valuable pieces need advice from the maker, retailer or a suitable furniture-care specialist.
Capture the dust before treating the marks
- Clear small objects, check the surface and remove anything fragile or unstable.
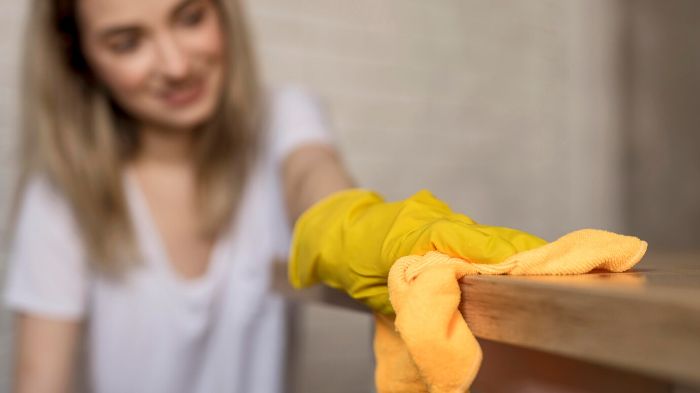
- Fold a clean microfibre cloth into quarters and start with the highest furniture surfaces.
- Wipe in controlled overlapping passes, lifting the cloth at the edge instead of flicking dust into the air.
- Turn to a clean face as soon as the cloth looks grey or gritty; replace it when every face has been used.
- After the loose dust is gone, spot-clean remaining marks only with a compatible method applied to the cloth.
Key Takeaways
- Identify the material and finish before moisture or product touches the furniture.
- Remove dry dust first so grit is not dragged through a damp film.
- Fold the cloth and rotate through clean faces to keep captured dust off the next surface.
- Work high to low and finish with the floor so fallen particles are collected once.
- Stop on loose veneer, flaking coatings, unstable joints or any finish that changes during a hidden patch test.
Table of Contents
Check the furniture before you start
Look at both the material and its condition. A sealed wooden table, an oiled cabinet, a veneered shelf and a fabric headboard may sit in the same room, although they do not accept the same amount of moisture or friction. Loose veneer, cracked lacquer, peeling paint and frayed upholstery are repair or specialist-care signals, not invitations to scrub harder.
Next, separate dry dust from bonded soil. Loose grey dust, hair and crumbs need capture. Fingerprints, cooking film and drink marks need a second, material-compatible step after the particles have gone. Combining those stages too early creates mud-like streaks and loads the cloth quickly.
| Surface or condition | First dusting choice | Avoid | Stop point |
|---|---|---|---|
| Sound sealed wood, veneer or laminate | Soft dry microfibre; minimal compatible moisture only for remaining marks | Direct spray, pooling liquid and abrasive pads | Colour, sheen or edge adhesion changes |
| Oiled, waxed, unfinished or antique wood | Maker-approved care method; dry soft cloth if permitted | General-purpose cleaner and untested polish | Unknown finish, open grain damage or unstable surface |
| Glass or metal inserts | Clean cloth chosen for that material after surrounding dust is removed | Overspray onto wood, joins or electrical parts | Corrosion, loose fittings or damaged coating |
| Sound fabric, cane or carved detail | Controlled vacuum with a soft brush, then a soft detail tool | High suction, hard bristles and snagging edges | Fraying, lifting cane, loose trim or unstable carving |
Choose tools that hold dust
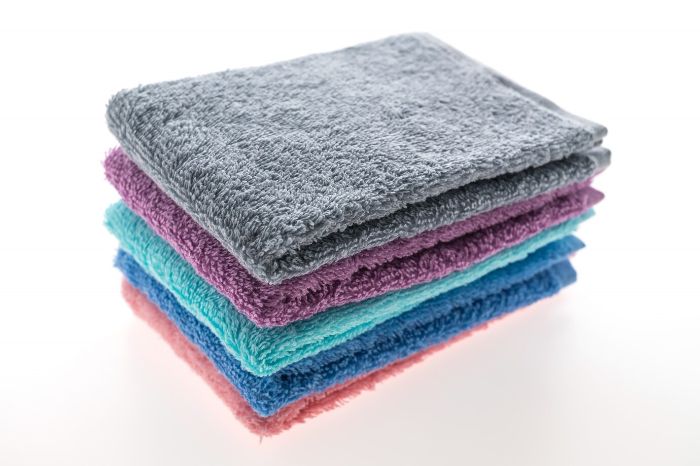
A small working set is enough for most rooms: several clean microfibre cloths, a vacuum with a clean soft-brush attachment, a soft detail brush and a container for used cloths. A long-handled duster can reach the top of tall units, provided its head captures particles and can be washed or cleaned. A tool that merely flicks dust saves little time because the floor and nearby furniture need another pass.
Keep separate cloths for greasy kitchen furniture, bathroom storage and living spaces. Colour coding is a practical reminder, although the real control is changing a loaded cloth before it carries soil elsewhere. The wider cleaning tool guide helps when you are building a compact kit for the whole home.
Plan one route around the room
Put clean cloths in one container and used cloths in another. Keep a tray for ornaments, a small soft brush and the vacuum attachments within easy reach. Removing repeated trips across the room saves time without forcing you to hurry the work on the furniture itself.
Begin near the doorway and move clockwise, completing one furniture piece before starting the next. Within each piece, follow the same sequence: top, vertical faces, shelves, handles, lower rails and accessible feet. Leave the floor until the furniture is finished. A fixed route makes missed ledges easy to notice and prevents a clean cloth from landing on a surface that still carries dust.
How to dust furniture properly, step by step
- Pause air movement. Turn off a fan that is blowing across the room and avoid shaking textiles beside the furniture. Natural ventilation can remain useful, provided the airflow is not scattering the dust you are trying to collect.
- Clear a small work zone. Move ornaments and frames to a stable tray or clean surface. Photograph a complex display first if you want to return everything to the same place.
- Start at the highest safe point. Dust the top of bookcases and tall cabinets with a controlled tool. Use a stable step platform only where appropriate; do not climb on chairs or furniture.
- Work around each piece. Clean the top, front, sides, ledges, handles and accessible lower rails in a repeatable route. Overlap each pass slightly so narrow strips are not missed.
- Guide dust towards capture. On carvings and grooves, loosen particles with a soft brush as the vacuum nozzle waits nearby. Keep the nozzle from striking the finish.
- Rotate the cloth early. A grey face is carrying dust. Turn to a clean section before it begins leaving trails or dragging grit.
- Replace the objects. Wipe sound, compatible ornaments separately and return them only after the shelf is dry and clear.
- Finish below. Vacuum upholstered seating as appropriate, then collect fallen dust from skirting boards and floors. The room now needs one floor pass, not repeated cleaning.
You may also enjoy:
Dust books, frames and ornaments separately
Lift objects onto the prepared tray; sliding them can grind particles across the shelf or the object’s base. Dust the empty shelf first, including the rear edge and support pegs. Give the surface time to dry if a compatible damp method was needed before anything is returned.
Use a clean soft brush or low-suction vacuum attachment on the upper edges and spines of sound books. Keep moisture away from paper and bindings. Wipe washable ornaments according to their material, and support fragile pieces with both hands. Picture frames often combine coated wood, glass and a paper backing, so keep any glass product on its own cloth and away from the frame joins.
Return objects with a little breathing space around them where the arrangement allows it. Crowded displays create narrow dust traps and make every later visit slower. Valuable collections, loose gilding, flaking paint and unglazed ceramics need specialist handling or a maker-approved method.
Use eight clean cloth faces before reaching for another
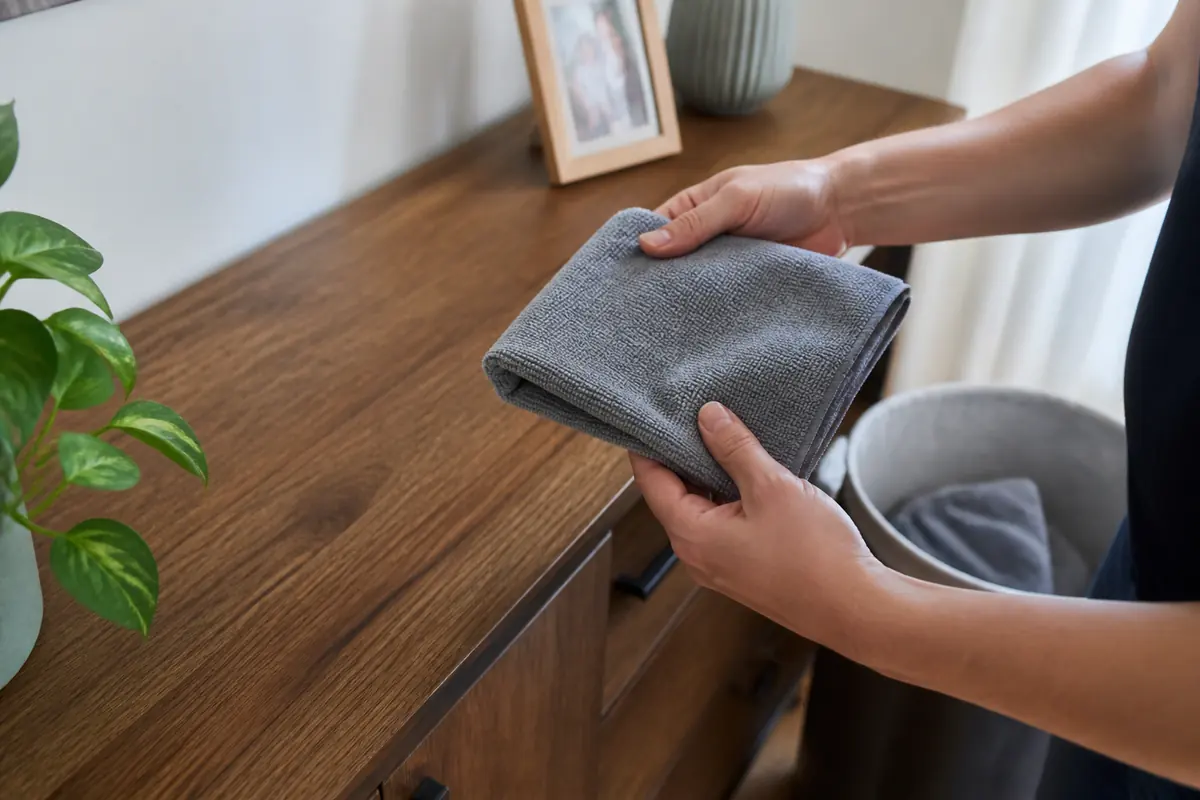
Fold a square cloth in half and then in half again. The folded pad gives four sections on one side and four on the other. Hold the pad flat under your hand, use one face for a manageable area, then open or turn the folds to expose a clean section. The cloth stays easy to control and loose edges do not trail across ornaments.
Move to the next face when the current one looks grey, feels gritty or starts leaving a track. Put the cloth aside if it picks up grease, a spill or an unknown residue. Refolding a contaminated patch inside the pad can transfer that soil to your hand or back onto the furniture.
Adapt the method to shape and material
Flat wood, veneer and laminate
Support the cloth with your whole hand and use light, controlled passes. Work with the grain where the direction is visible. Pay close attention to veneer edges, joints and the lower edge of a tabletop, where liquid can enter more easily. A soft dry cloth is the safer starting point when the finish is uncertain.
Carving, moulding and hardware
Use a soft brush to draw particles out of recesses and towards a vacuum nozzle held close to the work. Wrap a clean cloth around a finger only for broad, smooth grooves where it cannot snag. Sharp tools, cotton buds forced into tight joins and hard toothbrushes can mark a coating or leave fibres behind.
Fabric, leather, cane and rattan
Use low, controlled suction and a clean soft-brush attachment on sound woven surfaces. Check loose threads, buttons and trim before the nozzle passes. Leather needs its own maker-approved care method after surface dust has been lifted. Cane and rattan need a soft brush and careful vacuum capture; stop where strips are lifting or brittle.
Glass, mirrors and electronics
Dust surrounding furniture before treating an insert or screen. Switch electrical items off and follow the manufacturer’s instructions. Apply any approved product to the cloth, never directly over a screen, control panel, vent, socket or wooden joint. Use a separate clean cloth so residue from furniture polish does not reach glass.
Treat sticky marks after the dry pass
Once loose particles are gone, inspect the remaining mark. A fingerprint on sealed laminate, a food splash on painted furniture and a water ring on wood are different problems. Read the care label or maker’s guidance, choose a product intended for that material and patch-test it in a hidden place.
Put a small amount on the cloth if the instructions allow it. Work on the mark without flooding the surface, then remove residue and dry as directed. The ingredient families in cleaning product labels matter less than the product’s stated surface compatibility, directions and warnings. Homemade acidic or alkaline mixtures are a poor default for an unknown furniture finish.
Avoid the mistakes that make dusting slower
- Keeping one cloth for the whole room leaves trails and transfers grease between pieces once the face is loaded.
- Spraying first turns dry particles into streaks, and overspray can enter joints, veneer edges or electronics.
- Pressing harder on grit increases the chance of fine scratches. Lift the particles first.
- Skipping the upper surfaces allows later work to send dust back onto shelves and tables that were already cleaned.
- Adding polish routinely can leave residue. A product should serve the finish and the maker’s care plan.
- Forcing access by stretching behind heavy furniture, climbing on a chair or pushing a hard tool into a narrow gap creates a larger risk than the dust. Use a controlled method for hard-to-reach places.
Keep the routine efficient between deeper cleans
Choose frequency from what the room shows. Open windows near a busy road, shedding pets, active fireplaces, fabric-heavy rooms and frequent cooking can load surfaces faster. High-use tables and dark glossy furniture may show the change first. Dust when a clean finger leaves a visible line, when corners begin collecting fluff or before the layer becomes bonded with grease.
Keep clean folded cloths close to the rooms where they are used and move spent cloths straight to laundry. Follow each cloth’s wash instructions. Check the vacuum when pickup falls, the exhaust smells dusty or the brush is carrying hair; vacuum maintenance prevents the tool from becoming the weak point in the routine.
Reset the tools after the room
Place used cloths in the laundry container without snapping or shaking them in the room. Wash and dry them according to their labels, keeping oily or product-loaded cloths separate where the instructions require it. Retire a cloth that has hardened residue, damaged fibres or embedded grit; it no longer belongs on a delicate finish.
Remove hair and fluff from the vacuum brush, check the nozzle for sharp debris and empty or maintain the machine as directed. Clean reusable duster heads before storage. Starting the next room with a loaded brush or dusty cloth defeats the capture method and spreads material that was already removed.
When regular domestic cleaning is the better fit
Furniture dusting becomes time-consuming when several rooms need the same top-to-bottom reset, access is awkward or the task keeps slipping behind work and family commitments. Samyx can include accessible furniture surfaces within an agreed regular domestic clean, alongside the other routine tasks confirmed for the visit.
Tell the office about delicate finishes, unstable items, valuable pieces or areas that should not be touched. Clear ornaments where practical and keep maker-specific care products with their instructions if you want them considered. Restoration, antique conservation, electrical repair, mould treatment and moving heavy furniture sit outside ordinary domestic cleaning.
Finish-safety note: Test any damp method or product in a hidden area and follow the furniture maker’s instructions. Stop if colour, sheen, coating or adhesion changes, or if veneer, joints, fabric, cane or electrical parts are damaged or unstable.
Book Regular Domestic Cleaning
Enter your postcode to view our rates and availability in your area.

Author: Svetlana Georgieva (Clara)
Hi, I’m Svetlana Georgieva, but you can call me Clara. As the co-founder and heart behind Samyx Cleaning, I’m devoted to sharing the art of a clean space. Let’s journey into a cleaner, more joyful life together with tips from London's cleaning experts.

Discover more of our cleaning secrets: