
Cleaning Vacuum Cleaner: Restore Suction and Prevent Odours Safely

Last modified on: 02/08/2026

Cleaning vacuum cleaner parts safely starts with identifying the model, disconnecting its power and checking the manual before removing anything. Empty the bag or bin, inspect the airflow route, treat each filter according to its label, clear the brush roll and hose, and refit only completely dry approved washable parts.
Key takeaways
- The model manual is the controlling instruction because filter types, release catches and water restrictions differ.
- A full maintenance clean follows the airflow route: intake, brush roll, wand, hose, bag or bin, filters and exhaust.
- Never assume that a filter, separator or dust bin is washable just because it can be removed.
- Weak suction often has a simple cause. A burning smell, smoke, sparks, damaged cable or battery needs an immediate stop.
- Maintenance improves the condition of a suitable machine; it does not repair a damaged motor, fan, battery or electrical connection.
Table of Contents
Prepare before opening the vacuum
Choose a bright, ventilated working area near a bin, with enough floor space to place parts in removal order. Put down old paper or a washable sheet if the machine is dusty. Keep children and pets away from loose dirt, clips, blades and small components.
Find the model number and its manual. The manual should tell you how to release the bin, bag, floor head and filter covers; which filters are washable; how replacement indicators work; and which tools or liquids are excluded. If the manual is missing, find the maker’s instructions for the exact model. A similar-looking machine is not a safe substitute.
Switch off and unplug a corded vacuum. For a cordless model, remove a detachable battery only if the instructions describe that step. Do not open a sealed battery housing. Allow a recently used machine to cool before inspection, especially if it stopped after becoming hot.
Choose the route by vacuum design
| Design | Start with | Model-specific risk | Do not assume |
|---|---|---|---|
| Bagged upright or cylinder | Bag level, bag fit, pre-motor and exhaust filters | Dust around the bag collar can bypass the seal | A full bag can be emptied and reused |
| Bagless upright or cylinder | Bin, separator, shroud and filter route | Fine dust may compact where it is not obvious | The cyclone assembly can be rinsed |
| Cordless stick | Bin, filter, floor head and battery vents | Water near battery contacts or controls | The filter is dry after a short wait |
| Robot vacuum | Bin, main brush, side brushes, wheels and sensors | Hair around axles and moisture on sensors | The robot or charging dock can be wet-wiped freely |
| Wet-and-dry vacuum | Current wet or dry setup and tank | Wrong filter configuration for the next task | Wet-use instructions apply to ordinary dry vacuums |
Lay out only the simple cleaning tools the manual allows: a bin bag, soft dry brush, blunt seam tool or scissors for wrapped fibres, clean cloths and any approved replacement bag or filter. Avoid improvised sharp tools near hoses, seals, wiring and soft rollers.
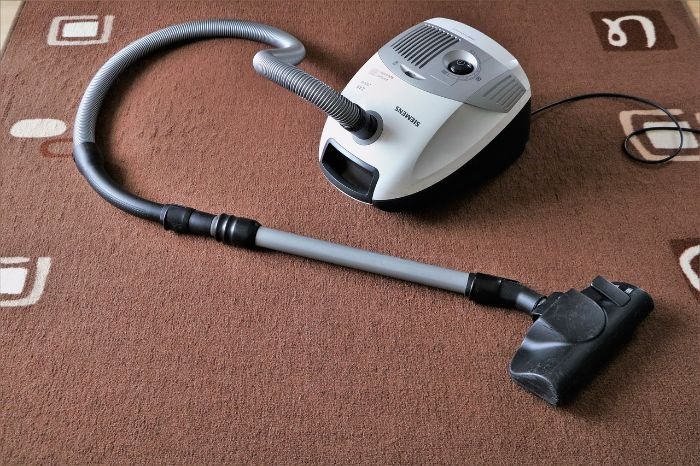
Cleaning vacuum cleaner components step by step
1. Empty the bag or bin
For a bagged vacuum, remove and replace the bag as directed. Check that the new bag matches the model and sits squarely on its collar. A badly fitted bag can leak dust into the compartment and towards the motor filter. Do not shake or empty a disposable bag for reuse.
For a bagless model, hold the bin low inside a refuse bag before opening it. Let debris fall and avoid banging the container against a hard edge. Inspect the lid, latch and rubber seal for trapped grit. If the maker permits washing, remove only the named washable pieces and keep water away from fixed electrical or mechanical sections.
2. Inspect the filters before cleaning them
A vacuum may have a pre-motor filter, an exhaust filter or several stages. Their materials and care routes are not interchangeable. Look for wording such as washable, rinseable, tap clean, replace only or a replacement interval in the manual. If neither the part nor the instructions confirm washing, keep it dry.
For a washable filter, remove loose dust using the maker’s dry step first, then rinse only in the direction and with the water temperature allowed. Do not add detergent, scrub the pleats or twist foam unless instructed. For a dry-clean or replace-only filter, use the approved method and replace it if it stays blocked, torn, misshapen or permanently soiled.
3. Clear the brush roll and floor head
Turn the detached floor head over and follow the release method for its sole plate or brush roll. Cut wrapped hair and thread along the safe groove if one is provided, working away from the bristles, belt and wiring. Pull fibres out in short sections without tugging across the bearings.
Rotate the brush by hand only when the manual allows it. It should move without a dense band of fibres at either end. Check small wheels and suction channels as well. A stiff brush, damaged belt, loose end cap or unusual grinding needs the maker’s service route. Do not force it.
4. Check the wand and hose
Detach the wand and hose where designed to be removed. Look through each straight section towards a light source. A blockage often forms at a bend, connection or where the hose enters the machine. Use only a blunt tool that cannot puncture the wall, and work from the nearest open end. Never drive a sharp object through a flexible hose.
Do not wash a hose unless the exact manual permits it and explains how it must dry. A hidden pocket of water can carry moisture towards a filter or motor and may produce a stale smell. Gently flex the hose during inspection; splits, crushed sections and loose cuffs can leak air even after a blockage is removed.
5. Clean seals, vents and the exterior
Use a soft dry brush or cloth around gasket channels, vents and tool connections. Grit on a seal can prevent an airtight fit, and a blocked cooling vent can contribute to heat. Do not push dust into the motor opening.
Wipe the non-electrical casing with a barely damp cloth only when the maker permits it, then dry it. Never spray cleaner directly onto the machine. Keep liquid away from switches, displays, charging contacts, batteries, plugs, cables, sensors and motor housings. Robot sensors usually need a clean, dry, non-abrasive cloth and a light touch.
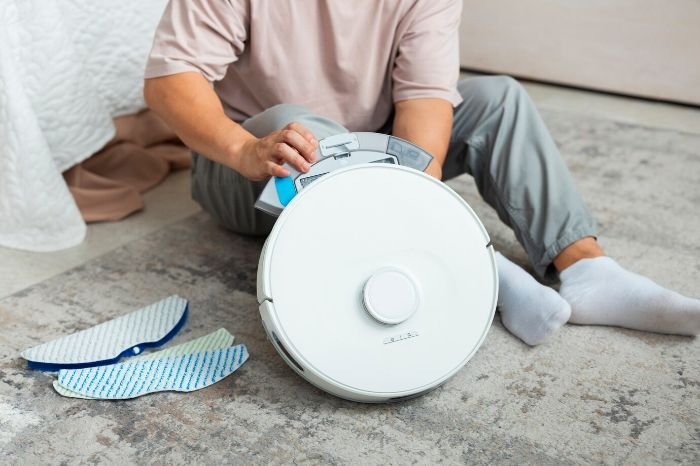
Can you clean a vacuum filter with water?
Only if the filter or exact model manual explicitly says it is washable. Colour and shape are not reliable clues: two similar pleated filters may require different care. A hidden frame, adhesive layer or fine filter medium can be damaged by water even when the surface looks sound.
- Identify the filter: note its position and model code before removal.
- Read the care instruction: confirm washable, dry-clean or replace-only.
- Use only the approved method: avoid soap, brushes, compressed air and heat unless specifically allowed.
- Inspect the result: replace a torn, distorted, shedding or persistently blocked filter.
- Dry fully: leave an approved washed filter out of the machine until no moisture remains throughout it.
Do not shorten drying with a radiator, hairdryer, oven or direct high heat. Heat can distort foam, plastic or adhesive. Reassembling with a damp filter can restrict airflow, spread odour and bring moisture into parts intended to stay dry. If you need the vacuum sooner, use a fully dry approved spare. Never refit the damp original.
Check every part before reassembly
Reassembly is the point at which a careful clean can be undone. Compare the laid-out parts with the manual and check each one under good light. A filter must sit in its intended orientation, seals must lie flat, and covers should close without extra pressure. If a latch needs force, stop and check for a reversed filter, trapped cable, raised gasket or misaligned bin.
- Confirm that every approved wet-cleaned surface is dry inside joints, folds and foam, not merely dry on the outside.
- Check that the correct filter stage is present; never run the vacuum with a filter removed to improve airflow.
- Seat the bag collar, bin, separator and gaskets evenly so dust cannot bypass them.
- Turn an approved brush roll by hand and confirm that tools, hair and loose fibres have been removed.
- Account for every clip, cap and fastener before reconnecting power.
Reconnect the battery or plug only after the machine is complete. Test for a few seconds on a clear, suitable surface. Listen for a normal sound and check that air exits where expected. Stop immediately if the machine vibrates, rattles, heats rapidly or gives an unusual smell.
Keep a brief note of the bag or filter fitted and the condition you found. That record helps you distinguish normal filling from a problem that returns unusually quickly. It also prevents accidental use of the wrong replacement part. Record only what the model instructions support; a date is useful, but it should not replace the fill line, indicator, performance check or stated service interval.
Troubleshoot suction, odour and unusual noise
Clean one route at a time and observe what changes. Repeatedly washing the bin will not help if a blockage remains in the floor head. A route-by-route check also reduces the chance of dismantling parts that do not need attention.
| Symptom | Check safely | Likely maintenance action | Stop when |
|---|---|---|---|
| Weak suction | Bag/bin level, filters, floor head, wand, hose and seals | Empty, replace or clear only as directed | Suction stays weak after the full route is clear |
| Dusty or stale odour | Old debris, damp parts, dirty washable bin and filter condition | Remove debris; clean approved parts; replace spent filters | The smell is electrical, burning or returns immediately |
| Rattling or grinding | Loose debris in head, brush ends and accessible channels | Remove accessible foreign material and refit parts correctly | The sound comes from the motor, fan, bearing or sealed body |
| Overheating or cut-out | Airflow blockages, filter fit and cooling vents after unplugging | Clear the approved route and let the machine cool | It overheats again or shows cable, battery or motor damage |
| Repeated blockage | Hose damage, narrowed bend, brush-roll loading and picked-up material | Remove the cause and use the correct head or setting | A hose, duct or internal part needs replacement |
A smell from old dust differs from a hot electrical or burning smell. If you notice smoke, sparks, melting plastic, a swollen battery, damaged cable, liquid in a dry-only machine or a burning smell, disconnect power if it is safe and do not test again. Follow the manufacturer’s repair or disposal guidance.
You may also enjoy:

Use the clean vacuum without creating another blockage
Once the machine is dry and correctly reassembled, fit the head and setting intended for the surface. Clear large objects by hand first. Coins, pieces of packaging, building debris and wet material can damage an ordinary household vacuum or lodge at a bend.
Move at a controlled pace so the airflow and brush action have time to lift debris. For edges, stairs and hard-to-reach places, use the correct attachment and avoid forcing the main head into a tight angle. Stop and empty the bin or change the bag before debris reaches the limit marked for the model.
Surface instructions still matter. A rotating brush that helps on one carpet can mark a delicate floor or catch a loose rug edge. Upholstery should be checked before vacuuming, and removable crumbs should not be confused with stains that need a separate sofa fabric method.
What not to do when cleaning a vacuum
- Work only on a disconnected machine and never reach into a brush roll that can start.
- Keep a filter, hose, separator or bin dry unless the exact instructions permit rinsing.
- Wait to reassemble an approved washed component until every part of it is dry.
- Never spray fragrance, disinfectant or cleaner into the airflow route to cover an odour.
- Keep water, wet debris, hot ash, fine hazardous dust and building waste out of a dry-only machine.
- Clear a blockage without a knife, screwdriver or metal rod that could puncture the hose.
- Leave sealed motor, battery and electrical housings closed during routine cleaning.
Treat connected electronics with the same restraint used for other smart devices. Dry exterior care and maker-approved access are different from dismantling a powered product.
When a part needs replacement or professional repair
Replace consumables when the manual, indicator or visible condition says they are spent. A torn bag, damaged gasket, split hose, worn brush, distorted filter or loose floor-head part can defeat a careful clean. Use parts confirmed for the exact model; a close physical fit does not prove the airflow or filtration specification is correct.
Use the maker or a qualified appliance repairer when the problem involves the motor, fan, wiring, plug, cable rewind, battery, charging dock, sealed housing or persistent overheating. Stop testing a machine that trips power, smokes, sparks or gives a burning smell. If the vacuum has collected a hazardous substance, seek task-specific disposal and decontamination advice. Keep the machine closed indoors.
Where Samyx Cleaning can help
Vacuum maintenance remains the owner’s or appliance specialist’s responsibility. Samyx Cleaning does not repair motors, batteries or filtration systems. Our domestic cleaning service can help with the wider household workload once suitable, working equipment and the correct surface method are available.
Book Domestic Cleaning
Enter your postcode to view our rates and availability in your area.

Conclusion: A clean airflow route protects the result
A reliable vacuum clean is a controlled inspection, not a quick rinse of every removable part. Start with the manual, isolate power, follow the airflow route and separate washable components from dry-clean or replace-only parts. Complete drying and careful reassembly matter as much as removing dust. When airflow does not return, or the warning signs point beyond routine maintenance, stop and arrange the right repair. Do not push the machine through another test.
Frequently asked questions
-
How often should you clean a vacuum cleaner?
Use the model manual, fill line, indicators and observed airflow; no universal calendar applies. Empty or replace the bag or bin before its stated limit, remove visible brush-roll tangles promptly and service filters only at the interval and by the method specified for that part.
-
Can you wash a vacuum cleaner filter?
Only when the exact filter or model manual says it is washable. Use the stated method, avoid unapproved detergent or heat and refit it only when it is completely dry. Replace a non-washable, torn, distorted or persistently blocked filter as directed.
-
Why does my vacuum smell after cleaning it?
Possible causes include damp washable parts, old debris in the bin or hose, a spent filter or fibres around the brush roll. Disconnect power and inspect the approved maintenance route. Stop immediately if the smell is hot, electrical or burning.
-
How do you restore suction to a vacuum cleaner?
Check the bag or bin, filter condition and fit, floor head, wand, hose, seals and cooling vents in the order shown by the manual. Clear only accessible blockages. If suction remains weak after the airflow route is clean and correctly assembled, arrange model-appropriate repair.
Important: Vacuum designs, batteries, filters and permitted cleaning methods vary. Follow the instructions for the exact model and each component. Disconnect power before routine maintenance, keep water away from electrical parts and refit approved wet-cleaned parts only when fully dry. Stop for smoke, sparks, a burning smell, damaged cable or battery, liquid in a dry-only machine, repeated overheating or a fault inside a sealed housing, and use the manufacturer’s service route or a qualified appliance repairer.
Author: Svetlana Georgieva (Clara)
Hi, I’m Svetlana Georgieva, but you can call me Clara. As the co-founder and heart behind Samyx Cleaning, I’m devoted to sharing the art of a clean space. Let’s journey into a cleaner, more joyful life together with tips from London's cleaning experts.

Discover more of our cleaning secrets: