
Floor Cleaning: Choose the Right Method for Every Floor Type

Last modified on: 26/08/2026
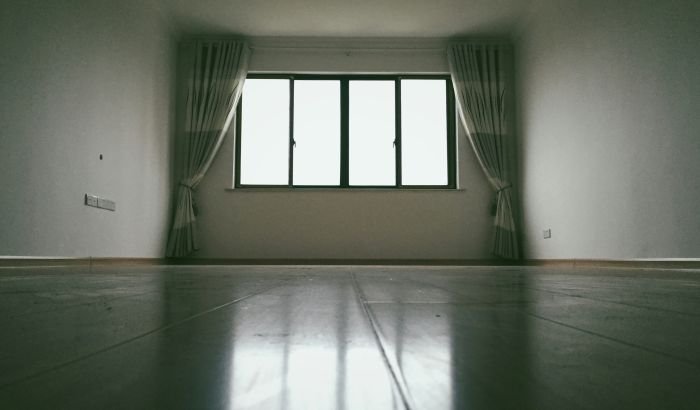
Floor cleaning starts with identifying the floor material, finish and type of soil, because the same mop, product or amount of water can be safe on one surface and damaging on another.
A good routine removes grit before it scratches, lifts soil without spreading it and leaves as little residue and moisture as the floor requires. Sealed hard floors are the focus here. Carpet, specialist finishes, sanding, polishing, sealing and restoration need their own methods.
Key Takeaways
- Identify the floor and its finish before choosing a cleaner, pad, brush, steam setting or water level.
- Remove loose grit first, then work in small sections with clean tools and controlled moisture.
- A sticky or dull floor often points to residue, dirty solution or finish damage. Adding more product can worsen it.
- Stains, etching, worn coatings and failed joints need different responses; repeated mopping will not solve all four.
- Set frequency from traffic, spills and visible soil; one schedule does not suit every room.
Table of Contents
Floor cleaning starts with material identification
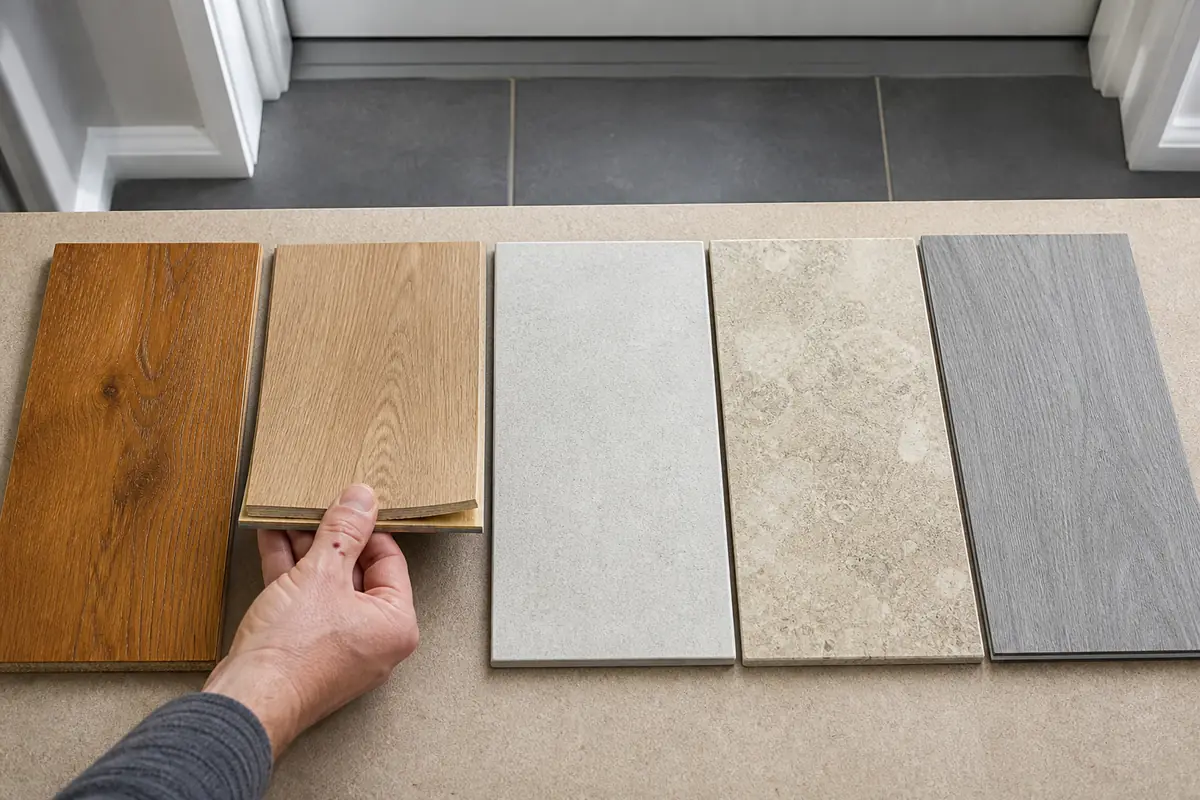
A wood-look floor may be solid timber, engineered wood, laminate, sheet vinyl or luxury vinyl tile. Pale stone can resemble porcelain. Polished concrete may have a coating that reacts differently from the slab beneath it. If you do not know what is installed, check invoices, packaging, spare boards or the supplier before using a wet method.
| Floor | What to confirm | Safe starting point | Main risk |
|---|---|---|---|
| Sealed wood | Finish type, intact seams and maker instructions | Soft floor head, well-wrung microfibre pad and approved wood-floor product | Water entering joints or a product dulling the coating |
| Laminate | Board maker, edge condition and water-resistance claim | Dry soil removal followed by minimal moisture | Swelling, lifted edges and moisture trapped in joints |
| Vinyl or LVT | Sheet or tile construction, wear layer and adhesive limits | Soft tools and a manufacturer-approved diluted cleaner | Solvents, heat, abrasion or water entering damaged seams |
| Ceramic or porcelain | Tile type, grout, sealer and slip finish | Neutral compatible cleaner, clean mop or soft brush | Residue in textured tile or damage to grout and adjacent stone |
| Natural stone | Stone type, finish and sealer | Stone-compatible pH-neutral product | Acid etching, abrasive scratches and sealer damage |
| Coated concrete | Coating system and maintenance instructions | Dry removal and a coating-compatible cleaner | Strong degreasers or abrasion attacking the coating |
Inspect the dry surface in good light. A white ring on wood, a dark absorbed mark in stone, a cloudy coating and dirty grout are not the same problem. The dedicated guides for wood stains, marble stains and grout cleaning own those material-specific decisions.
Routine cleaning and deep cleaning solve different problems
Routine care deals with loose dust, grit, crumbs and fresh spills before they travel through the room. It may be as simple as vacuuming traffic lanes and spot-cleaning a compatible sealed floor. Deep cleaning is a more controlled reset for bonded soil, greasy film, textured surfaces, neglected edges and repeated product build-up.
Deep does not mean stronger, wetter or more abrasive. It means the whole process is planned: access is cleared, the floor is identified, equipment is clean, the product is compatible, solution is changed before it becomes dirty and the dry result is inspected. Scrubbing a damaged finish more aggressively can expose the substrate without improving the appearance.
Plan a One-Off Clean
Enter your postcode to view our rates and availability in your area.

You may also enjoy:

Choose tools by contact, moisture and soil load
The tool changes how much pressure, liquid and friction reach the floor. A soft vacuum head with clean wheels is useful for loose grit; a beater bar or trapped stone can mark a sensitive finish. A flat microfibre mop gives controlled contact on many compatible sealed floors, provided its pad is clean, well wrung and replaced before it becomes loaded with soil.
Choose brushes by both the floor and the joint material. Soft nylon can reach textured tile or compatible grout without the sharp edges of metal. Stiff scrubbing may scratch a polished surface or disturb weak grout. Never use the same abrasive pad across several floor types because a pad safe for one commercial coating may permanently change another finish.
A steam cleaner is not a universal deep-cleaning tool. Heat and moisture can enter wood and laminate joints, affect adhesives, stress damaged grout or interact with coatings and sealers. Use steam only when the exact flooring manufacturer and machine instructions permit it, and when the surface is intact. A pressure washer has no place on ordinary internal floors.
Prepare enough clean pads, cloths and solution for the whole route. If one pad must cover a large dirty room, it will eventually spread soil. Colour-coded or task-specific tools also reduce the chance of bringing bathroom residue, outdoor grit or a strong product onto a living-area floor.
Floor cleaning step by step
1. Clear and inspect the route
Move light furniture so you do not have to clean around every leg. Secure cables, protect floor vents and note raised thresholds or loose transitions. Look for peeling coatings, open joints, cracked tiles, crumbling grout, damp patches and areas that flex underfoot. Photograph an unfamiliar finish before work so a change in gloss or colour is easier to detect.
2. Remove dry soil first
Vacuum using the head and brush setting approved for the surface, or sweep gently with a clean soft tool. Pay attention to edges, under movable furniture and the line where a rug ends. Hair and fine grit left on the floor contaminate wet tools quickly. Larger particles can scratch when trapped beneath a pad.
3. Read the product and floor instructions
Confirm the intended material, dilution, dwell time, ventilation, protective equipment, rinsing and disposal directions. More concentrate can leave more residue and may attack a finish. Do not mix, layer or transfer products into unlabelled containers. If the floor maker and cleaner label conflict, stop and ask the floor supplier or manufacturer.
4. Test the complete process
Test the diluted product, tool, contact time, removal step and drying result in a hidden place. Check the area only after it is dry. Stop for colour transfer, whitening, tackiness, raised fibres, softened coating, loss of gloss or a more slippery finish. A successful product test does not approve a different pad or longer dwell time.
5. Divide the room into sections
Start at the furthest safe point and keep an exit route. Work manageable areas so the solution does not dry before it can be removed. Use a clean pad face and controlled passes without repeatedly moving grey water across the room. Textured tile and grout may need a compatible soft brush. Aggressive scouring cannot compensate for incorrect chemistry or contact time.
6. Separate clean solution from dirty water
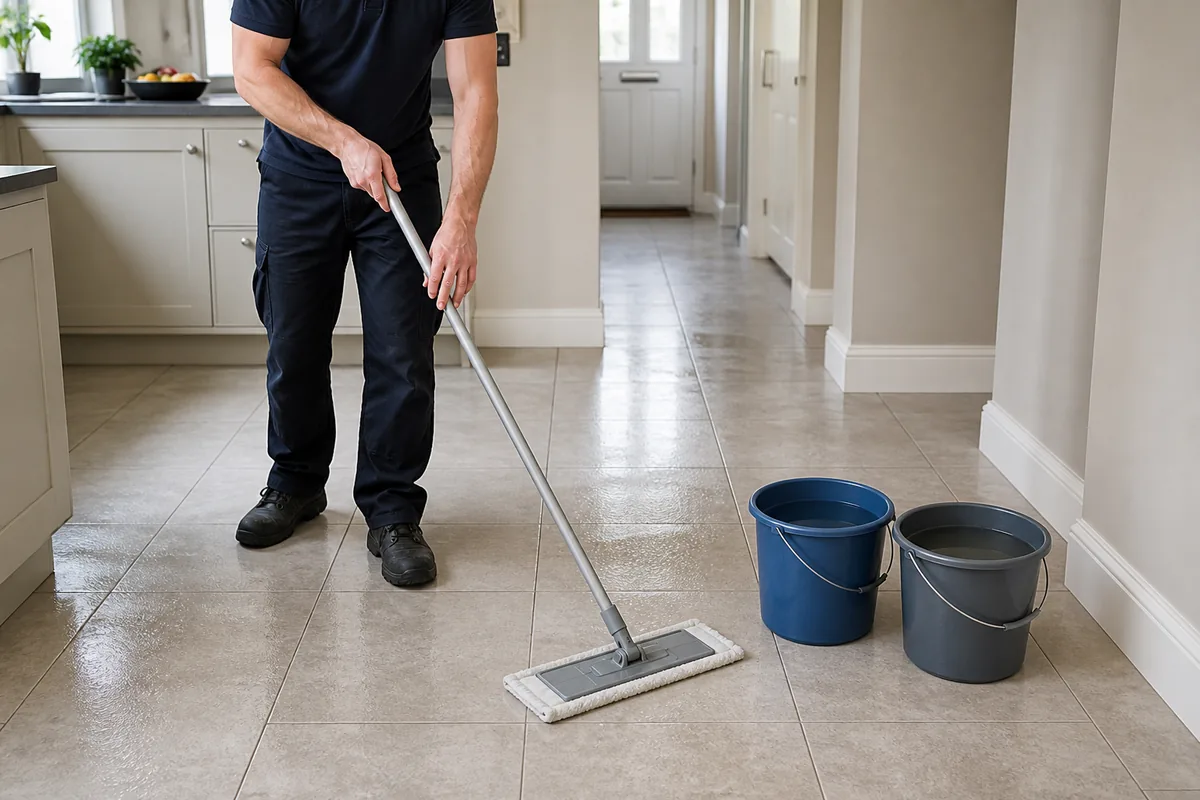
A single bucket becomes a soil reservoir when a dirty mop is repeatedly rinsed into it. Use a two-bucket or divided system where the floor method allows: one side supplies clean solution and the other receives rinse water. Change both when the solution becomes visibly soiled. With spray mops or damp pads, replace pads before they begin redistributing dirt.
7. Remove residue and dry the floor
Follow the label on whether a clean-water rinse or final dry pass is required. Remove pooled liquid at joints, edges and low spots immediately. Ventilate without blowing outdoor grit onto the wet surface, and keep people off the route until it is dry. Inspect from two angles before applying more product.
Choose the method for each floor type
Sealed wood and engineered wood
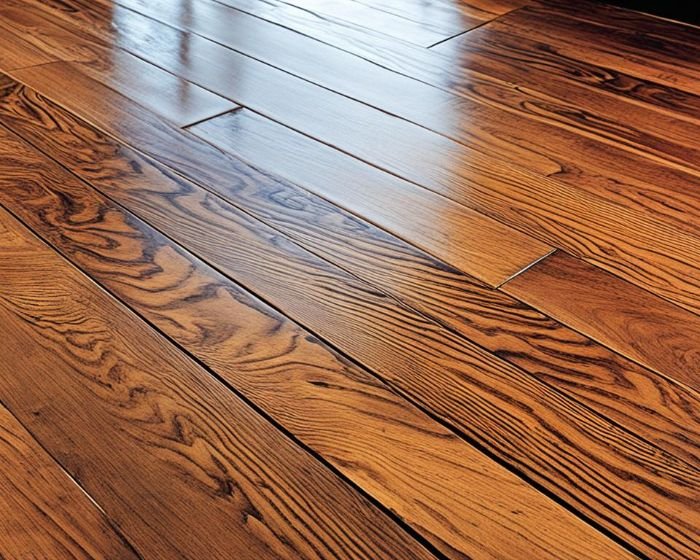
The surface finish controls everyday cleaning more than the timber species. Use a floor-safe vacuum head, a clean well-wrung pad and only a product approved for that finish. Avoid leaving standing water at board ends and joints. Steam, abrasive pads, oil soaps and polish products are not universal options. A worn or flaking coating needs assessment; repeated wet cleaning can make the damage worse.
Laminate
Keep moisture low and remove spills promptly, particularly around damaged edges. Apply a compatible cleaner to the pad and do not flood the boards. A water-resistant claim does not make every joint suitable for soaking or steam. Swelling, peaked seams and a hollow or loose area are installation or damage signals, not dirt.
Vinyl, LVT and linoleum
Vinyl and luxury vinyl tile are different from true linoleum, so identify the product before cleaning. Use soft tools, limited liquid around seams and the maker’s approved cleaner. Avoid uncontrolled heat, solvents, abrasive powders and pads that can change the wear layer. Check whether a dull patch is residue, wear or damage before adding polish.
Ceramic, porcelain and grout
Dry grit can hide in grout lines and textured tile, so vacuum first. Use a neutral compatible product and clean solution, then remove it fully from the texture. The tile may tolerate a treatment that its grout, sealer or neighbouring stone does not. Route isolated marks to the separate tile stains guide before escalating treatment across the whole floor.
Natural stone
Use a product labelled for the identified stone, finish and sealer. Marble, limestone and other calcite-based stones can etch when exposed to acidic products such as vinegar or lemon. Abrasive powders and rough pads can alter a polished or honed surface. A pale, dull patch may be etching, not soil, and stronger cleaning can enlarge it.
Coated concrete and resin floors
Confirm the coating system before treating the floor as bare concrete. Strong alkaline degreasers, solvents and abrasive pads can affect some sealers and resins. Remove loose grit, use the documented maintenance cleaner and keep water away from failed edges. Bubbling, peeling or whitening in the coating needs installer or coating-specialist advice.
Why a floor can stay dirty after mopping
If a dry floor still looks dull, streaked or dirty, identify the pattern before mopping again. The next pass should correct the cause without adding another product layer.
| Dry result | Likely cause | Next check |
|---|---|---|
| Grey film across the room | Dirty solution or a saturated pad spread soil | Clean the equipment, vacuum again and repeat a small test section with fresh solution |
| Sticky or smeared finish | Too much product, wrong dilution or incomplete removal | Read the label’s rinse instructions and test the correction in a hidden area |
| Lines that match mop passes | Uneven application, drying product or a dirty pad edge | Reduce section size and change pads more often |
| Dull traffic lanes only | Finish wear, fine scratches or compacted soil | Compare a cleaned hidden section and ask the floor supplier whether restoration is needed |
| Dark joints or edges | Soil or moisture collecting in grout, gaps or damaged seams | Inspect the joint material and stop wet cleaning where water can enter |
| Cloudy patch after drying | Residue, moisture under a coating or chemical change | Do not add polish; document the patch and seek material-specific advice |
Also check the equipment itself. A vacuum brush with trapped grit, a mop washed with fabric conditioner or a bucket carrying detergent from another task can leave a floor worse than it started. Launder reusable pads as directed and keep floor tools separate from bathroom or outdoor work where practical.
Treat stains and damage as separate decisions
Blot a fresh spill and remove loose material without spreading it, then identify the substance and surface. Do not scrub an unknown mark with a general stain remover. Oil, dye, rust, tannin, adhesive and mineral deposits need different chemistry. Etching, scratches and worn coatings are physical changes.
Stop and seek the floor supplier, installer or a suitable restoration specialist for widespread discolouration, deep scratches, loose tiles, lifting boards, recurring damp, failed coatings or movement. Cleaning can remove compatible soil; it cannot reseal open joints, restore worn polish or repair a damaged substrate.
How often should floors be cleaned?
There is no single useful calendar for every floor. Remove fresh spills promptly and clean grit from busy routes before it is tracked further. Kitchens, entrances, homes with pets and wet-weather routes usually need more frequent attention than a lightly used spare room. The floor maker’s maintenance schedule remains the limit for moisture, products and periodic treatment.
Use observable triggers: visible grit, tackiness, soil on a clean test cloth, dull residue or a mop that becomes dirty after a small area. Deep clean when routine care no longer removes compatible soil, not simply because a fixed date has arrived. If the dry result worsens after each wash, pause and diagnose the method.
Reduce the soil that reaches the floor
Use entrance matting that suits the doorway and does not trap moisture against the floor. Shake out or clean the mat before it becomes another soil source. Fit furniture feet that are compatible with the finish, lift movable items without dragging them and check chair castors for embedded grit.
Deal with spills promptly in the affected area. Blot and avoid spreading liquid across joints, remove the residue with the floor-approved method and dry the area. In kitchens, a washable mat near the main preparation zone can intercept droplets. Its backing must be suitable for the floor, and the area beneath it still needs inspection.
When Samyx Cleaning can help with floor care
Samyx Cleaning can include ordinary compatible floor care in an agreed one-off cleaning visit as part of a wider home clean. Confirm the floor materials, condition, access and priorities when booking. Sanding, sealing, polishing, specialist stone restoration, damaged finishes and hazardous contamination require a separately qualified service.
Important: Follow the cleaning-product label and the floor manufacturer’s care instructions over general guidance. Test the complete method in a hidden area, use any stated protective equipment and ventilation, and rinse and dry as directed. Never mix cleaning products, including bleach with ammonia or acids. Wood, laminate, natural stone, grout, resilient-floor seams and coated surfaces need extra care. Stop for fumes, irritation, discolouration, etching, dulling, swelling, coating change or a slippery dry finish. Ask the manufacturer or a qualified flooring professional before treating a valuable, unknown or damaged floor.
Book One-Off Cleaning
Enter your postcode to view our rates and availability in your area.
Frequently asked questions
-
What is the best thing to clean floors with?
The best starting point is the cleaner and tool approved for the identified floor and finish. Remove dry grit first, use the labelled dilution and test the complete process in a hidden area. No single product, mop or homemade mixture is safe for every wood, laminate, vinyl, tile, stone or coated floor.
-
Why is my floor still dirty after mopping?
Common causes include dirty rinse water, a saturated pad, too much product, incomplete rinsing or grit that was not removed first. Dull traffic lanes can also be finish wear, not dirt. Let a test area dry, identify the pattern and correct one cause at a time.
-
How often should you mop floors?
Mop when the compatible floor has soil that dry cleaning or spot treatment cannot remove. Traffic, pets, cooking and wet weather change the need; the floor maker sets the moisture and product limits. Fresh spills and tracked grit should be handled promptly and not left until a calendar date.
Author: Svetlana Georgieva (Clara)
Hi, I’m Svetlana Georgieva, but you can call me Clara. As the co-founder and heart behind Samyx Cleaning, I’m devoted to sharing the art of a clean space. Let’s journey into a cleaner, more joyful life together with tips from London's cleaning experts.

Discover more of our cleaning secrets: