
How to Clean Your Bathroom (Quickly)

Last modified on: 01/09/2026
Publish: 11th May 2023
Views:
Category: DIY
Tags:
Bathroom cleaning, Cleaning, Cleaning benefits, Cleaning tips, Disinfection

The best way to clean bathroom surfaces is to work dry before wet, top to bottom and from lower-risk zones towards the toilet.
Use one clean route through the room
- Remove towels, mats and loose items, ventilate the room and read the surface and product instructions before applying anything.
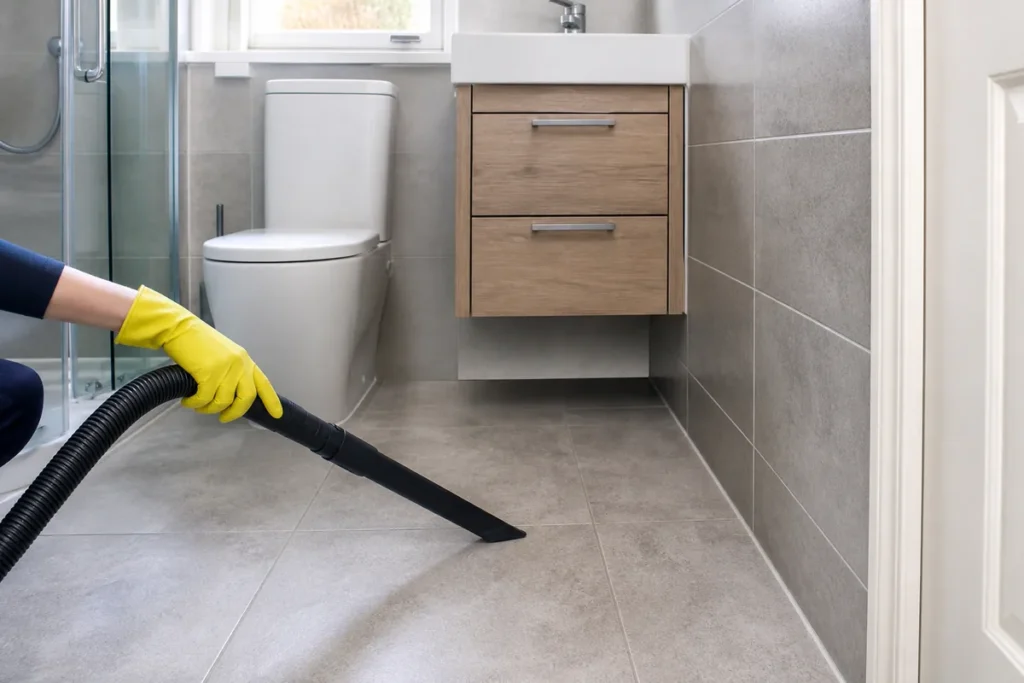
- Dust and vacuum while the room is dry, working from higher ledges and vents down to the floor.
- Apply one compatible cleaner where it needs dwell time. Never layer bleach, toilet cleaner, vinegar, ammonia, peroxide or unknown residues.
- Clean the mirror, basin, countertop, bath and shower with separate cloths as needed. Keep toilet tools in their own zone.
- Clean the toilet exterior with its dedicated cloth, finish with the floor towards the doorway, rinse as instructed and let every area dry.
The bathroom is arguably the most visited room in any home. Though it owes its popularity to… biological necessities, it’s no reason to overlook it when it’s time to clean your home.
A dirty bathroom is a breeding ground for nasty bacteria and viruses that can make you sick faster than a bad oyster. However, you don’t always have the time to clean it from top to bottom.
Sometimes, you need to clean it quickly. We’re here to help you with that. So let’s roll up our sleeves and get to work on cleaning your bathroom quickly, yet thoroughly (we still have your health to consider).
In practice, the priorities are visible soil, damp residue and the shared touchpoints people handle most. A methodical clean reduces transfer around the room; disinfection is a separate step used only where it is appropriate and supported by the product label.
Key takeaways
- A quick reset deals with current soil and the most-used surfaces. A deep clean adds limescale, grout, seals, vents, storage and less accessible edges.
- Remove hair and dust before spraying or mopping. Wetting loose debris turns it into residue that is harder to collect.
- One cleaner is not safe for every bath, tile, countertop, tap or floor. Identify the material and finish before choosing the product.
- Keep toilet brushes and cloths away from the basin, taps and countertop. Wash reusable cloths after the job and wash your hands after removing gloves.
- Cleaning must come before any labelled disinfection step. Follow contact time, ventilation, rinsing and surface-compatibility instructions.
Table of Contents
Best Way to Clean Bathroom: Choose a Quick or Deep Route
Start by deciding what the room actually needs. A quick clean is not a shortened deep clean; it is a controlled reset of the areas that are currently used and visibly soiled. Deep cleaning widens the scope and gives deposits or labelled products the contact time they require.
| Situation | Quick route | Deep-clean addition |
|---|---|---|
| Routine bathroom reset | Remove items, collect dry debris, clean mirror, basin, taps, touchpoints, toilet exterior and floor | Open storage, clean edges, skirting, vents, behind the toilet and less accessible fittings |
| Soap residue in bath or shower | Use a compatible cleaner on the visible film, agitate gently, rinse and dry | Work section by section through screens, tracks, fittings and wall junctions without flooding seals |
| Limescale around taps or screens | Confirm that the mark is mineral scale and that the finish tolerates the chosen product | Use controlled dwell time, repeat the same compatible method if needed and stop for finish change |
| Grout or silicone looks dark | Clean surface soil and dry the area fully | Check for failed sealant, loose grout, recurring moisture or growth below the surface before repeated chemical treatment |
| After illness or contamination | Remove soil first and keep toilet tools separate | Use a labelled disinfectant only where appropriate, following its full contact time and safety directions |
Do not let a checklist persuade you to treat every surface. If a shower is already clean and dry, leave it alone during a quick reset and spend the time where it changes the room: the basin, toilet, handles, floor and damp edges.
Prepare the Bathroom Before Wet Cleaning
Open a window or run the extractor where it is safe to do so. Remove towels, bath mats, bins and toiletries so you can reach the surface beneath them. Put washable textiles aside rather than shaking dust and hair back into the room.
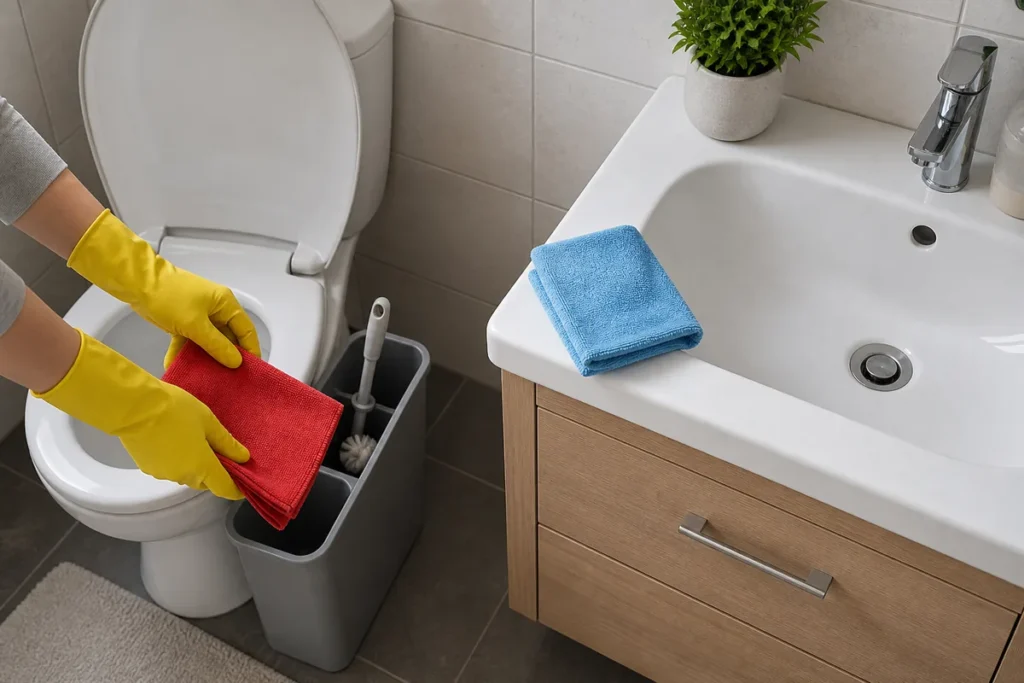
Read every label before opening a product. Choose gloves suited to the product instructions, keep one cloth and brush set for the toilet, and use another set for the basin, mirror and shower. A small caddy helps prevent a used toilet cloth from being placed on the countertop by accident.
- Vacuum or dust high ledges, the extractor cover, window sill, radiator edge and skirting before the floor.
- Use a vacuum only on dry surfaces and keep it away from water, wet fittings and damaged electrical points.
- Prepare clean cloths, a non-scratch pad, toilet brush, floor tool and the minimum compatible products required.
- Do not decant products into unlabelled bottles or combine leftovers to save space.
Plan a One-Off Bathroom Clean
Enter your postcode to view our rates and availability in your area.

Step 1: Cleaning the toilet
First things first, the toilet. It’s not the most glamorous part of the job, but it’s one of utmost importance. You’ll need to suit up with some gloves and grab a disinfectant cleaner for this one. Of course, if you’re looking for a more eco-friendly solution, you can check out our homemade cleaner recipes.
Give that bowl a good spray and let it sit for a few minutes while you tackle the outside. Clean everything – the seat, the lid, the base, don’t forget the flush handle. You want your toilet squeaky clean.
Keep the toilet tools in one zone
If you begin with the toilet as this route does, isolate its tools from the rest of the room. Apply only a toilet product compatible with the bowl, keep the lid open or closed as its label directs, and use the stated dwell time. A toilet cleaner is not an all-purpose product.
Wipe the cleaner parts of the exterior before the dirtier lower surfaces: cistern and flush control, lid, seat, hinges, rim exterior, bowl exterior and base. Fold or replace the cloth as each clean face is used. Do not return that cloth to the basin or taps.
Never add bleach, vinegar, descaler, ammonia or another product to a bowl that contains toilet cleaner or an unknown residue. Flush and follow the label rather than improvising. The wider chemical safety guide explains why one-product-at-a-time handling matters.
Step 2: Cleaning the shower and the bathtub
Next up, the shower and bathtub. These guys get used every day, so they’re bound to have some buildup of soap scum and grime. You’ll need to grab a multi-purpose cleaner and a scrub brush and go to town on those walls and tub.
Pay special attention to any areas with mildew – you don’t want that stuff spreading like a bad rumour. Once you’re done, grab some glass cleaner and get those shower doors looking crystal clear.
Match the cleaner to the surface
“Multi-purpose” does not mean every material. Check the bath, tray, wall, grout, sealant, tap and screen separately before the first application.
| Surface | Safer starting point | Main limit |
|---|---|---|
| Glazed ceramic or porcelain | Labelled bathroom cleaner and a soft non-scratch cloth or pad | Check grout, decorative print and damaged glaze separately |
| Acrylic or fibreglass bath/tray | Mild detergent or manufacturer-approved cleaner with a soft cloth | Abrasives, solvents and hard brushes can dull or scratch |
| Enamelled bath | Manufacturer-compatible non-abrasive cleaner | Chips and worn enamel need gentler handling; strong acids and abrasives can worsen damage |
| Natural stone | Stone-safe pH-neutral cleaner | Vinegar and acidic descalers can etch calcium-based stone |
| Chrome or coated fittings | Diluted compatible cleaner applied to the cloth, then rinse and dry | Acids, abrasives and long dwell times can change the finish |
| Glass screen | Compatible glass or shower cleaner, limited moisture and a clean drying cloth | Check coatings, seals and metal trim before using acids |
| Grout and silicone | Gentle agitation after surface compatibility testing | Loose grout, failed sealant or recurring growth is not solved by harder scrubbing |
Give a compatible product only the dwell time on its label, agitate without damaging the finish, rinse as instructed and dry the area. If the deposit is hard and chalky, identify it before treating it; the limescale guide covers the acid and material boundary in more detail.
Dark marks that return after drying may point to persistent moisture, failed silicone or growth below the visible surface. Stop repeated chemical treatment if sealant is lifting, grout is loose, water is entering a junction or the mark sits behind a panel.
Step 3: Cleaning the bathroom countertops
Now, let’s move on to the countertop. Toothbrushes, makeup, who knows what else has been hanging around on that thing. You’ll have to clear everything off and spray it down with some disinfectant cleaner.
Wipe it down with a clean cloth, and don’t forget the sink and faucet. Clean off any items that will be placed back on the countertop. You don’t want to undo all our hard work.
Clean first and disinfect only when needed
Identify the countertop before spraying it. Laminate, solid surface, sealed composite and natural stone have different limits. Where a label tells you to apply product to a cloth instead of the surface, doing so also keeps spray away from toothbrushes, sockets and open containers.
Cleaning removes toothpaste, soap, makeup and other soil that can shield the surface. If a disinfection step is appropriate, apply a labelled product only after cleaning and keep the surface visibly wet for the stated contact time. Then rinse food- or mouth-contact areas if the instructions require it and let them dry before replacing personal items.
Use a small brush only where it cannot scratch, such as a compatible tap-base joint or overflow edge. Do not force liquid into tap holes, unsealed countertop joints or electrical fittings. Stop if a coating lifts, stone dulls or the seal around the basin has separated.
You may also enjoy:

Step 4: Cleaning the mirror
Ah, the mirror. A dirty mirror can make the whole bathroom look like a cheap pub. We can’t have that, can we? Grab some glass cleaner and a lint-free cloth and give that mirror a good wipe down. Get those corners and edges too, you don’t want to miss a spot.
Use very little liquid, especially around an unsealed mirror edge where moisture can damage the backing. Apply cleaner to the cloth if the manufacturer recommends it, wipe in overlapping passes and buff with a second dry cloth. A mark that remains inside or behind the glass is not surface dirt.
Step 5: Cleaning the floor
Last but not least, the floor. Grab a broom to sweep up any loose debris. Then, fill up a bucket with hot water and floor cleaner and get to mopping.
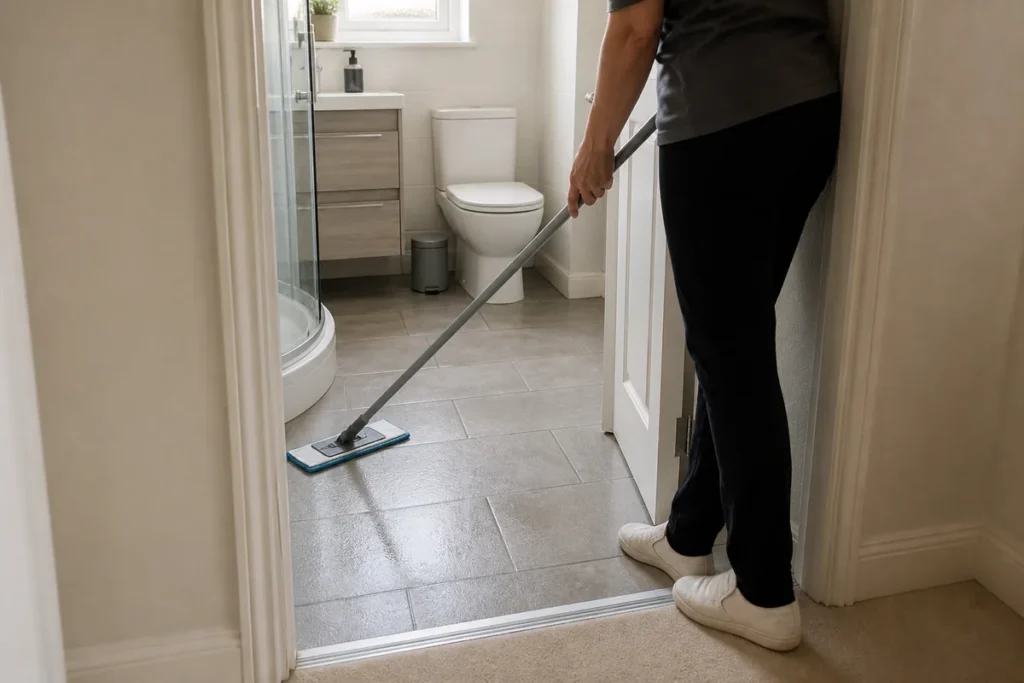
Work your way from the farthest corner of the room towards the door, rinsing the mop regularly. Once you’re done, rinse the floor with clean water and let it air dry.
Use the floor method the material allows
Check the floor-care instructions before choosing water temperature, detergent and moisture level. Glazed tile may tolerate a damp mop, while natural stone needs a compatible pH-neutral product and some vinyl, laminate or wood-effect systems have vulnerable joints. “Hot” is not automatically better and can shorten product dwell time or affect finishes.
- Remove hair and grit while the floor is dry, including behind the door and around the toilet base.
- Spot-treat compatible marks rather than flooding the whole room.
- Use a clean mop or floor cloth and the measured dilution on the product label.
- Work towards the exit without walking over the cleaned section.
- Rinse only where required, remove standing moisture and keep the room ventilated until the floor and joints are dry.
How Samyx Cleaning can help
A routine bathroom reset is manageable when the room is maintained and the surfaces are known. A broader job may be better suited to one-off cleaning when limescale, soap film, floor edges and the rest of the home need attention in the same visit.
Professional cleaning still has limits. It can remove compatible soil and many deposits, but it cannot promise to reverse etched stone, worn coatings, stained sealant, loose grout, leaks or mould growing behind a failed junction. Those conditions may need a manufacturer, plumber, sealant replacement or specialist restoration rather than a stronger cleaner.
Book One-Off Cleaning
Enter your postcode to view our rates and availability in your area.
Conclusion
So there you have it. An excellent step-by-step process to clean your bathroom quickly and efficiently. Remember, a clean bathroom is a healthy bathroom, and a healthy bathroom makes for a healthy you. And as always, if you need us – we’re never more than a phone call away.
Frequently asked questions
What is the best thing to clean a bathroom with?
There is no single best product for every bathroom surface. Start with a mild, labelled cleaner compatible with the specific material, plus clean microfibre cloths, a non-scratch pad, a toilet-only brush and a suitable floor tool. Use specialist limescale, stone or disinfectant products only when the surface and task call for them.
What is the most hygienic way to clean a bathroom?
Remove dry debris first, work from cleaner zones towards dirtier ones and keep toilet cloths and tools separate from the basin, taps and shower. Clean away soil before using any labelled disinfectant, follow its contact time, launder reusable cloths and wash your hands after removing gloves.
Should you clean the toilet first or last?
You can apply toilet-bowl cleaner early when it needs dwell time, but keep its brush and cloth in a toilet-only zone. Clean the exterior with that dedicated cloth before the floor and do not take it back to the basin or countertop. This controls transfer regardless of the exact room sequence.
How often should you deep-clean a bathroom?
Use the condition of the room rather than a universal date. Wipe active spills and damp residue promptly, reset frequently used surfaces as they become soiled, and deep-clean when deposits, grout edges, vents, storage or less accessible areas need attention. Busy or poorly ventilated bathrooms usually need closer checks.
Can you use vinegar on every bathroom surface?
No. Vinegar is acidic and can damage calcium-based natural stone, some grout, seals, coatings and metal finishes. Check the manufacturer guidance and use a compatible product. Never combine vinegar with bleach, toilet cleaner or an unknown residue.
Safety and care note: Follow the bathroom fixture, surface and product instructions. Ventilate as directed, wear the specified protection, never mix cleaning products and keep liquids away from electrical fittings. Stop for finish changes, damaged seals, loose grout, leaks, recurring mould, persistent odour or an unknown previous treatment.

Author: Atanas Dzhingarov
Hi, I’m Atanas - brand consultant and writer. I’m helping Samyx Cleaning create the best cleaning company blog on the Internet. Join us on our journey and learn how to live a cleaner, healthier, happier life in the process.
Discover more of our cleaning secrets: