
How to Clean Your Showerhead with White Vinegar

Last modified on: 31/08/2026
Publish: 3rd Apr 2022
Views:
Category: DIY
Tags:
Bathroom cleaning, Cleaning tips, Eco-friendly cleaning

Descaling shower head safely starts with identifying the finish, checking whether the head can be removed and using the shortest contact time allowed by its manufacturer.
Cleaning your showerhead is among the most important tasks on your bathroom cleaning “to-do” list. Ignore it, and over time you’ll notice how the once-powerful torrent that used to wash away tension and negativity has now turned into a trickle.
Taking a shower should be a relaxing and enjoyable experience, which can’t happen if there’s barely any water flowing in. However, a bit of cleaning magic with white vinegar might do the trick. Let’s see how.
Key Takeaways
- Limescale is only one cause of weak or uneven flow; debris, a restricted hose or a blocked inlet filter can create similar symptoms.
- Vinegar is a method, not a universal rule. The shower-head finish and manufacturer instructions decide whether it is suitable.
- Mechanical cleaning of flexible nozzles should come before soaking because it removes loose deposits with less chemical contact.
- Keep washers, seals and joints out of the treatment unless the product instructions explicitly include them.
- Rinsing, correct reassembly and a leak test are part of descaling, not optional finishing steps.
Table of Contents
Descaling shower head: choose the method by finish and fitting
Look at the nozzle face, outer coating and connection before you reach for a product. A chalky white crust around the spray holes points to mineral scale. Greasy film, coloured residue or black spotting may need a different cleaning route. Cracked coating or a loose joint is a repair issue, not a descaling job.
| What you find | Start with | Descaler boundary | Stop if |
|---|---|---|---|
| Flexible silicone or rubber nozzles with light crust | Finger-rub the nozzles, then use a soft toothbrush and water. | Add a manufacturer-approved descaler only if deposits remain. | A nozzle tears, splits or pulls away. |
| Plain metal-looking head with an unknown coating | Check the model guide and test a small hidden area if the maker permits it. | Do not assume that a chrome appearance means acid compatibility. | The surface dulls, changes colour or develops dark marks. |
| Brass, gold-tone, black, matt, plated or decorative finish | Use the maker’s care method and the least aggressive compatible option. | Avoid a long vinegar soak unless that exact finish is approved. | The coating softens, flakes or loses its sheen. |
| Painted, cracked, loose, valuable or unidentified fitting | Use a damp soft cloth and seek manufacturer or plumber advice. | Do not experiment with acids or abrasive powders. | There is movement, leakage or visible damage. |
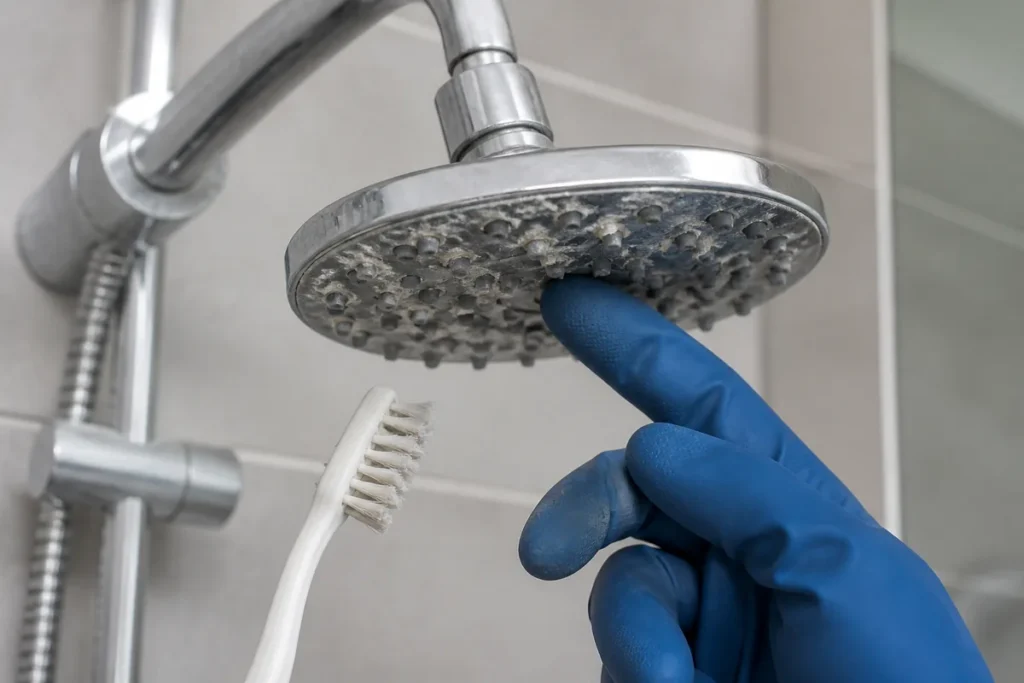
The wider vinegar exclusions matter here because the spray face can be plastic even when the outer shell has a decorative coating. Treat the most vulnerable material, not merely the part that looks dirtiest.
You may also enjoy:

Check One-Off Cleaning Availability
Enter your postcode to view our rates and availability in your area.

Clean the showerhead nozzles
If you want to have powerful water flow in your shower, you should start by cleaning your shower head nozzles. These are the tiny rubber tubes water flows through so you can wash up.
In time, mineral deposits begin to accumulate in the nozzles, either stopping the water flow or slowing it down. If you want to restore the flow, you need to remove the deposits.
Fortunately, this is really easy to do. Take an old toothbrush and carefully brush the nozzles. Don’t spare any effort.
When you’re done, simply run hot water for a few minutes. That’s it – easy like falling off a log.
Keep your hands clear and use a comfortable flushing temperature, not scalding water. The purpose is to carry loosened particles out of the spray channels. If one nozzle still sprays sideways, rub it gently again. Do not push a needle into it, which can split the flexible material or enlarge the opening.
How to descale a removable shower head
- Turn the shower off, let the fitting cool and place a towel over the drain so small parts cannot fall into it.
- Unscrew the head according to its instructions. Note the position of the rubber sealing washer and set it aside safely.
- Rub flexible nozzles and brush away dry, loose deposits before preparing any solution.
- Use only the solution and concentration allowed for that model. Keep unapproved seals, joints and decorative surfaces out of the liquid.
- Start with the shortest stated contact time. Inspect the finish throughout that period and do not leave the head unattended for hours.
- Rinse every treated surface with clean water and use a soft brush on deposits that have loosened.
- Replace the washer in its original position, reconnect without forcing the thread, then run the shower and check the joint for drips.
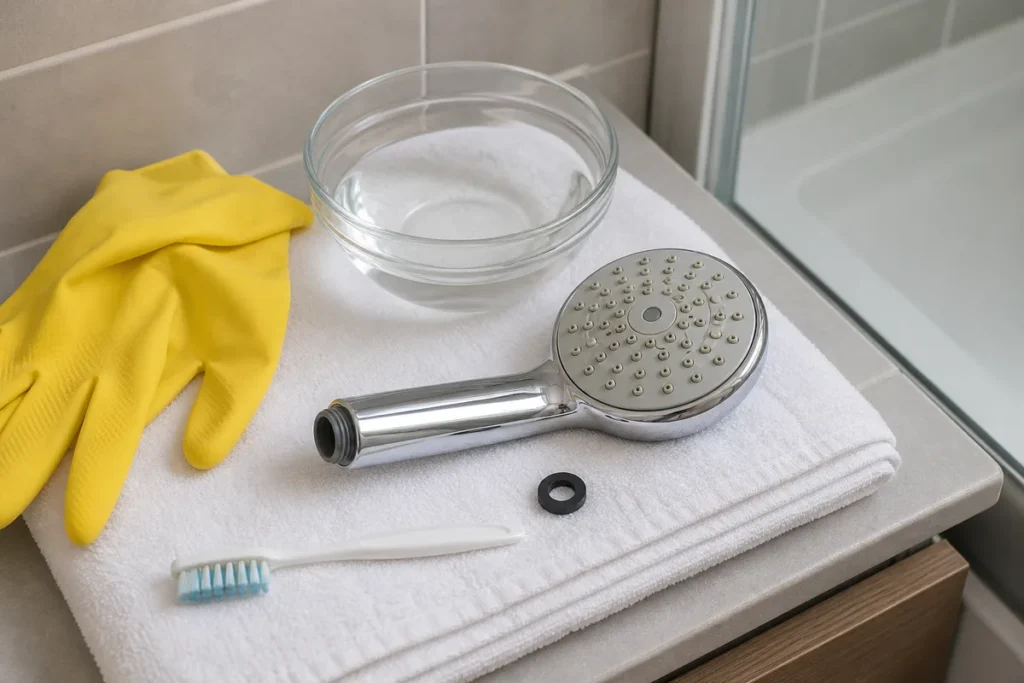
Deep soak the showerhead in white vinegar
The same mineral deposits that jam up your nozzles also leave the rest of your shower head in a poor condition. It loses its lustre and shine, which in turn leaves the impression you haven’t cleaned in a while.
Your first instinct toward solving this problem may be to use some of the cleaning chemicals you have at hand. However, harsh chemicals can damage your shower head and make things even worse.
What you can do instead is use the oldest trick in the book – clean it with white vinegar. White vinegar is a great, natural way to deal with mineral deposits.
Remove your shower head and soak it in vinegar for a couple of hours. This will give the acid enough time to break down the gunk and mineral deposits.
Once the time is up, rinse off the vinegar with hot water and reinstall the showerhead. Careful not to get burnt!
The correct dwell time is model-specific, so do not apply a multi-hour soak automatically. For example, Mira’s current guide recommends checking much sooner and limits vinegar contact on brass heads to 30 minutes. Other manufacturers may exclude vinegar for particular coatings. Follow the exact instructions for your fitting and rinse with comfortably warm or cool water.
How to descale a fixed shower head without removing it
- Brush or rub the nozzles first and wipe the outer finish with a damp soft cloth.
- If the maker permits a bag method, choose a strong bag that can hold the liquid without stretching.
- Use only enough solution to cover the nozzle face. Do not immerse the wall joint, arm or decorative connection unnecessarily.
- Support the bag so its weight does not pull on the pipe. Secure it without overtightening around a hose or coated surface.
- Remove it at the shortest approved time, wipe the finish, then flush the head and keep clear of the first spray.
Spray the showerhead with white vinegar
If you don’t feel like removing your shower head (or if you don’t know how), you can still clean it with vinegar. Instead of soaking it, however, you’ll use a spray bottle.
Pour some white vinegar into a spray bottle and then spray your shower head. If you feel like it, you can also make some scented vinegar at home. Once again, let it sit for a couple of hours, and then rinse off the vinegar with hot water.
Spraying still places acid on the coating, so it is not a workaround for a finish that excludes vinegar. Avoid fragrance or oil additions unless the shower manufacturer accepts them, keep spray away from eyes and ventilate the room. Use a short, controlled contact time and rinse completely.
Vinegar, citric acid or commercial descaler?
| Option | When it fits | Main limitation |
|---|---|---|
| Water, nozzle rubbing and a soft brush | Light surface scale and flexible nozzles. | May not dissolve deposits inside the spray channels. |
| White vinegar | Only when the manufacturer accepts acetic acid for the head and finish. | Long contact can mark vulnerable metals, plating and decorative coatings. |
| Citric-acid route | When the manufacturer specifies it or the approved product provides a model-compatible dilution. | It is still an acid; stronger or longer is not automatically better. |
| Labelled commercial descaler | When its label includes the fixture material and the shower instructions allow it. | Do not improvise concentration, extend dwell time or combine it with another cleaner. |
Do not mix vinegar and bicarbonate in the hope of producing a stronger descaler. Their reaction consumes much of the useful acidity. Never combine an acid with bleach, toilet cleaner or an unknown product.
What if the water flow is still weak?
A clean spray face does not prove that the whole water path is clear. Compare the pattern before and after treatment, then work from the simplest visible check towards the parts covered by the product manual.
- Only a few jets are weak: look again for scale around those nozzles and rub them gently.
- The whole head is weak: check whether the inlet filter or hose is restricted, and dismantle only parts the instructions identify as user-serviceable.
- The joint drips after refitting: turn the shower off and inspect the washer position and thread. Do not keep tightening a plastic connector.
- Other taps or showers are also weak: the problem may be water supply, a valve or plumbing, not limescale on this head.
- The fitting is cracked or badly pitted: cleaning will not restore the lost material. Ask the manufacturer or a plumber about repair or replacement.
Why shower-head limescale returns in London
Thames Water explains that water across its region is hard because it passes through chalky limestone and carries dissolved minerals. When droplets evaporate from the shower head, some of that mineral content remains as a pale deposit.
You cannot prevent every mark with surface cleaning. A short maintenance habit reduces the need for aggressive treatment. After showering, wipe the face and outer finish with a soft cloth, rub flexible nozzles when the first crust appears and descale only when water or gentle brushing no longer clears it. Correct microfibre cloth care prevents dried descaler and old residue returning to the fitting.
Polish the showerhead
In case you want to put in the extra effort, you can also polish your shower head after it’s cooled down from a hot water rinse. Use a microfibre cloth to carefully polish the showerhead until you’re happy with the shine.
That’s it. Now your shower head should be clean, shiny, and working better than before. In other words – good as new.
When the whole bathroom needs a limescale reset
A single compatible shower head is usually a manageable DIY task. If limescale also covers the screen, taps, tiles and other accessible bathroom surfaces, Samyx Cleaning’s one-off deep cleaning provides a broader bathroom reset. The booking scope should identify the affected materials before the visit. Cleaning does not replace dismantling a fitting, fixing a leak, diagnosing low pressure, restoring damaged plating or installing a new shower head.
Before you try this: Follow the shower manufacturer’s care instructions and the descaler’s label over general guidance. Wear gloves, ventilate the room, keep spray away from eyes, rinse treated parts thoroughly and dry the finish. Never mix cleaning products, especially acids with bleach, toilet cleaner or an unknown residue. Patch-test only where the manufacturer permits it. Stop at discolouration, dulling, flaking, swelling, cracking, movement or leakage. For a valuable, unidentified or damaged fitting, ask the manufacturer or a qualified plumber before applying a descaler.
Book One-Off Cleaning
Enter your postcode to view our rates and availability in your area.

Author: Atanas Dzhingarov
Hi, I’m Atanas - brand consultant and writer. I’m helping Samyx Cleaning create the best cleaning company blog on the Internet. Join us on our journey and learn how to live a cleaner, healthier, happier life in the process.
Discover more of our cleaning secrets: