
Types of Cleaning Brushes and Sponges: A Surface-Safe Guide

Last modified on: 21/08/2026
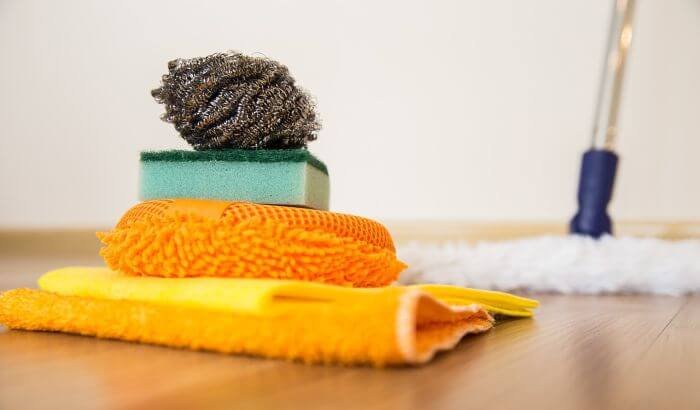
Types of cleaning brushes and sponges should be chosen by the surface, the soil and the amount of abrasion the finish can tolerate.
A stiff brush can move dirt from a compatible textured surface, and the same bristles may scratch a glossy coating. An abrasive scourer can cut through baked-on residue on an approved material, though it can permanently dull stone, plastic, glass or a plated finish. Start with the least aggressive tool that can reach the soil, then let the labelled cleaning product and its contact time do their share of the work.
Choose the least aggressive tool that works
- Identify the surface and finish before choosing a bristle or sponge texture.
- Classify the soil as loose, greasy, mineral, food-based or firmly attached.
- Use the softest practical tool that reaches the shape without scratching or snagging.
- Follow the cleaning-product label, allow any stated contact time and add pressure gradually.
- Keep tools separated by zone, rinse them as directed, dry them fully and replace damaged or persistently smelly items.
Key takeaways
- Soft does not mean compatible with every finish, and abrasive does not mean better cleaning.
- Brush shape controls reach; bristle stiffness controls mechanical action; sponge texture controls contact and absorption.
- Product choice and dwell time should loosen soil before extra force is applied.
- Kitchen, bathroom, floor and toilet tools need clear separation to reduce cross-contamination.
- Replace a tool when it stays deformed, tears, traps debris, develops persistent odour or can no longer be cleaned and dried properly.
Table of Contents
Types of cleaning brushes and sponges compared
Product names vary between shops, so focus on the working face. The table gives a starting point, not universal approval for a material. Manufacturer care instructions and a hidden-area test still decide whether the tool belongs on the actual surface.
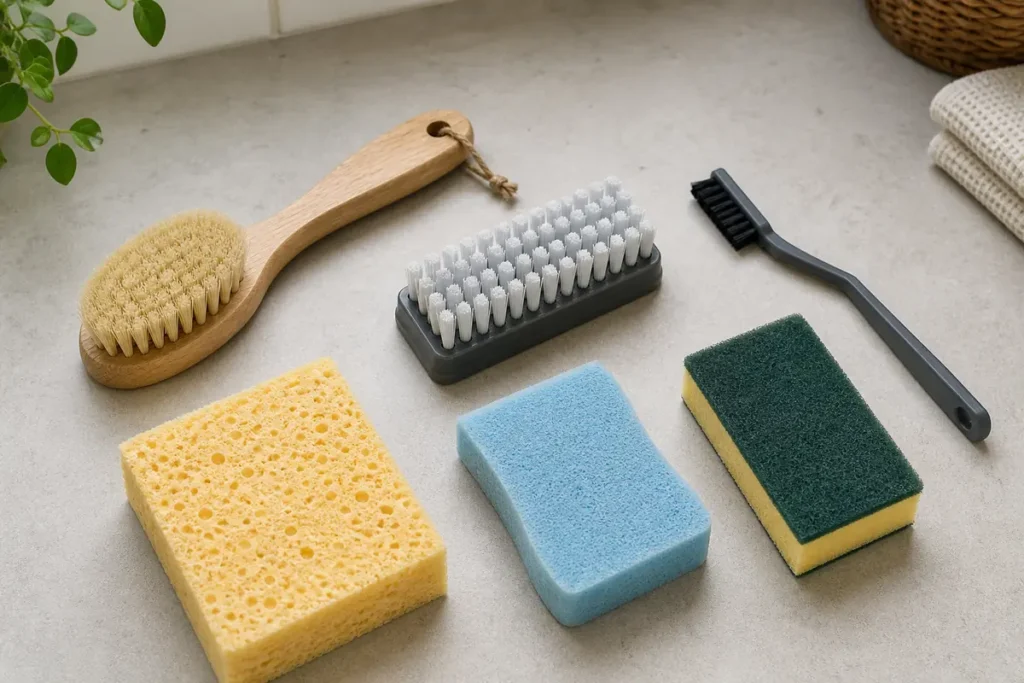
| Tool type | Useful for | Surface check | Main limit |
|---|---|---|---|
| Soft-bristle hand brush | Light agitation on compatible washable surfaces | Check tips, seams and trapped grit | May lack contact on heavy deposits |
| Stiff scrub brush | Firmly attached soil on approved textured materials | Avoid delicate coatings, polished finishes and soft plastics | Pressure can scratch, dull or spread splashes |
| Grout or detail brush | Narrow joints, edges and fittings | Confirm the joint, sealant and surrounding tile can tolerate it | A narrow head concentrates force |
| Bottle or dish brush | Curved containers and washable food-contact items | Use a dedicated clean tool that reaches without jamming | Hidden bristles and cores can retain residue |
| Cellulose or foam sponge | Absorbing liquid and wiping compatible washable surfaces | Check dyes, coatings and edge materials | Can hold soil and stay damp internally |
| Non-scratch sponge | General wiping where the product is approved | The label is a claim for stated uses, not every finish | Trapped grit can still mark a surface |
| Abrasive scourer | Resistant deposits on explicitly compatible materials | Patch-test and follow appliance or surface guidance | Can permanently change gloss and texture |
| Microfibre sponge | Controlled wiping and particle pick-up | Keep clean and follow its wash instructions | Fabric construction varies by product |
Identify the soil before adding pressure
Loose particles and grit
Crumbs, dust and loose grit should normally be removed before wet scrubbing starts. A loaded sponge can drag hard particles across a finish, and a brush can push them into joints or edges. Pick up larger fragments separately, vacuum suitable areas or use a clean dry tool approved for the surface. Begin wet work only when the loose abrasive material has gone.
Grease and food residue
Greasy soil often needs the correct labelled cleaning solution and contact time before mechanical action helps. Remove excess residue first, apply the product as directed and keep it away from materials excluded by the label. A sponge can spread loosened grease when its face becomes saturated, so rinse or change the working face before moving to the next section.
Mineral deposits and soap film
White or dull deposits are not all the same. Hard-water scale, soap residue, damaged coating and stone etching need different responses. Confirm the surface and likely deposit before choosing an acidic product, stiff brush or scourer. More friction cannot repair etched stone or a worn coating, and it can make the changed patch larger.
Choose a brush by reach and bristle action
Soft and medium hand brushes
A hand brush gives direct control over pressure and direction. Soft or medium bristles suit light agitation when the surface instructions allow brushing. Look closely at the complete head: a soft tuft does not compensate for a hard plastic edge that can strike a curved fitting.
Handles with a stable grip help the wrist stay aligned. A head that fills the whole hand may be comfortable on a broad area and clumsy around taps or corners. Choose the smallest head that can cover the area without forcing the wrist into an awkward angle.
Stiff scrub brushes
Stiff bristles increase mechanical action on a compatible hard surface. They do not replace the correct chemistry or contact time. If the deposit is mineral, greasy or baked on, identify it first and use only a labelled product approved for the material. Pressing harder against the wrong residue can polish one patch, scratch a coating or drive dirt deeper into a joint.
Grout and detail brushes
A narrow row of bristles reaches grout lines, tracks and fitting edges, though the small contact area concentrates force. Work along the joint with light strokes and watch the material on both sides. Crumbling grout, lifting sealant or cracked tile changes the task from cleaning to repair. The dedicated grout cleaning method covers those condition checks in more depth.
Bottle, dish and long-handled brushes
Bottle brushes need enough flexibility to reach the base without becoming trapped. Keep food-contact brushes separate from floor and bathroom tools. A long handle reduces bending on some tasks, though it also reduces feedback from the surface. If you cannot see the contact point, begin gently and inspect after a few strokes.
Control grip, pressure and splashes
A comfortable handle should let the wrist stay close to neutral. Reposition your feet and the item being cleaned before reaching across a wide area. Repeated scrubbing at arm’s length reduces control and encourages extra pressure. On a vertical surface, divide the work into small sections that can be reached without twisting.
Keep the brush face flat enough for the intended bristles to work. Scrubbing on one corner concentrates force and brings the hard head closer to the finish. Use slower strokes near taps, seals, glass edges and joints. If the product begins to splash, reduce speed and check whether the tool is too stiff, too large or carrying too much solution.
Stop when the hand, wrist or shoulder becomes painful or numb. A longer handle, smaller work area or different method may be more suitable. Mechanical effort is never a substitute for confirming that the soil can be cleaned without damaging the material beneath it.
Choose a sponge by texture and absorption
Cellulose and foam sponges
Cellulose and foam sponges are useful for absorbing liquid and carrying a measured cleaning solution across a washable surface. Pore size, density and backing vary. Rinse often so loosened grit does not stay between the sponge and the finish, and squeeze without twisting if the maker warns against deformation.
Non-scratch pads and abrasive scourers
A non-scratch label applies to the uses stated by the manufacturer. It does not make a pad suitable for polished stone, coated glass, acrylic, non-stick cookware or every appliance finish. Abrasive scourers remove material through friction, which may include part of the finish. Test first and stop at the first change in shine, colour or texture.
Natural stone needs particular restraint because a mark may be etching, a permanent surface change that cleaning cannot remove. The distinction between a stain and surface damage is covered under marble marks. Ceramic and porcelain also have different glazes, textures and grout conditions, so route specific deposits to the porcelain stains guide before reaching for a harsher pad.
Microfibre and melamine foam
Microfibre-faced sponges combine a shaped core with a textile surface, though fibre quality and washability differ. Melamine foam behaves like a very fine abrasive. It can change paint, gloss and coated finishes even when little chemical cleaner is used. Keep both clean, use low pressure and follow the maker’s stated surfaces.
Use a scrubbing brush without relying on force
- Remove loose grit first so it cannot become an abrasive under the tool.
- Read the surface instructions and the complete product labels, including dilution, ventilation, protective equipment, contact time and rinsing.
- Patch-test the tool and solution in an inconspicuous place, then inspect under good light.
- Apply only the amount directed and allow any stated contact time. Do not let the product dry unless the label requires it.
- Work a small section with light, controlled strokes. Add pressure only after checking the first passes.
- Remove residue, rinse where directed and dry the surface so changes in finish or remaining soil are visible.
Circular motion is not automatically safer than straight strokes. The surface pattern, joint direction and tool shape decide the useful movement. On grout, follow the line. On a broad washable panel, overlap short passes. Near edges, reduce pressure so the hard side of the tool does not strike a fitting.
Use sponges without carrying soil across the surface
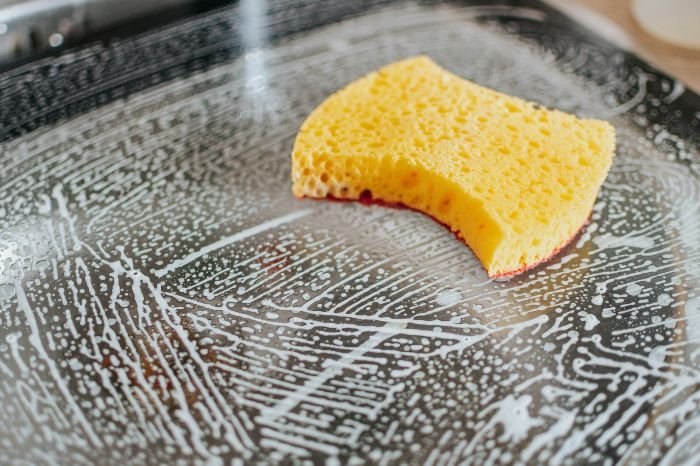
Fold or grip the sponge so a clean face stays in contact with the surface. Rinse before the pores become loaded, change the cleaning solution when it becomes visibly dirty and avoid returning a food-contact sponge to a contaminated area. A sponge that falls on the floor should leave the food-preparation zone.
Do not microwave a sponge, heat it in an oven or improvise a disinfecting recipe. Heat, hidden metal, dry patches and material differences create avoidable risks. Clean or sanitise only by a method stated by the sponge manufacturer and the relevant product label. Replacement is often the more dependable choice for a damaged, heavily contaminated or persistently smelly sponge.
Know when another tool is the better choice
A cloth gives broader, flatter contact for routine wiping. A scraper designed for the material may lift a local deposit with less repeated rubbing. Extraction can remove suspended soil from textiles, and specialist restoration may be needed after physical change to stone, paint, plating or a coating.
Powered drill brushes and floor machines increase speed, torque and splash. They also reduce tactile feedback and can damage joints, coatings or fittings quickly. Use them only with manufacturer-approved combinations, suitable protective equipment and competent control. A manual tool is the safer starting point when the material or condition is uncertain.
You may also enjoy:

Separate, clean and dry tools by zone
Use distinct tools for food areas, bathrooms, toilets and floors. Colour coding can make the system visible, provided everyone knows what each colour means. Keep a visible written key near the tools, and never assume that two similar-looking sponges have stayed in the same zone.
Remove trapped hair and debris from brushes, then wash or sanitise only as their materials allow. Rinse away permitted product residue and dry heads with air circulating around the working face. Do not leave a brush standing on its bristles or a wet sponge compressed inside a closed caddy.
Replace a brush when tufts shed, bristles remain bent, the head splits, the handle loosens or the tool cannot be cleaned around its core. Replace a sponge when it tears, separates, loses its shape, retains debris or smells after the approved cleaning and drying process. A washable label extends care options; it does not create an unlimited service life.
When tool care becomes part of a larger workload
Choosing and zoning tools makes household cleaning more controlled, though it does not remove the time needed for repeated kitchen, bathroom and floor tasks. Samyx Cleaning can use suitable ordinary tools as part of an agreed regular domestic cleaning visit across the wider home routine.
The service is not a claim to restore etched stone, damaged coatings, degraded grout or hazardous contamination. Tell the office about unusual materials or existing damage before booking so the proposed work can be discussed against the real surface and condition.
Plan Regular Domestic Cleaning
Enter your postcode to view our rates and availability in your area.

Frequently asked questions
-
What are the different types of cleaning sponges?
Common household types include cellulose, foam, non-scratch, abrasive scourer, microfibre-faced and melamine foam sponges. Product construction varies, so choose by the named surface, soil and care instructions; colour alone is unreliable.
-
What type of brush is best for cleaning?
There is no single best brush. Use soft bristles for light agitation on approved finishes, a narrow detail brush for joints and edges, and a stiff scrub brush only on materials that can tolerate stronger mechanical action.
-
How should you use a manual scrub brush?
Remove loose grit, read the surface and product instructions, patch-test, allow the stated contact time and begin with light controlled strokes. Rinse or remove residue as directed, dry the area and stop if the finish changes.
Important: Follow the surface, appliance, tool and cleaning-product manufacturer’s instructions over general guidance. Patch-test an inconspicuous area when finish compatibility varies. Wear the stated gloves and eye protection, provide ventilation and rinse and dry as directed. Never mix cleaning products, including bleach with ammonia or acids. Stop at scratching, dulling, discolouration, coating change, loose grout, damaged sealant or fibre change. Ask the manufacturer or an appropriate specialist before treating a delicate, valuable, unknown or damaged material, and do not use ordinary brushes or sponges on hazardous contamination.
Author: Svetlana Georgieva (Clara)
Hi, I’m Svetlana Georgieva, but you can call me Clara. As the co-founder and heart behind Samyx Cleaning, I’m devoted to sharing the art of a clean space. Let’s journey into a cleaner, more joyful life together with tips from London's cleaning experts.

Discover more of our cleaning secrets: