
How to Get Nail Polish Out of Clothes Without Damaging the Fabric

Last modified on: 26/07/2026
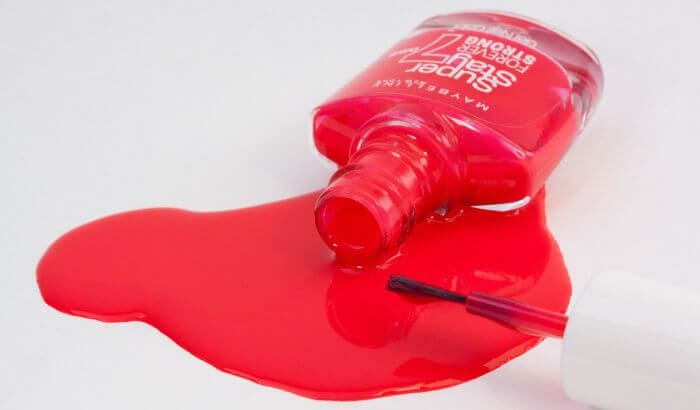
How to get nail polish out of clothes starts with the care label, not the remover bottle. Lift excess without rubbing, test a compatible treatment on a hidden seam, transfer the polish into a clean backing pad, then rinse, wash and air-check the garment before any heat.
Check the fabric before choosing a remover
- Read the care label. Do not use acetone on acetate or triacetate, and route dry-clean-only, valuable or unknown fabrics to professional care.
- Lift wet excess or loose dried flakes without rubbing. Put the stain face down on a clean white absorbent pad.
- Test the chosen remover on a hidden seam. If the colour or texture changes, stop.
- Dab from the reverse so polish transfers into the pad, then rinse, wash by the care label and air-check before heat.
Key takeaways
- The fibre and care label decide whether home treatment is appropriate.
- Wet polish, dried lacquer and cured gel need different first moves.
- Transfer the mark into a replaceable pad; never rub it across the garment.
- A coloured ring may be removable residue. A pale patch or altered fibre can be permanent damage.
- Keep the garment away from a tumble dryer, iron and other heat until the result is clear.
Table of Contents
Start with the fabric and polish state
Two spills that look alike can need very different treatment. Ordinary lacquer may still be liquid, partly dried or hard. Gel polish may be uncured and mobile, or cured into a film that grips the weave. The garment may be washable cotton, a colour-sensitive blend, or a delicate item whose care label rules out home washing.
Check the fibre content and care symbols before touching the stain. Acetone must not be used on acetate or triacetate because it can damage the fibre itself. A dry-clean-only label, unknown fibre, unstable colour, valuable garment or specialist finish is a stop sign for home treatment. The same cautious boundary applies to silk, wool and embellished items, where delicate-fabric stain care starts with the material, not the stain name.
| What you find | First move | Suitable next step | Stop condition |
|---|---|---|---|
| Wet polish on a washable, colourfast item | Lift excess without rubbing | Test a compatible remover, then transfer into a backing pad | Colour or texture changes |
| Dry ordinary lacquer on a washable item | Lift only loose flakes | Test, then work from the reverse | Fibres snag, thin or distort |
| Uncured gel polish | Contain and lift promptly | Use the tested compatible route | Product spreads or fabric changes |
| Cured gel film | Remove only loose raised material | Seek professional advice for bonded residue or delicate cloth | Resistance, stretching or fibre damage |
| Acetate, triacetate, dry-clean-only, valuable or unknown fabric | Do not apply acetone | Follow the care label or professional route | Home treatment is not started |
When the label permits home washing, turn the garment over and inspect the construction. A stain over a seam, print, bonded decoration or lining can behave differently from one on a plain single layer. Remove jewellery, protect the worktop and use clean white materials so transferred colour is easy to see.
How to get nail polish out of clothes step by step
1. Contain a fresh spill
Keep the stained area away from clean parts of the garment. If polish has pooled on the surface, lift it with the edge of a plain spoon, card or other blunt tool. Work from the outer edge towards the centre. Do not wipe across the cloth, press through the fabric or fold the wet mark onto another layer.
Blotting too early with a large wad of tissue can flatten the liquid into a wider patch. Remove the raised excess first. If you need to touch the remaining film, use a small clean area of a white pad and lift vertically. Change the contact point as soon as it picks up colour.
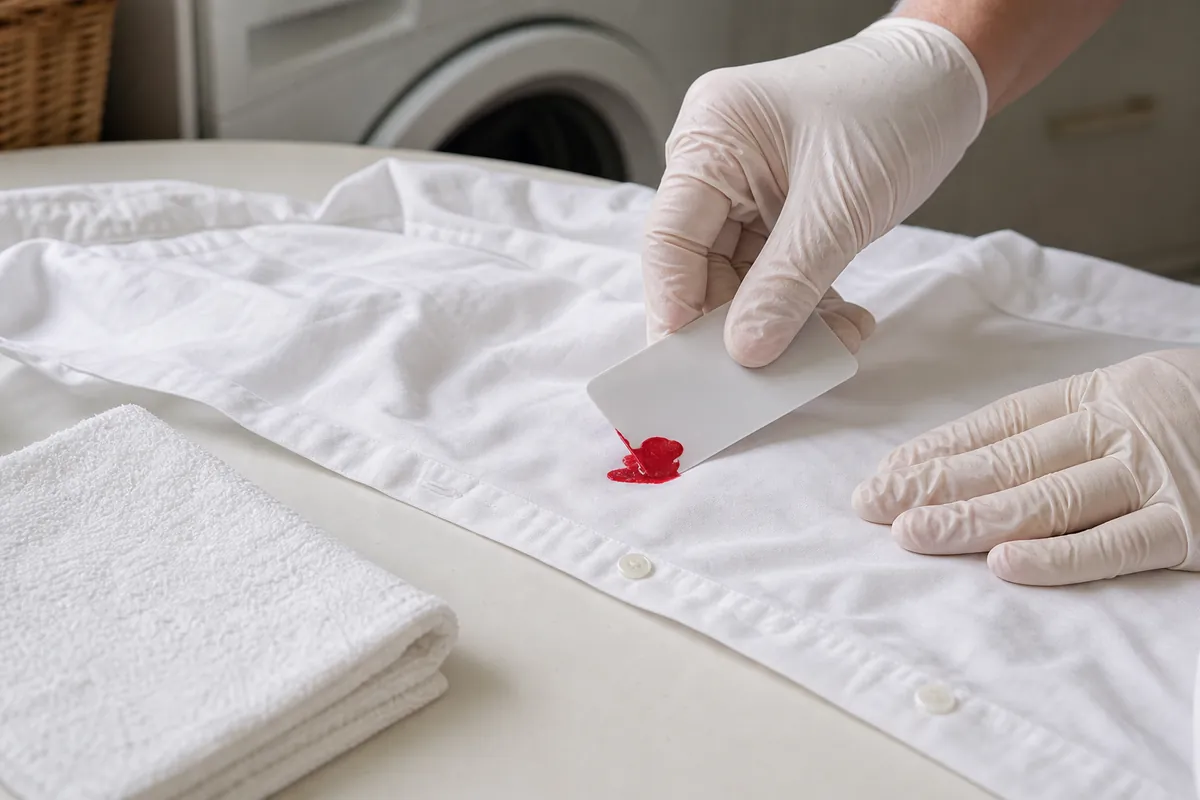
2. Lift dried excess
If ordinary polish has dried, flex the fabric gently and look for flakes sitting above the weave. Lift only material that releases without pulling threads. A blunt edge can help on a firm woven fabric. Skim the surface; never scrape into it. Stop if the cloth pills, stretches, snags or looks thinner.
Do not grind a hard patch between your fingers. That can break the film into the weave and abrade the fibres at the same time. Dried polish may take several short transfer rounds after the loose material has gone; force is not a substitute for patience.
3. Build a clean backing pad
Place several layers of white kitchen paper or a clean white absorbent cloth beneath the stain. Put the stained face down so the visible polish touches the pad. The treatment will be applied from the reverse of the garment. This directs loosened colour out of the fabric and into a surface that can be replaced.
Keep another stack ready. A backing pad that has already absorbed polish can print it back onto the garment. Move the stain to a clean section whenever colour appears below it. If the item has two layers, such as a lined skirt, separate them so the mark cannot transfer to the lining.
4. Test the treatment
Choose only a product that the care label and fibre allow, then read its own instructions. Test a small amount on an inside seam or hidden hem. Let that spot settle long enough to reveal colour loss, a tide mark, tackiness, roughness or distortion. A quick glance during the wet stage can hide a change that becomes obvious as it dries.
If the test changes the fabric, do not move to a different strong product and continue experimenting. Rinse the test area as directed, stop and use the professional route. A product’s added colour, oil or fragrance can also leave residue, so the bottle category alone is not proof that it suits a garment.
5. Transfer from the reverse
With the stain face down, dampen a cotton bud or a small corner of white cloth with the tested product. Dab the reverse of the stained area in small controlled touches. Do not saturate a large ring around it. Watch the backing pad: visible polish should move down into the white material.
Replace both the working tip and the backing area as they collect colour. Continue only when transfer is happening and the garment itself remains unchanged. If colour spreads beyond the original boundary, the pad stays clean, or the fabric begins to feel different, stop. More liquid and pressure can enlarge damage without removing more polish.
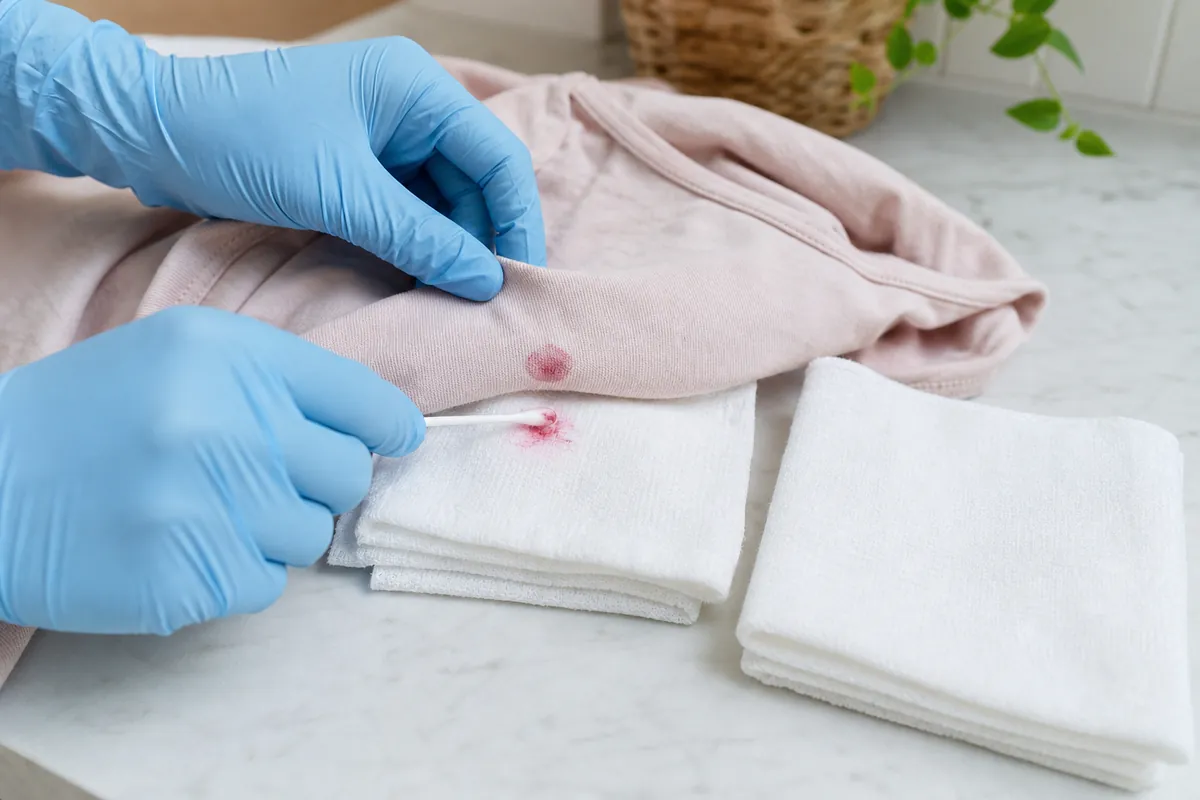
6. Rinse, wash and air-check
Rinse the treated area as the product and garment labels direct. This step matters even when the polish colour appears to be gone, because remover residue can leave an oily or scented ring. Apply normal laundry detergent only if the care label permits it, then wash at the stated temperature and cycle.
Let the garment air-dry and inspect it in good light. Do not use a tumble dryer, iron, heated airer or hairdryer when polish or treatment residue remains. Heat can make a remaining mark harder to reassess, and it can expose damage that was less obvious during drying. Repeat a tested transfer round only if the fabric remains stable and colour still moves into a clean pad.

Which remover can you use on fabric?
Acetone-based remover can loosen ordinary nail lacquer. Its use is a material decision, not a universal starting point. Never use it on acetate or triacetate. Other fibres, dyes, printed finishes, surface coatings and decorations can also react, so the care label and hidden-area test still control the decision.
A non-acetone remover is not automatically harmless. Its solvents, colourants, oils or fragrances may leave a ring or alter the finish. Read the ingredient and use instructions, and treat product labels as working directions, not marketing text. Use the smallest useful amount and keep the room ventilated as instructed.
Rubbing alcohol is sometimes suggested for fabric. It still needs the same compatibility and colourfastness checks. Hairspray is a poor default because modern formulas vary and may add resins, oils or fragrance. Vinegar, bicarbonate of soda, washing-up liquid and hydrogen peroxide do not become interchangeable nail-polish removers simply because they are common household products.
Do not combine remover with another stain product in the hope that a mixture will work faster. Rinse one treatment as directed before making any further decision. If the method is uncertain, the garment is more valuable than the risk of a failed experiment.
How to get gel polish out of clothes
Gel polish adds a state question. Uncured gel can still spread, so isolate the area and lift raised product promptly without smearing it into a wider patch. Build the backing pad and use only a treatment that passes the fibre and hidden-seam checks.
Cured gel behaves more like a bonded film. Flexing a sturdy washable fabric may reveal a loose raised edge. Pull only material that releases without resistance. Do not pick at threads, stretch a knitted garment or scrape a delicate surface. If the cured patch is bonded to the weave, professional garment advice is safer than repeated force.
Do not put the stained garment under a UV or LED nail lamp to cure a spill. Making the film harder does not make it easier to remove from fibres. It can turn a mobile mark into a more firmly attached layer and delay the transfer step that may remain possible before the product cures.
Will nail polish remover stain clothes?
Remover can leave transferable residue and can also cause damage that washing cannot reverse. The difference matters. A coloured or oily deposit that moves onto a clean white pad may respond to rinsing and laundering. A pale patch with no colour transfer usually points to stripped garment dye, not a new stain sitting on top.
- Colour appears on the white pad: polish or remover dye is still transferring. Continue only if the fabric remains stable.
- A greasy or scented ring remains: remover additives may need careful rinsing and a care-label wash.
- The garment has a pale patch: colour may have been removed. More solvent will not put the dye back.
- The fibre feels rough, thin, hard or distorted: stop. This is a material-change warning, not a cue for stronger treatment.
Check the area only after it has been rinsed and air-dried. Wet cloth can look darker and temporarily hide a tide mark. Compare the treated area with an unaffected part of the same garment under natural light and from both sides.
What to do when a mark remains
A remaining shadow is not permission to keep adding remover. First ask whether more polish is transferring and whether the fibre is unchanged. If both answers are yes, another short tested round may be reasonable. If the pad stays clean, the colour has faded, or the weave has altered, stop.
A wider clothing stain method can help classify any secondary oily ring after the polish has gone. The garment label still takes priority, and damaged cloth should not receive repeated solvent treatment. Treat the remaining material you can identify, not the original stain name by habit.
Use the clean backing pad as evidence. A shrinking transfer mark shows that the treatment is removing material. A growing damp ring with no polish on the pad shows that liquid is spreading without doing useful work. Photograph the dry result between rounds if the change is subtle. This makes fading or distortion easier to notice before another application hides the comparison.
After washing, inspect the inside and outside of the garment. Polish can travel through thin fabric and leave a second edge on the reverse. A layered cuff, pocket or hem may hold residue between pieces. Do not keep the item folded against itself during air-drying; give the treated layers space so remaining colour cannot print onto a clean area.
You may also enjoy:

Stop after a failed compatible attempt if the garment is valuable, the fibre is unknown or the mark sits on a print, decoration, bonded layer or structured section. Take the product bottle or a photo of its label with you when seeking professional help. That information can matter more than a list of home treatments already tried.
Keep nail polish off other fabrics
Work over a wipeable tray, not a bed, sofa or carpet. Close the bottle between coats and keep cotton pads on the tray. Wear an old washable top or salon cape when colour is likely to drip. These small controls reduce the chance that one spill becomes several different material problems.
Keep the stained garment separate until it has been treated and checked. Do not place a wet mark against a towel, laundry basket liner or another item of clothing. Cosmetic products vary, and make-up stain treatment follows a different product-and-fibre decision once oils, waxes or pigments are involved.
Keep a small spill setup near the place where nails are painted: a wipeable tray, plain white absorbent pads, a blunt plastic card and the garment care information. The kit does not need a collection of stronger chemicals. Its job is to contain the spill and preserve the option to choose a compatible treatment after the immediate excess has been lifted.
How Samyx can help with the room, not the garment
Use a professional dry cleaner or textile specialist when the label says dry clean only, the fibre is unknown, the garment is valuable, the dye moves during the hidden test, cured gel is bonded to delicate cloth, or the weave has already changed. Tell them whether the polish was ordinary or gel, whether it had cured, and which product has already touched the fabric.
Samyx Cleaning’s one-off cleaning covers agreed accessible household areas and surfaces in London. It is not a garment laundry, dry-cleaning or textile-restoration service. If a spill has affected both clothing and a fixed household surface, treat those as separate material decisions and confirm the service scope before booking.
Need a cleaning service?
Enter your postcode to view our rates and availability in your area.

Frequently asked questions
-
How do you get dried nail polish out of clothes?
Read the care label, then lift only loose dried flakes with a blunt edge. Put the stain face down on a clean white backing pad, test a compatible treatment on a hidden seam and dab from the reverse. Stop if the fibre snags, stretches, thins or changes colour.
-
Can you use acetone on coloured clothes?
Only when the fibre and care instructions permit it and a hidden-seam test shows no colour or texture change. Never use acetone on acetate or triacetate. A coloured garment can lose dye even when its fibre is otherwise compatible, so testing remains necessary.
-
How do you get gel polish out of clothes?
Contain uncured gel and lift raised product without spreading it. For cured gel, remove only loose film that releases without resistance. Use the tested compatible transfer method on washable fabric; route bonded residue, delicate cloth and dry-clean-only garments to professional care.
-
Will nail polish remover stain clothes?
It can leave coloured, oily or scented residue. Some solvents can strip garment dye or alter incompatible fibres. Residue may transfer or rinse away. A pale patch, thinning, hardening or distortion is material damage and should not receive more solvent.
Important: Follow the garment care label and the remover’s instructions before general advice. Never use acetone on acetate or triacetate, test any treatment on a hidden seam, work with ventilation stated on the product label and stop if colour, texture or structure changes. Do not mix stain-removal products. Route dry-clean-only, valuable, unknown-fibre or already damaged garments to an appropriate professional, and do not use heat until the mark and treatment residue are gone.
Author: Svetlana Georgieva (Clara)
Hi, I’m Svetlana Georgieva, but you can call me Clara. As the co-founder and heart behind Samyx Cleaning, I’m devoted to sharing the art of a clean space. Let’s journey into a cleaner, more joyful life together with tips from London's cleaning experts.

Discover more of our cleaning secrets: