
How to Clean a Badly Stained Toilet with Eco-Friendly Methods

Last modified on: 03/09/2026

Toilet stains are easiest to remove when you identify the deposit, check the bowl finish and use one compatible method at a time.
Have toilet bowl stains begun popping up? If so, you’re not alone. These unwelcome guests range from mineral deposits to organic residues and it’s a good thing you’re looking for ways to get rid of them. Toilet stains pose not only an aesthetic issue but also a hygienic concern.
Let’s dive into eco-friendly cleaning strategies to erase these stains and ensure your toilet’s clean without using toxic chemicals. Here’s how to clean a badly stained toilet.
Key Takeaways
- Colour alone cannot prove whether a mark is scale, rust, organic film, microbial growth or glaze damage.
- Flush away previous products and use only one compatible cleaner at a time.
- Never combine chlorine bleach with vinegar, citric acid, lemon, ammonia or another toilet cleaner.
- Use a nylon toilet brush as the general starting tool; aggressive abrasives can permanently dull or scratch an unknown glaze.
- Recurring streaks, leaks, cracks and roughened glaze need plumbing, water-quality or manufacturer assessment rather than stronger chemistry.
Current safety note: Natural and chemical are not opposites. Vinegar, citric acid, lemon and bicarbonate are chemicals too, and none is automatically non-toxic, non-irritant, environmentally harmless, disinfecting or suitable for every toilet, fitting and drainage system. The bowl and product instructions take priority.
Table of Contents
Types of Toilet Stains
Understanding the nature of toilet bowl stains is pivotal for removing them.
Mineral stains form from hard water. If that’s what you’re dealing with, then you should check our detailed guide on how to remove limescale from your toilet bowl.
Bodily waste over the years results in organic marks. They’re yellowish or brownish in colour. They’re easy to identify.
Mould stains are also to be expected, considering your bathroom is a warm and damp place. They’re blackish or greenish in colour and might be accompanied by a damp smell.
Rust stains form from corroded fixtures. It’s dark brown in colour so it’s hard to mistake it for organic stains.
Each demands a distinct approach.
Regular cleaning, especially in a city like London, is essential to maintain both the hygiene and aesthetics of your toilet bowl.
Current diagnosis note: These descriptions are useful clues, but colour is not proof. Water chemistry, cleaning products, metal transfer, lighting and glaze condition can make different causes look alike. Do not identify a microorganism or assume a medical risk from colour alone.
| What you see | Likely branch to investigate | Useful next check |
|---|---|---|
| Rough white, cream, tan or brown crust at the waterline or down a flush path | Hard-water mineral scale, sometimes coloured by iron or manganese | Does it feel rough, follow water flow and build where water stands? |
| Orange or rusty-brown vertical streak below the rim or inlet | Iron-bearing water, corroding hardware or a persistent drip | Does the streak return along the same flow line after cleaning? |
| Smooth yellow or brown film | Organic residue or biofilm, although colour is not conclusive | Does a normal compatible cleaner and nylon brushing remove the film? |
| Black, green or pink slippery film that returns | Moisture-supported microbial film; colour does not identify a species | Check leaks, ventilation, cleaning frequency and inaccessible water paths |
| Grey or black line that feels smooth, or a permanently dull patch | Metal transfer, scratching, etched glaze or other surface damage | Stop aggressive cleaning and check the manufacturer before abrasion |
Location matters as much as colour. A horizontal ring can form at the standing-water line, while repeated narrow lines from beneath the rim usually follow water movement. A stain at a constant drip path points towards a leak or water-supply issue that cleaning alone cannot correct.
Proactive Stain Prevention
If you don’t want to deal with the nightmare of removing stains from your toilet bowl, ward them off before they take hold.
Regular flushing, weekly cleaning, and keeping the toilet dry (particularly under the rim) can significantly hinder organic stains and mould formation.
Routine checks for leaks and fixing drips are also crucial to prevent rust stains. As for limescale, the best way to approach it is by regularly cleaning your toilet with white vinegar.
If you don’t like the smell, you’re not alone. The good news is you can make scented vinegar at home. This way, you’ll not only keep your toilet bowl free from limescale, but you’ll keep your bathroom fresh.
Current prevention note: The bowl and its water paths cannot be kept completely dry. The practical aim is to stop constant drips, ventilate the bathroom, clean at a frequency suited to use and water hardness, and follow the toilet manufacturer’s maintenance advice. Vinegar is not a universal preventive treatment and must never meet chlorine or unknown cleaner residue.
Eco-Friendly Cleaning Products for Removing Toilet Stains
Turn to nature’s own cleaners – vinegar, baking soda, and citric acid. These environmentally-friendly options are not just effective against stains but are also safe and non-toxic. That’s a significant advantage over their chemical counterparts in my book.
You’re probably wondering if they really work. They do. Check out our cleaning recipes for more effective homemade cleaning products.
Current ingredient note: The original assessment above remains part of the article, but it is not a universal safety claim. Acids can irritate skin and eyes, damage nearby stone, metal, grout or fittings, and release dangerous gas if they contact chlorine bleach. Bicarbonate can be abrasive and the vinegar-bicarbonate fizz consumes much of both ingredients’ useful acid and alkali. Choose one compatible route for the diagnosed deposit.
How to remove toilet stains safely
Begin with the toilet and cleaning-product labels, not the colour chart alone. A standard white glazed vitreous-china bowl may tolerate a product that a coloured finish, coating, repaired surface, metal fitting or stone surround does not.
- Clear the chemical history. Remove any in-cistern or rim block if its instructions require it, flush away the previous cleaner and ventilate. If chlorine or an unknown residue may remain, do not add vinegar, citric acid, lemon or another product.
- Inspect before scrubbing. Note whether the mark is rough or smooth, where it begins, whether it follows the water flow and whether the glaze is chipped, cracked or dull.
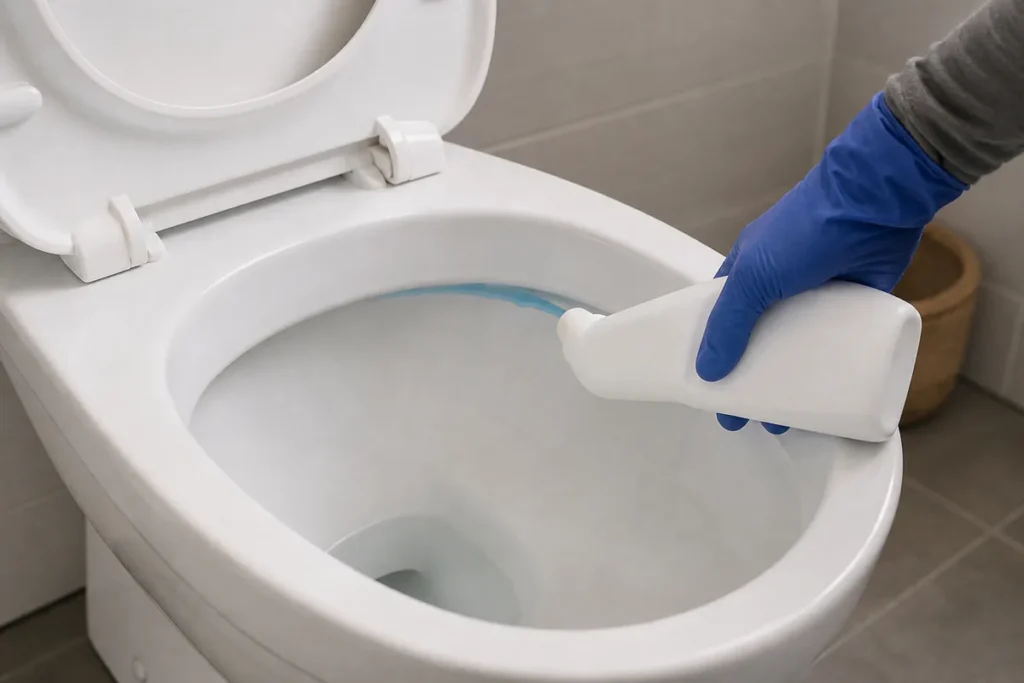
- Choose one branch. For confirmed mineral scale on a compatible bowl, use one manufacturer-approved acid descaler or the separate limescale route. For smooth organic film, use one compatible toilet cleaner or detergent route. Follow the exact dose, contact time and ventilation instructions.
- Apply without splashing. Direct the product only to the intended bowl area and keep it off the seat, hinges, metal, stone, grout, flooring and skin. Use the PPE stated on the label.
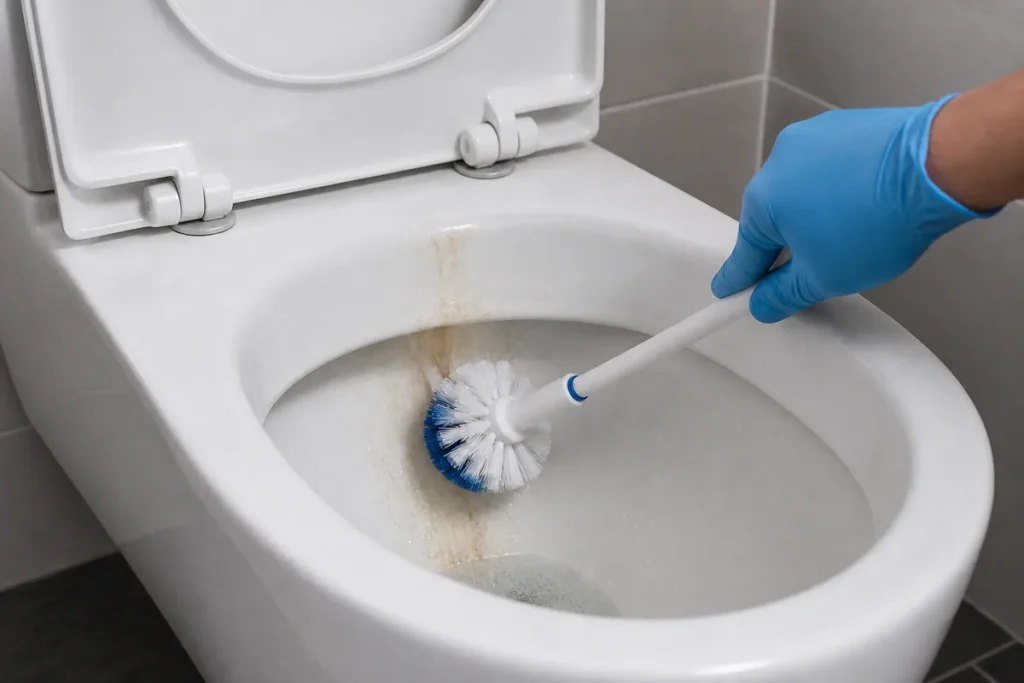
- Agitate with a nylon brush. Keep the surface wet as directed and use the brush rather than steel wool, a blade, dry scouring powder or an unapproved pumice stone.
- Flush and reassess. Complete every labelled rinse or flush, allow the bowl to settle and inspect again. A smooth dark line or dull patch may be damage rather than removable dirt.
Do not immediately repeat a failed method or add a second product. The wrong diagnosis can turn repeated cleaning into glaze damage while leaving the source, such as a drip or iron-bearing water, unchanged.
You may also enjoy:

Original-method boundary: The following eight-step sequence is retained as Atanas’s original work. It is not the current universal recommendation. Do not combine or casually sequence bicarbonate, vinegar, citric acid, lemon or another toilet product. Follow only one route that the bowl manufacturer and product label permit, and never use an acid where chlorine or unknown cleaner residue may remain.
Step-by-Step Guide to a Natural Clean
Now, onto the “fun” part – the actual cleaning. We’ve procrastinated enough – time to clean those stains right out of the toilet bowl! Here’s how step-by-step:
Step 1: Prepare your cleaning supplies
Gather your arsenal: white vinegar, baking soda, citric acid or lemon, a toilet brush, gloves, and a spray bottle. We don’t want to be running around looking for cleaning supplies in the middle of the toilet cleaning process.
Also, ensure good ventilation in your bathroom. We’re not going to be using harsh chemicals, but still – safety must always come first.
Step 2: Flush the toilet
A preliminary flush moistens the bowl and aids the adherence of cleaning agents to stains.
Step 3: Apply baking soda
Generously sprinkle baking soda around the bowl. Focus on stained areas. Baking soda’s mild abrasive properties will help loosen the stains.
Step 4: Apply the white vinegar
Pour white vinegar over the baking soda, targeting stains and rim areas. For stubborn stains, a vinegar-filled spray bottle ensures even coverage. This will give you a fizzing reaction which will loosen the stains.
Note: Do not mix baking soda and white vinegar before you apply them to the toilet bowl. They’ll cancel each other out and all you’ll be left with will salt water – not an ideal cleaning solution.
Current reaction note: Applying bicarbonate and vinegar sequentially still brings the acid and alkali together. Fizzing is not proof that the stain is dissolving, and much of the useful chemistry is neutralised. Do not follow this combined step where bleach or another product may remain, and do not treat it as the current default method.
Step 5 (optional): Apply citric acid
Apply citric acid or rub a lemon half on stains for hard water marks and natural disinfection. This is particularly useful if you’re dealing with stubborn limescale deposits.
Current acid note: Citric acid or lemon may help with compatible mineral deposits, but neither should be layered onto the preceding mixture or relied on as a disinfectant. Flush and remove all earlier residue, then use only a separately permitted acid route at a defined concentration and contact time. Never use acid with chlorine bleach.
Step 6: Scrub
Once the fizzing stops, scrub the bowl. Make sure to reach all stained areas and hidden spots under the rim.
Step 7: Rinse
A final scrub followed by a flush rinses away the cleaning mixture and any residual stains.
Step 8: Check out the results
Examine the toilet for leftover stains. Repeat the process if the stains are still there.
Current repeat-treatment note: Repeat only the same permitted product within its label limits. Do not repeat an abrasive or add a stronger chemical simply because a mark remains. Stop if the surface becomes dull, rough, scratched, discoloured or chipped.
Maintain to sustain
Adopt a weekly cleaning routine to prevent stain accumulation. Daily brushing helps, too.
What a stain that keeps returning can tell you
- The same vertical streak returns: check for a slow inlet leak, corroding component or water-quality issue along that flow path.
- A rough ring reforms at the waterline: hard-water scale is likely contributing, so use the dedicated limescale owner rather than switching between unrelated hacks.
- A coloured slippery film returns quickly: review cleaning frequency, ventilation and concealed water paths. Colour alone does not identify the organism.
- The mark is smooth but the glaze looks dull: it may be scratching, etching, metal transfer or permanent surface change. Stop abrasive treatment.
- There is a crack, movement, sewage smell or persistent leak: stop cleaning and use the appropriate manufacturer, plumber or property-management route.
When to Call the Pros
In extreme cases of mineral buildup or corrosion, don’t hesitate to seek professional cleaning services in London. They bring specialised tools and expertise to the table.
For a wider agreed clean, Samyx Cleaning may be able to discuss one-off cleaning in London. The office must confirm the exact toilet and stain-removal scope before booking. Cleaning cannot repair damaged glaze, resolve a leak, change the water supply or guarantee complete removal of mineral or rust-like staining.
Plan a One-Off Home Clean
Enter your postcode to view our rates and availability in your area.

Frequently asked questions
-
How do you get hard stains out of a toilet?
First decide whether the hard deposit is mineral scale and confirm that the bowl has an intact compatible glaze. Flush away any previous product, then use one manufacturer-approved descaler at its labelled dose and contact time. Agitate with a nylon toilet brush, flush as directed and stop if the surface changes. Never add acid where chlorine or unknown cleaner residue may remain.
-
How do I remove brown stains from a toilet bowl?
Brown can indicate mineral scale coloured by iron or manganese, organic film, metal transfer or surface damage. Check whether the mark is rough or smooth and whether it follows a drip or flush path. Use the compatible branch for the identified cause rather than bleach or acid based on colour alone.
-
How do I get rid of brown scales in my toilet bowl?
A rough brown crust at the waterline or along a water path often points to mineral scale with iron or manganese. Follow the toilet manufacturer’s care guidance and the dedicated limescale method. Use one compatible acid descaler only when permitted, keep it away from incompatible materials and never combine it with chlorine bleach or another cleaner.
-
What cleans a badly stained toilet bowl?
The answer depends on the deposit and the bowl finish. Mineral scale needs one compatible descaling route; smooth organic film may respond to a labelled toilet cleaner and nylon brushing; recurring rust-like streaks may need a leak or water-quality check. Do not use a universal multi-product recipe or aggressive abrasion on an unknown glaze.
Important: Follow the toilet and cleaning-product instructions over general advice. Flush away previous products, ventilate and use one compatible cleaner at a time with the labelled dilution, dose, contact time, PPE and rinsing. Never mix toilet cleaners or combine chlorine bleach with vinegar, citric acid, lemon, ammonia or another product. Avoid boiling water, steel wool, blades, dry abrasive powders and unapproved pumice on an unknown glaze. Stop for cracks, chips, dulled or roughened glaze, a persistent leak, sewage problems, recurring flow-line stains or any reaction you cannot identify, and use manufacturer, plumbing, water-quality or specialist advice.
Conclusion
By embracing these green cleaning methods, you’re not just maintaining a sparkling toilet but also contributing to a healthier environment. The journey to a clean and sustainable bathroom starts with simple, natural steps. And, as always, if you need us, we’re never more than a phone call away.

Author: Atanas Dzhingarov
Hi, I’m Atanas - brand consultant and writer. I’m helping Samyx Cleaning create the best cleaning company blog on the Internet. Join us on our journey and learn how to live a cleaner, healthier, happier life in the process.
Discover more of our cleaning secrets: