
How to Remove Limescale from Your Toilet Bowl

Last modified on: 31/08/2026

Limescale in toilet bowls is easiest to remove when you first confirm that the mark is mineral scale, expose the deposit and use one compatible descaling method at a time.
Toilet limescale removal is a dirty job. Most people prefer to wash their hands from it, outsource it, and forget about it. But if you’re reading this, you’re not most people. You want to get your hands dirty. You want the raw, unadulterated sense of accomplishment that comes from handling something most people avoid.
You’ve set your mind to it and there is no stopping you. What you need right now is not a pep talk, but a limescale remover recommendation. Something powerful that would allow you to obliterate all the annoying mineral deposits in one fell swoop.
I have just the thing.
Key Takeaways
- Bleach may change the appearance of a stain, but it does not provide the acidic action needed to dissolve mineral scale.
- Brown does not prove that every mark is limescale. Rust-like streaks, trapped dirt, organic staining and damaged glaze need different decisions.
- Do not combine vinegar or another acid with bleach, chlorine toilet cleaner, ammonia or an unknown residue.
- Longer contact and harder scrubbing are not automatic improvements. Product directions and the condition of the ceramic set the limit.
- Cleaning can remove a deposit, but it cannot repair etched glaze, a leaking cistern, corroded components or damaged plumbing.
Table of Contents
Limescale in Toilet: Identify the Deposit Before Cleaning
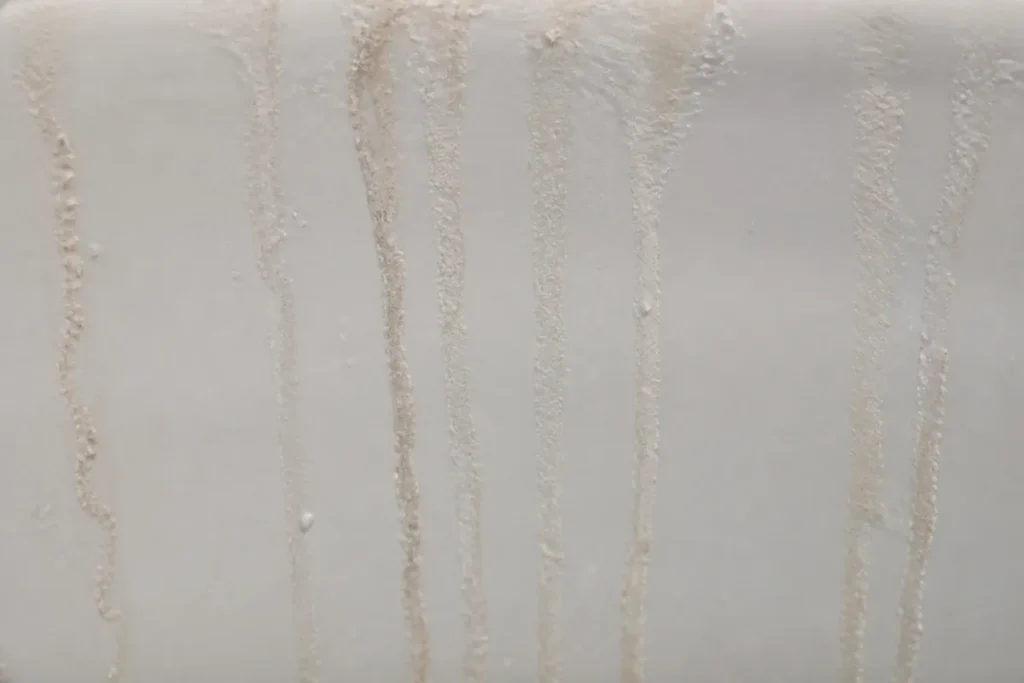
Run a gloved finger or a non-metal brush lightly across a small wet area. Mineral scale usually feels hard, rough and fixed to the ceramic. Its colour can change when iron or dirt becomes trapped in the deposit, so appearance alone is not enough. Look at where the mark begins, whether it follows the water path and whether the glaze underneath is still smooth.
| What you see | What it may be | Best first decision | Stop or escalate when |
|---|---|---|---|
| White, cream or pale-yellow rough crust | Hard-water mineral scale | Choose one ceramic-compatible acid or labelled toilet descaler. | The surface dulls, scratches or changes colour. |
| Brown rough deposit around a wet route or waterline | Scale holding iron compounds or dirt | Treat a small area as mineral scale and reassess after rinsing. | The colour remains but the surface becomes smooth; it may be a separate stain. |
| Orange-brown vertical streaks from the rim | Rust-like staining, mineral-rich flush water or a component issue | Inspect the cistern and visible fittings without adding a homemade cleaner to them. | The streak returns quickly, metal is corroded or the cistern leaks. |
| Dark, soft or wipeable film | Organic soil rather than hard scale | Clean the soil first with a compatible toilet cleaner, rinse, then reassess. | You cannot identify previous cleaner residue. |
| Permanent grey, matt, scratched or pitted patch | Damaged or etched glaze | Stop treating it as removable dirt. | Always; ask the manufacturer or an appropriate specialist. |
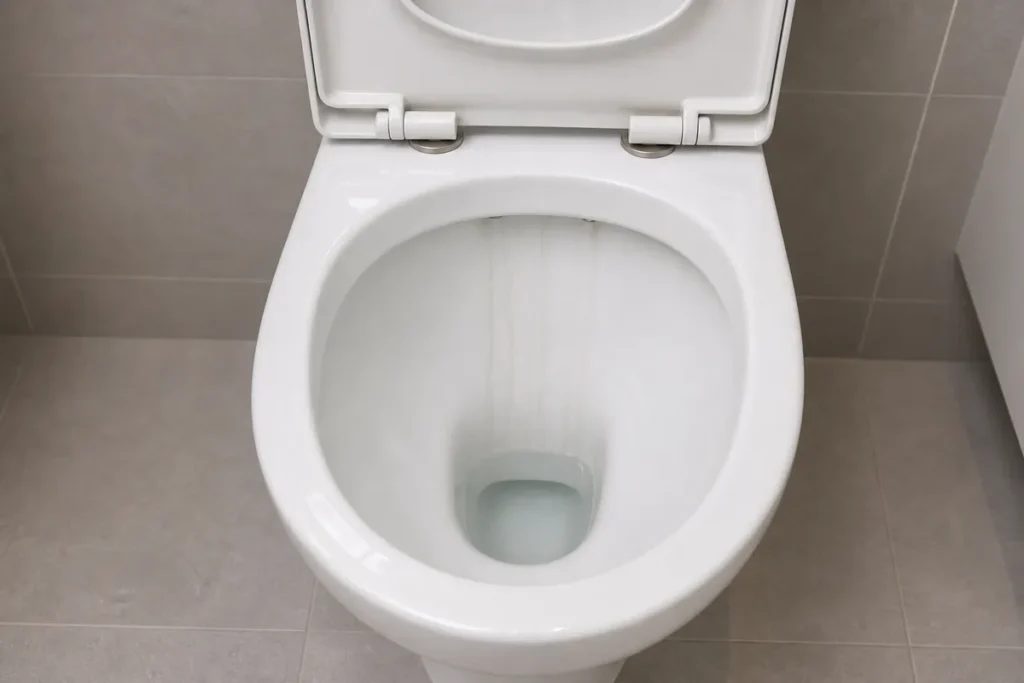
On a washdown toilet, deposits can form as vertical streaks in the same direction as the flush water runs from the rim towards the water below. A horizontal ring can occur at a standing waterline, but it should not be invented as the only or defining shape of toilet limescale. That distinction matters when you inspect the source of a returning mark.
Book a One-Off Bathroom Clean
Enter your postcode to view our rates and availability in your area.

What is limescale and what’s it doing on your toilet bowl?
Limescale is a mineral deposit, resulting from water dissolving soft rocks like chalk or the eponymous limescale. When water passes through these soft rocks, it picks up mineral particles and ironically becomes “hard water”.
Hard water then transports these minerals directly to your home and leaves them in your plumbing, washing machine, shower, and yes – your toilet bowl. In time, the deposits grow and become noticeable enough that you look for a way to remove them.
That’s when you realise getting rid of these limescale deposits is easier said than done. They can be especially stubborn and difficult to deal with.
The colour of limescale depends on the types of minerals the water carries. In the case of your toilet, it’s probably going to be reddish-brown, suggesting iron compounds in the water.
More precisely, hard water picks up dissolved calcium and magnesium compounds as it passes through chalk and limestone. When water evaporates or repeatedly wets the same surface, some of those minerals remain. The wider guide to limescale and acid compatibility explains why a method that suits glazed toilet ceramic may still be unsuitable for natural stone, metal or a decorative finish elsewhere.
Why you should absolutely remove limescale deposits
Aside from the obvious, aesthetic reasons for removing limescale, there are more pragmatic ones. Limescale is especially bad for plumbing, but it can also damage your toilet bowl given enough time. Descaling is absolutely crucial if you want to avoid long-term damage.
A surface deposit and damaged ceramic are not the same thing. Remove scale before it becomes a thick, soil-holding crust, but do not promise that cleaning will repair an already scratched, etched or pitted glaze. If the roughness remains after the mineral layer has gone, further acid or abrasion can make the visible defect worse.
First check the toilet maker’s care instructions and the cleaner label. Flush away ordinary soil and previous cleaner, then ventilate the room and put on gloves. If the scale sits below the waterline, follow the toilet instructions for safely lowering the bowl water or use a toilet brush to push some water through the trap. Do not dismantle the cistern or force a blocked toilet as part of a cleaning method.
| Route | When it fits | Control point |
|---|---|---|
| Labelled toilet descaler | The label includes glazed ceramic toilets and the deposit severity you have. | Use its stated dose, contact time, ventilation and rinsing directions exactly. |
| White vinegar | The toilet manufacturer permits it and no bleach, chlorine or unknown cleaner remains. | Apply to the exposed deposit, keep it wet and begin with controlled contact rather than an automatic overnight soak. |
| Soft toilet brush | Scale has softened after a compatible treatment. | Keep both brush and ceramic wet; do not substitute metal tools, sandpaper or dry abrasives. |
| Repeat treatment | The first rinse reveals intact glaze and less mineral build-up. | Repeat the same compatible route rather than layering a second chemical over it. |
How to descale your toilet with white vinegar
White vinegar is great at dealing with limescale – it’s cheap, it’s natural, and it’s easy to use. The only downside is that it smells funny, but that’s another issue you can fix.
If you want to cut right through those annoying mineral deposits, follow this process:
Step 1: Pour undiluted vinegar into a spray bottle
If you haven’t followed our scented vinegar guide, then pour some white vinegar into a spray bottle.
Step 2: Spray the limescale deposits
Most other guides recommend pouring litres upon litres of vinegar into your toilet bowl, but that’s unnecessary waste. What you should do instead is spray vinegar directly on the deposits you want to remove.
Step 3: Let the vinegar sit for a few hours
Now comes the best part – the waiting game. Let the vinegar sit for three to four hours. This will give it enough time to cut through the minerals.
Note: If you feel your case is particularly stubborn, then you can leave the vinegar sit overnight.
Use those contact times only when the toilet’s instructions permit vinegar and prolonged exposure. A labelled descaler may specify a much shorter dwell time, and its directions override this household route. Never warm vinegar in a kettle, pour boiling water into the bowl or cover an unknown previous cleaner with acid.
Step 4: Start scrubbing
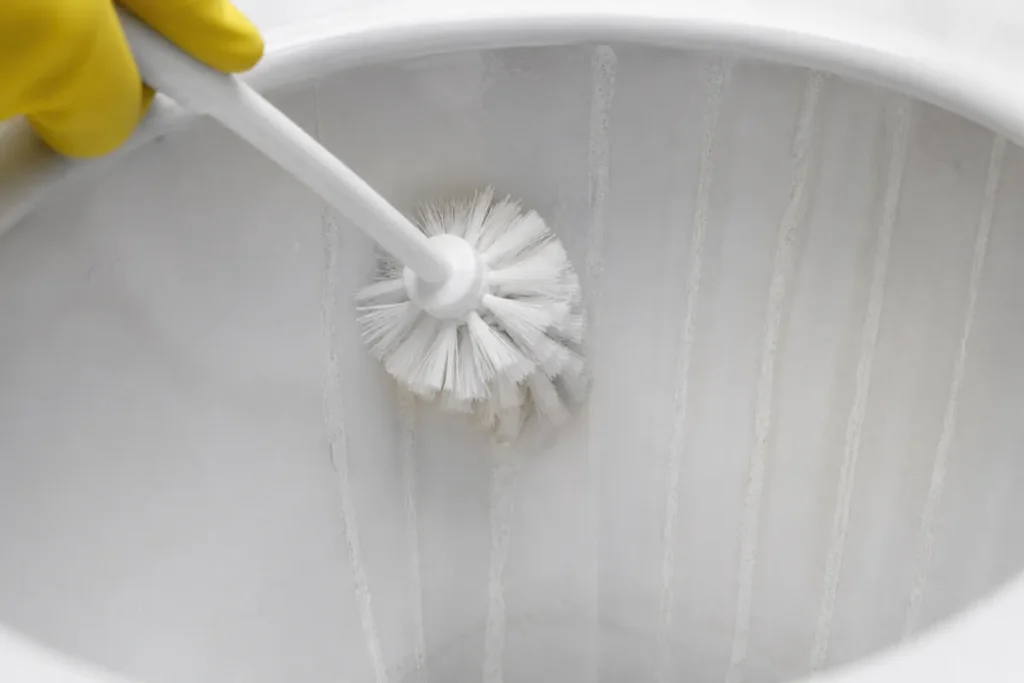
Take a brush or a sponge and start scrubbing. Avoid scrubbing dry areas. Instead, keep applying white vinegar to the places you scrub. This will reduce the chances of scratching your toilet bowl.
Step 5: Flush the toilet
Once you’re done with scrubbing, flush the toilet and marvel at the result.
Note: You might want to consider investing in water softening tablets to avoid this problem in the future.
Choose any prevention product only if both its label and the toilet manufacturer explicitly permit that use. Do not drop dishwasher tablets, homemade acid mixtures or an unapproved descaler into the cistern. Seals, valves, metal fittings and flush components have different compatibility limits from the glazed bowl.
How to Handle Brown or Severe Limescale
When the deposit is thick, the first treatment may expose layers rather than reveal clean ceramic immediately. That is not a reason to add another chemical. Rinse completely, inspect the glaze and repeat the same compatible descaler only when the label allows a second application.
- Photograph the starting condition and note whether the marks are vertical, below the waterline, under the rim or around a damaged patch.
- Remove loose soil first. Mineral scale should still feel hard after ordinary dirt has rinsed away.
- Expose a small section and apply one ceramic-compatible method for its stated time.
- Brush the wet area, rinse it and compare both texture and colour with the untreated section.
- Repeat within the product limit when the rough layer reduces. When only colour remains on smooth ceramic, stop treating it automatically as limescale.
- Rapidly returning vertical brown streaks point to mineral-rich flush water, corrosion or a cistern/component problem rather than a need for stronger acid.
Do not chip thick deposits with a knife or screwdriver. Avoid metal scourers, dry pumice, sandpaper and any abrasive method that the toilet manufacturer has not approved. A scratch in the glaze can become a permanent rough area that traps soil and resembles recurring scale.
Does bleach remove limescale?
The short answer is “no”. The long answer is “no, it doesn’t, because bleach is not the great cleaning product you’ve been lead to believe”.
Bleach is great for disinfection and for whitening, but it’s a terrible cleaning agent. Not to mention there are many downsides to using it in your home, such as it can be dangerous if you mix it with other chemicals.
To remove mineral deposits, you need a cleaner with acidic properties (like vinegar). The only problem is, bleach is actually a base.
If bleach or a chlorine toilet cleaner may already be present, do not follow it with vinegar, citric acid or another descaler. Flush and ventilate according to the label, and if the previous product is unknown, postpone acid treatment. The guide to using cleaning chemicals safely explains why product sequence matters as much as product choice.
Toilet limescale removal methods you should avoid
Look, this is the Internet. Any tip you decide to follow is at your own risk. And there is a lot of bad information flowing out there. Here are some of the limescale cleaning tips you should think twice before trying:
- Cleaning your toilet with sandpaper – I’m not entirely sure how this one came into existence but it’s terrible advice. Don’t get me wrong – using sandpaper will definitely help you descale your toilet bowl. It will also scratch it beyond repair. You’ll be looking at the grotesque results of your failure for years (or until you move out – but then you’ll probably lose your security deposit for damaging the toilet bowl).
- Cleaning your toilet bowl with cola– a black, sugary, carbonated liquid is hardly the ideal cleaning product. Even though there are plenty of videos “demonstrating the miraculous cleaning powers of cola”, most of these are myths. You won’t clean the limescale from your toilet using cola.
Note: Whatever advice you read online, it’s best to try it on a small, out-of-sight area. This way, if it turns out the advice doesn’t work or worse – it will cause damage, the problem won’t be too severe. This is true for all cleaning tips – from bathroom cleaning to cleaning your cupboards.
You may also enjoy:

How Samyx Cleaning Can Help With Toilet Limescale
Stop the DIY treatment when a deposit cannot be identified, the ceramic becomes dull or scratched, a crack appears, the toilet moves, water leaks, the flush is unreliable or brown streaks return immediately from the rim. A plumber or manufacturer should assess plumbing and component faults. Cleaning will not repair damaged glaze or corroded fittings.
If the toilet is sound but the scale forms part of a wider bathroom clean, Samyx Cleaning can include accessible bathroom surfaces within a one-off cleaning visit. Confirm the affected materials and deposit condition when booking. The service is not presented as plumbing repair, cistern dismantling, ceramic restoration or guaranteed removal of permanent damage.
Book One-Off Cleaning
Enter your postcode to view our rates and availability in your area.
Frequently Asked Questions
-
Can limescale damage a toilet?
A removable mineral layer is different from damaged ceramic, but thick deposits can hold soil, obstruct small water routes and encourage increasingly aggressive cleaning. Scratches, dull patches, cracks and pitting will not be repaired by descaling. Stop when the glaze changes or the toilet leaks or moves.
-
What is the plumber’s trick to remove limescale?
There is no universal secret method. The useful principle is to expose the deposit, choose one toilet-compatible acid or labelled descaler, allow only the stated dwell time, brush while wet and rinse before reassessing. Plumbing faults, corroded components and damaged glaze need repair advice rather than a stronger cleaning mixture.
Before you try this: The toilet manufacturer’s care instructions and the product label override general guidance. Wear gloves, ventilate the room, keep splashes away from eyes and rinse treated ceramic thoroughly. Never mix products, especially vinegar, citric acid or another descaler with bleach, chlorine toilet cleaner, ammonia or an unknown residue. Do not use boiling water, metal tools, sandpaper or an unapproved abrasive. Stop for dulling, scratching, colour change, cracks, movement, leakage or component problems. Ask the manufacturer, a plumber or an appropriate restoration specialist about a valuable, damaged or unidentified fixture.
Conclusion
Removing the limescale from your toilet bowl is not a pleasant job but once you’re done, the results bring an amazing sense of satisfaction. As long as you don’t follow the plethora of bad advice online, your toilet should be nice and shiny. And, of course, if you don’t feel like cleaning it, you can always give us a call.

Author: Atanas Dzhingarov
Hi, I’m Atanas - brand consultant and writer. I’m helping Samyx Cleaning create the best cleaning company blog on the Internet. Join us on our journey and learn how to live a cleaner, healthier, happier life in the process.
Discover more of our cleaning secrets: