
How to Remove Stains from Suede Safely

Last modified on: 15/08/2026

How to remove stains from suede safely starts with identifying the material and the item, because genuine suede, nubuck, faux suede and microsuede upholstery do not share one cleaning method.
Suede has a raised surface called a nap. Liquid, friction, heat and the wrong product can flatten that nap, move dye or leave a larger tide mark than the original spill. The safest response is dry-first, stain-specific and limited by the care label.
Identify the suede before treating the stain
- Read the item label and maker instructions. Confirm whether the surface is genuine suede, nubuck, faux suede or coded upholstery before choosing a method.
- Blot fresh liquid without rubbing. Let mud and other surface soil dry before lifting loose matter with a suitable brush.
- Match the first action to the stain. Water, oil, salt, food, ink and dye transfer need different limits.
- Test the exact brush, eraser or labelled product on a hidden area, then let it dry before checking colour and nap.
- Stop if dye transfers, the surface turns smooth or rough, a ring spreads, the item is valuable, or the material remains uncertain.
Key takeaways
- Material identity, construction and the care label come before any stain recipe.
- Begin with the least aggressive dry action that fits the confirmed surface.
- Rubbing, soaking and heat can change the nap or dye even when the stain becomes lighter.
- Vinegar, bicarbonate, alcohol and household detergent are not universal suede treatments.
- Footwear, bags, garments and upholstery need different professional routes when home care is unsuitable.
Table of Contents
How to remove stains from suede safely
Start with the label inside the shoe, garment, bag or cushion. Genuine suede is made from the inner surface of animal hide and has a soft, fibrous nap. Nubuck is usually made from the outer hide and sanded to a fine nap. Both can lose colour or texture through moisture and abrasion. Smooth leather has a different finish and should not inherit suede instructions.
Faux suede is synthetic and may tolerate a method that would mark genuine suede, but the backing, adhesive, coating and dye still matter. Microsuede upholstery may carry a cleaning code such as W, S, W/S or X. That code refers to the permitted cleaning route for the upholstered surface; it does not make every household product compatible.
Look at the entire item before touching the mark. Check seams, glued areas, lining, padding, trims, painted details and previous waterproofing. A removable shoe is easier to inspect and dry than a fixed sofa panel. A pale patch may be missing dye or crushed nap rather than removable soil.
Suede item and material routes
Use the label and construction to choose the route before the stain name.
Genuine suede or nubuck
Prefer dry lifting and a product labelled for the exact material. Test colour and nap before widening the area.
Faux suede
Follow its textile label. Do not assume a synthetic face makes the backing, glue or colour water-safe.
Microsuede upholstery
Read the cleaning code and the furniture maker’s instructions. Treat the whole construction, not only the visible fibre.
Vintage, valuable or structured item
Pause before home treatment. A maker, cobbler, garment cleaner or textile conservator can assess the item in context.
Unknown material or unstable dye
Do not experiment through a sequence of household remedies. Photograph the mark, record what touched it and seek item-specific advice.
Run a useful hidden-area test
A test should copy the intended treatment, not merely touch the item with a drop. Choose an inconspicuous place made from the same material, such as beneath a tongue, inside a hem or behind a loose cushion. Avoid a different trim, backing or already-worn edge. Photograph the test area in neutral light before starting.
Use the same brush pressure, product dilution, cloth colour, contact time and removal method planned for the stain. Keep the area small. If a liquid or labelled cleaner is permitted, do not judge it while wet. Let it dry fully in the maker-approved position, then compare it with the neighbouring nap from more than one angle.
Check the white cloth for transferred colour and inspect the item for a darker edge, pale centre, stiffness, tackiness, rough fibres, flattened pile, odour or changed sheen. A stable test lowers risk but cannot prove that a large, old or deeply absorbed stain will behave the same way. If the test changes, stop rather than selecting a stronger home remedy.
First aid before a suede stain sets
Fresh liquid
Place a clean white absorbent cloth against the spill and lift it straight away. Do not scrub, twist the nap or press coloured paper into the surface. Change to a dry section as moisture transfers. Support the reverse when the item can be opened without distorting it, then allow it to dry naturally away from radiators, hairdryers and strong sunlight.
Wet mud or surface dirt
Let ordinary mud dry unless the maker directs otherwise. Trying to wipe wet soil can drive pigment through the nap and enlarge the mark. Once fully dry, lift loose particles with a clean suede brush using light strokes in the nap direction. Keep the brush away from glued trims and stop if colour comes off or the pile starts to look polished.
Work over a clean pale towel so loose soil and any transferred dye are visible. Brush a small section, inspect it, then move on. Cleaning the whole shoe aggressively to make it match one scrubbed patch trades a local mark for uniform surface wear. If dry soil remains deep in the nap, a footwear specialist can assess whether further lifting is compatible with the finish.
Oil, grease or makeup
Blot any excess without spreading it. Do not dilute the mark with water or add dish soap by default. Absorbent powders are often recommended online, but fine particles can lodge in the nap, alter colour or become difficult to remove from seams. Use one only when the item maker or a suede-care product label permits that exact route.
Ink, dye transfer or an unknown substance
Do not reach automatically for alcohol, acetone or a general stain remover. These can dissolve the transferred colour and the suede’s own dye at the same time. Keep the substance packaging, note when the transfer occurred and contact the item maker or a suitable specialist before the mark is treated repeatedly.
You may also enjoy:

Choose the first move by stain type
| Stain or change | First move | Home-care limit | Stop signal |
|---|---|---|---|
| Dry dirt or mud | Let it dry, then lift loose soil with a suitable clean brush. | No hard scrubbing or wet wiping. | Colour transfer, smooth patches or raised fibres. |
| Fresh water | Blot immediately and dry naturally in the item’s normal shape. | Do not soak the whole item to chase a small ring. | A growing tide line, stiffness or uneven colour. |
| Oil or grease | Blot excess and check the maker’s stain route. | No universal powder, detergent or solvent recipe. | Darkening that spreads or powder trapped in the nap. |
| Salt marks | Brush off dry surface crystals and check footwear guidance. | Do not repeatedly wet one edge. | Hard white residue, cracking or dye loss. |
| Food or drink | Lift solids and blot liquid without rubbing. | Use only a product labelled for the material and stain. | Sticky residue, odour, colour movement or a widening ring. |
| Ink, dye or adhesive | Protect the area from friction and identify the substance. | Avoid household solvents and magic erasers. | Transferred dye, tackiness, surface loss or an unknown finish. |
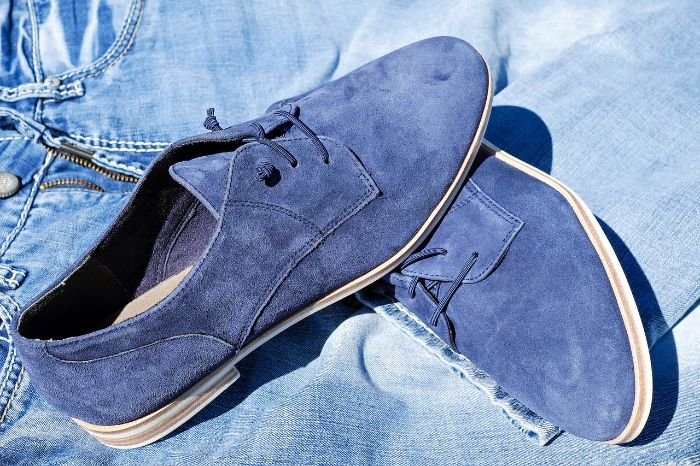
The table sets a first move, not a promise of removal. Check the result only when the surface is fully dry and viewed in diffuse daylight. Damp suede naturally looks darker. Treating a second time before the first area dries can hide dye loss and make a tide line travel farther.
Keep a short treatment record for a difficult mark: stain source, time, first aid, product name, dilution and visible change after drying. This prevents accidental product layering and gives a specialist useful facts. If the mark contains paint, adhesive, bodily fluid, mould or an unknown chemical, protect people from contact and seek substance-specific advice rather than relying on the appearance alone.
Dry methods and where they stop
A suede brush
A suitable brush can lift loose dry soil and help realign a flattened nap. Begin on a hidden section with light strokes. Do not use a brush contaminated with shoe polish, leather conditioner or cleaning paste. Wire-sided brushes can be too aggressive for fine or worn suede, and brushing cannot replace dye or rebuild an abraded surface.
A suede eraser
An eraser made for confirmed suede may help with a light dry scuff when its instructions permit the item. Test it, use minimal pressure and remove crumbs without grinding them into the nap. Stop if the test area becomes paler, smoother or rougher. An ordinary pencil eraser may contain colour, oils or abrasives that leave another mark.
Magic erasers and abrasive pads
A magic eraser is a fine abrasive foam, not a neutral cloth. It can remove surface fibres, change sheen and create a clean-looking pale patch that is actually material loss. Scouring pads, stiff nail brushes and improvised sanding have the same problem. Once the nap has been worn away, further cleaning cannot restore it.
Why water marks need a cautious route
A water mark can be dried residue, displaced dye, a boundary created by uneven wetting or a change in nap direction. Those causes look similar and do not respond identically. Advice to wet the entire shoe or panel may reduce a small boundary on one item and create shrinkage, tide marks, glue failure or colour movement on another.
Begin by letting the item dry completely in its supported shape. Brush only if the maker allows it and the hidden test stays stable. If a visible ring remains, use the manufacturer’s water-mark instruction or a labelled suede product rather than improvising a larger wet treatment. Faux suede and coded upholstery follow their own label route.
Salt and road residue add dissolved minerals to the problem. Repeatedly dabbing only the white edge can push residue outward. Footwear may also contain card, foam, adhesives and mixed leather panels. A cobbler or footwear specialist is the better next step when the ring crosses seams or the shoe has changed shape.
Why popular home remedies can damage suede
White vinegar
White vinegar is often described as safe for suede, yet its water content, acidity, concentration and contact time interact with dye, finish, backing and adhesives. It may leave a ring or smell and can move colour on an unknown item. The wider vinegar risks are another reason to follow the item’s own instructions.
Bicarbonate and powders
Bicarbonate may absorb some surface oil, but it can also leave pale residue, lodge in fibres and abrade the nap during removal. Cornflour, talc and other powders introduce similar practical limits. Do not press powder into a damp stain, leave a weighted layer overnight or combine it with a liquid cleaner unless the maker specifically allows the process.
Alcohol and solvents
Alcohol may evaporate faster than water, but speed of evaporation does not prove colour or finish compatibility. Acetone and nail-polish remover can dissolve dyes, coatings and adhesives. General solvent advice is particularly risky on bags, printed trainers, bonded trims and upholstery with an unknown backing.
Soap, shampoo and laundry products
Ordinary detergents vary in alkalinity, fragrance, enzymes, dyes, optical brighteners and rinsing requirements. A small amount can still leave residue that stiffens the nap. Use a product only when its label names the material and item, and follow its dilution, contact, removal, ventilation and drying instructions.
What can permanently change suede
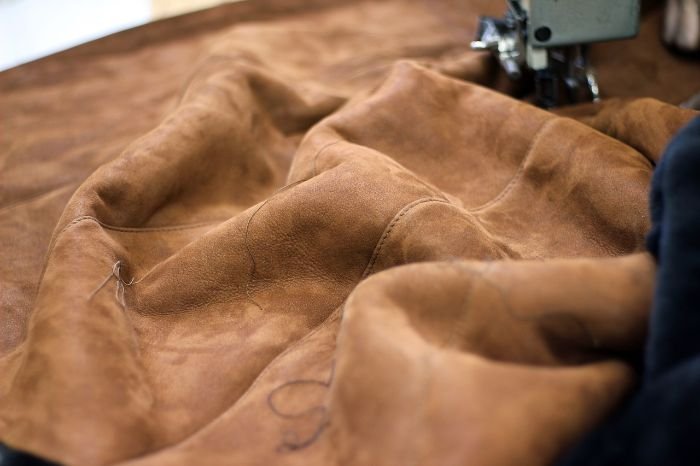
Not every dark or pale area is removable soil. Water can shift dye and oils; friction can polish the nap; an acidic or alkaline product can change colour; heat can harden hide and affect glue. A treatment may remove residue while leaving the underlying dye loss visible. That is a material change, not a cleaning failure that should be chased with stronger products.
- Flattened or shiny nap: caused by pressure, rubbing or wear; aggressive brushing may remove more fibre.
- Pale colour: may be dye transfer, fading or surface abrasion rather than a remaining stain.
- Hard edge or stiffness: can indicate dried residue, mineral deposit, product build-up or altered hide.
- Wrinkling or shape change: can involve the backing, padding, glue or the leather itself.
- Persistent odour: may mean contamination has reached a layer that surface cleaning cannot access safely.
Machine washing, tumble drying, steam, hairdryers, radiators, shoe polish and ordinary leather conditioner should not be assumed suitable. A protector spray also needs a compatible label and hidden test; it does not seal an existing stain or make future spills harmless.
Care after the area is dry
Remove dry residue only by the approved method, then use a clean suitable brush to align the nap if the label allows it. Support footwear with plain unprinted paper or a shoe tree that does not stretch damp material. Keep garments and bags away from direct heat and pressure while drying. Do not apply colour restorer, waterproofing spray or conditioner until the stain treatment is finished and the surface is stable.
Store the dry item where air can circulate and where dark denim, damp clothing or coloured packaging cannot transfer dye. For furniture, keep the panel unused until its surface and inner layers have dried according to the maker’s instructions. If odour, coolness or a returning outline remains, moisture may still be present below the face material.
When to use a professional
Use the item maker, a cobbler or a leather specialist for genuine suede shoes and bags when dye moves, salt crosses seams, oil has penetrated, the shape changes or the mark is old. A suitable garment cleaner should assess suede clothing, mixed-material garments and structured pieces. Valuable, vintage, painted, embroidered or already damaged items may need a conservator rather than routine cleaning.
Tell the professional what caused the mark, when it happened and every product already used. Bring the label and packaging where possible. A photo taken before treatment helps separate the original stain from changes caused by drying or previous attempts. Complete removal may be impossible where dye, nap or construction has already changed.
Suede-look upholstery has a different route from footwear or clothing. First identify whether it is genuine suede, faux suede or microsuede and read the furniture code. Samyx Cleaning can confirm whether its upholstery cleaning scope fits the exact item. A booking does not assume that steam, hot-water extraction or any one method is suitable.
For ordinary woven upholstery, the separate sofa fabric guide explains the label-first boundary. Clothing stains on washable textiles belong in the broader fabric stains guide rather than being treated as suede.
Check Suede Upholstery Options
Enter your postcode to view our rates and availability in your area.

Frequently asked questions
-
Does vinegar remove stains from suede?
Vinegar may change some marks, but it is not universally safe for genuine suede, nubuck, faux suede or upholstery. Water, acidity, dye, finish, backing and adhesives differ. Follow the maker’s instructions and test any permitted product on a hidden area until dry.
-
Will baking soda ruin suede?
Bicarbonate can leave residue, lodge in the nap or alter colour during removal. Do not treat it as a default suede cleaner. Use it only when the item maker or a product labelled for the exact material permits that method.
-
Can you use a magic eraser on suede?
A magic eraser is abrasive and can remove fibres, flatten the nap or create a pale patch. It is not a safe default for suede. Use a suitable suede brush or eraser only when the material and maker instructions support it.
-
Are suede stains permanent?
Some marks improve after suitable care, while others involve lost dye, worn nap, hardened residue, water boundaries or changed construction. Once colour or surface fibre has been removed, further cleaning cannot fully restore the original material.
Important: Follow the item label, maker and cleaning-product instructions over general guidance. Test the exact permitted brush or product on a hidden area and let it dry before judging colour and nap. Wear any protection and use the ventilation, dilution, removal and drying steps on the product label. Never mix cleaning products. Stop for dye transfer, spreading rings, stiffness, surface loss, glue change, odour or distortion. Valuable, vintage, unknown, decorated or damaged suede should go to the maker or a suitable specialist before home treatment.
Author: Svetlana Georgieva (Clara)
Hi, I’m Svetlana Georgieva, but you can call me Clara. As the co-founder and heart behind Samyx Cleaning, I’m devoted to sharing the art of a clean space. Let’s journey into a cleaner, more joyful life together with tips from London's cleaning experts.

Discover more of our cleaning secrets: