
How to Remove Curry Stains with No-Nonsense Methods and Strategies

Last modified on: 31/08/2026
Publish: 26th Dec 2023
Views:
Category: DIY
Tags:
Baking soda, Cleaning tips, Eco-friendly cleaning, Stain removal, White vinegar

How to get curry out of clothes starts with treating the oily sauce and the yellow turmeric pigment as two different problems.
Remove the oil before treating the yellow pigment
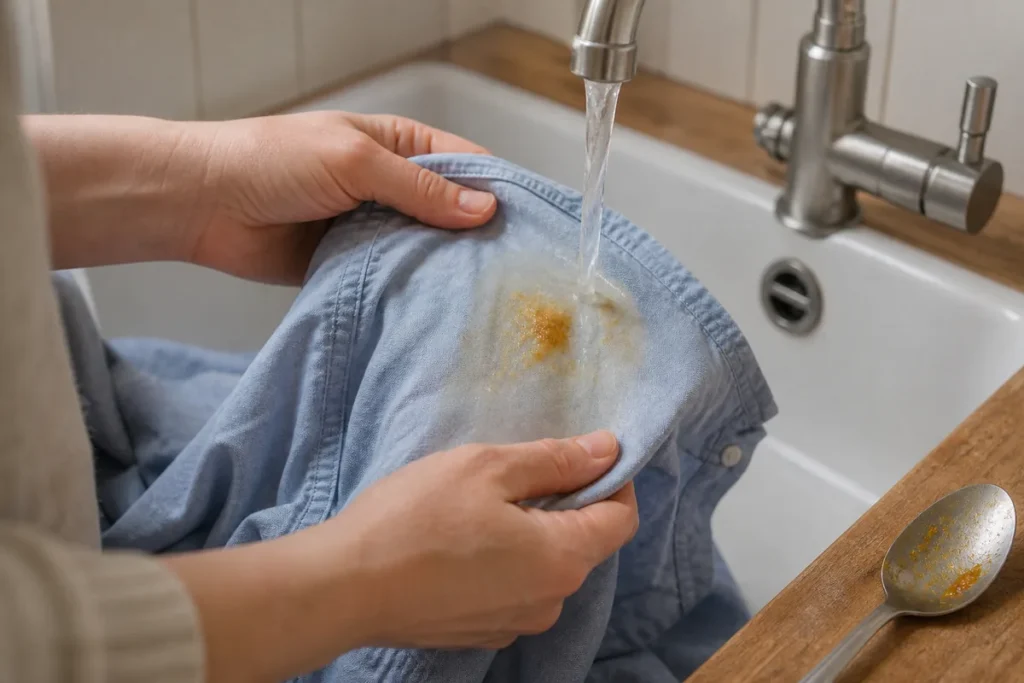
- Lift away loose curry with a spoon. Do not rub the sauce into a wider area.
- Hold the reverse of a washable garment under cold running water so the residue travels back out through the fabric.
- If the care label permits wet treatment, work in a small amount of washing-up liquid or liquid laundry detergent to loosen the oily part, then rinse.
- Treat the remaining yellow pigment with a stain product labelled for that fibre and colour. Do not assume a white garment can take chlorine bleach.
- Wash according to the care label, inspect in daylight and air-dry. Repeat a compatible treatment before using a tumble dryer if any mark remains.
Here’s a fun fact that’ll surprise no one – curry is one of the most popular dishes worldwide. It’s certainly one of the most popular takeout foods in London (chicken tikka masala, anyone?). But no matter how appetising curry is, we can’t gloss over the absolute nightmare that is curry stains.
This guide isn’t just about removing curry stains the right way. It’s about erasing those persistent yellow marks from existence. So, if you’ve been googling “how to get curry stain out of clothes,” you’re in the right place.
Key takeaways
- Curry sauce can leave both grease and turmeric pigment, so one treatment may not solve both parts.
- A fresh mark needs quick containment; an old or washed-in mark needs patient repeat treatment, not a stronger mixture.
- White, coloured, delicate and dry-clean-only garments have different treatment limits even when the stain looks identical.
- Heat belongs at the end of the process, after the garment has been checked in good light and the mark has gone.
Table of Contents
How to Get Curry Out of Clothes Step by Step
Start with the condition of the stain and the garment, not with the strongest product in the cupboard. The first stage removes loose sauce and oil. The second deals with any yellow pigment that remains. A care label, colourfastness test or dry-clean-only symbol can change the route before either stage begins.
| What you see | First useful move | What changes the next step |
|---|---|---|
| Fresh oily sauce | Lift solids and reverse-rinse with cold water | Whether the garment permits wet treatment and washing-up liquid |
| Yellow trace after the oil has lifted | Use one labelled pigment or oxygen-based stain treatment | Fibre, colourfastness and the care label |
| Old or already washed mark | Re-treat before applying more heat | Previous products, drying history and any colour or fibre change |
| Delicate, valuable or unknown fabric | Blot loose residue and stop | Manufacturer or textile-professional advice |
Do not stack several remedies on the same damp patch. Rinse out one treatment as its label directs before deciding whether another compatible step is needed.
You may also enjoy:

The Stubborn Science of Curry Stains
Alright, let’s get into the deep end of why curry stains are such a nightmare. Curcumin is the main villain here, but the story doesn’t end there.
Curcumin is a natural pigment found in turmeric, which is what gives curry its vibrant yellow color. This pigment isn’t just any colourant. It’s a sneaky one with a molecular structure that loves to bond with fabric fibres. Think of curcumin as that one guest at a party who just doesn’t want to leave.
But why is curcumin so clingy? It’s because of its lipophilic nature, meaning it’s more soluble in oil than in water. This is why curry stains are more than just a surface problem. They seep deep into the fibers, especially if the curry is oily. And let’s face it, most delicious curries have some amount of oil in them.
Moreover, curcumin is not just a colourant. Oh, no, it’s a bioactive compound with some pretty impressive properties. It’s known for its antioxidant and anti-inflammatory benefits when eaten, but these properties don’t make it any easier to remove from clothes. In fact, they add to its resilience. It’s almost ironic that the same properties that make turmeric a superfood make curcumin a super-stain.
To add to the challenge, the heat from a freshly cooked curry can help the stain set faster. Heat causes the fibers in your clothes to expand, making it easier for the curcumin to get cozy deep within the fabric. Once the fabric cools off and the fibres contract, the stain is trapped. It’s like a molecular game of hide and seek, and curcumin is an expert hider.
Understanding the science of curry stains is the first step in tackling them. It’s not just about applying a stain remover and calling it a day. It’s about knowing what you’re up against – a mix of chemistry, biology, and a bit of bad luck.
How to Remove Curry from Your Clothes Before Stains Set in
Let’s dive into the critical first moments after a curry spill – it’s like the opening scene of an action movie where every second counts. You’ve got curry on your clothes, and the clock’s ticking. What do you do? Here’s a step-by-step guide.
Step 1: Don’t panic
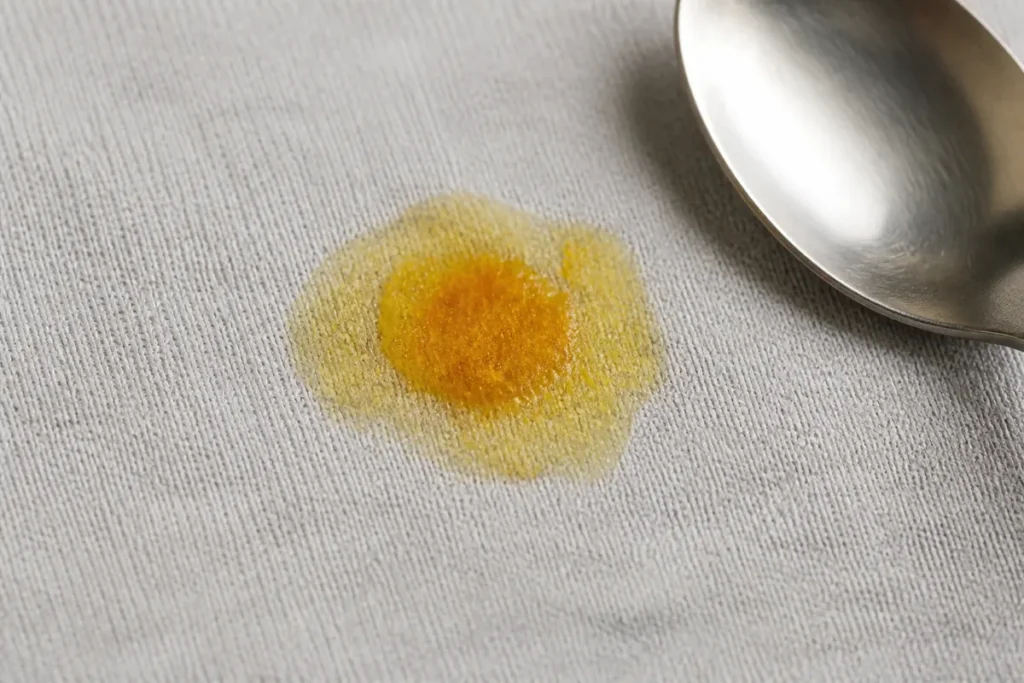
First, don’t panic. I know, easier said than done when your favourite shirt is at stake. But panic leads to rushed decisions, like rubbing the stain, which is a big no-no. Rubbing only drives the stain deeper into the fabric, making it even more comfortable in its new home. Instead, gently scrape off any excess curry from the fabric. Use a spoon or the back of a butter knife – whatever’s within arm’s reach. The goal here is to get rid of as much curry as possible without spreading it further.
Step 2: Blot the stain
Next, blot the stained area with a clean, damp cloth. This step isn’t about getting the stain out but about containment. Think of it as setting up the barricades before the cleaning cavalry arrives. Blot gently and whatever you do, don’t give in to the temptation to rub.
Step 3: Use cold water
Cold water is your friend here. Why cold, you ask? Hot water can set the stain, making it a permanent resident. Run the stained area under cold water, allowing the water to flow through the stain. This helps to lift some of the curcumin out of the fabric. It’s like a prewash, so don’t expect any wonders. Curcumin has a very low water solubility, so the water treatment won’t remove it.
Pro tip: If you can, use sparkling water instead of plain tap water. The carbonation in sparkling water can help lift the stain more effectively. Again, it won’t make a huge difference, so keep your expectations realistic.
Step 4: Apply dish soap
After the water treatment, if you’re at home, you can take a further step by applying a little dish soap to the stain. Dish soap is designed to fight grease, and since curcumin loves to bond with oil, this can be an effective tactic. Gently rub the soap into the stain with your fingers or a soft brush, then rinse thoroughly.
Note: Make sure the fabric can take it. Dish soap is generally safe to use on most fabrics, but you should nonetheless check the labels.
These initial steps are crucial in the fight against curry stains. They set the stage for the more intensive stain removal methods that follow. Remember, how to get curry stains out is all about strategy and patience. Treat it like a chess game – think a few moves ahead, and you’ll have a better chance of winning.
Check the care label before moving beyond first aid. Dry-clean-only garments, unstable dyes, beading, coatings and unknown fibres should not be soaked or scrubbed at home. If a patch test changes the colour, sheen or texture, rinse only as the product label allows and stop.
DIY Removing Curry Stains
It’s time to bring out the big guns – from your kitchen cabinet. Let’s talk about home remedies for removing curry stains. These are your secret weapons in the fight against curcumin.
Baking soda
Baking soda isn’t just for baking. It’s actually pretty good at stain removal. Its absorbent properties make it perfect for lifting oil-based components of curry stains. Make a paste using three parts baking soda to one part water, apply it to the stain, and let it sit for a few hours or overnight. The longer it sits, the more it absorbs. Once the time’s up, brush off the dried paste and check the results. It’s like magic, but science.
White vinegar
White vinegar comes into play with its acidic power. Mix one part vinegar with two parts water and apply it to the stain. Let it sit for about 30 minutes. Vinegar works by breaking down the curcumin, weakening its grip on the fabric. It’s a battle of chemistry, and vinegar doesn’t like to lose.
Note: Don’t use vinegar on delicate fabrics.
Lemon juice
Lemon juice, nature’s bleach, is great for lighter fabrics. Its natural bleaching effect can help fade the stain. Squeeze some fresh lemon juice onto the stain and let it bask in the sun. The sun’s UV rays activate the lemon juice’s bleaching power, like flipping a switch on a superhero’s powers. Just be cautious with colored fabrics, as lemon can lighten them too.
Salt
Here’s an underdog contender – salt. Good old table salt can be surprisingly effective, especially on fresh stains. Sprinkle a generous amount of salt over the stain and let it sit. The salt draws out the moisture and, with it, some of the stain. After a while, rinse it off and see the difference. It’s a simple yet effective tactic.
Hydrogen peroxide
For white or light-colored fabrics, hydrogen peroxide can be a game-changer. It acts like a milder form of bleach, fizzing and bubbling away at the stain. Just dab a little on the stain, let it sit for a bit (you’ll see it bubbling), and then rinse off. Be cautious with colored fabrics, though; hydrogen peroxide can bleach them too.
Liquid dish soap
Back to dish soap, because it deserves a second mention. As mentioned earlier, its grease-fighting properties make it a worthy opponent against curry stains. Apply a small amount directly to the stain, gently work it in with a soft brush or your fingers, and then rinse.
The options above are alternatives, not ingredients for one mixture. Lemon juice, vinegar and hydrogen peroxide can alter dyes or fibres, and a long paste or soak can exceed a garment’s care instructions. Choose one compatible method, patch-test where the label permits and wash or rinse it out before considering another.
How to Remove Curry Stains from White and Coloured Clothes
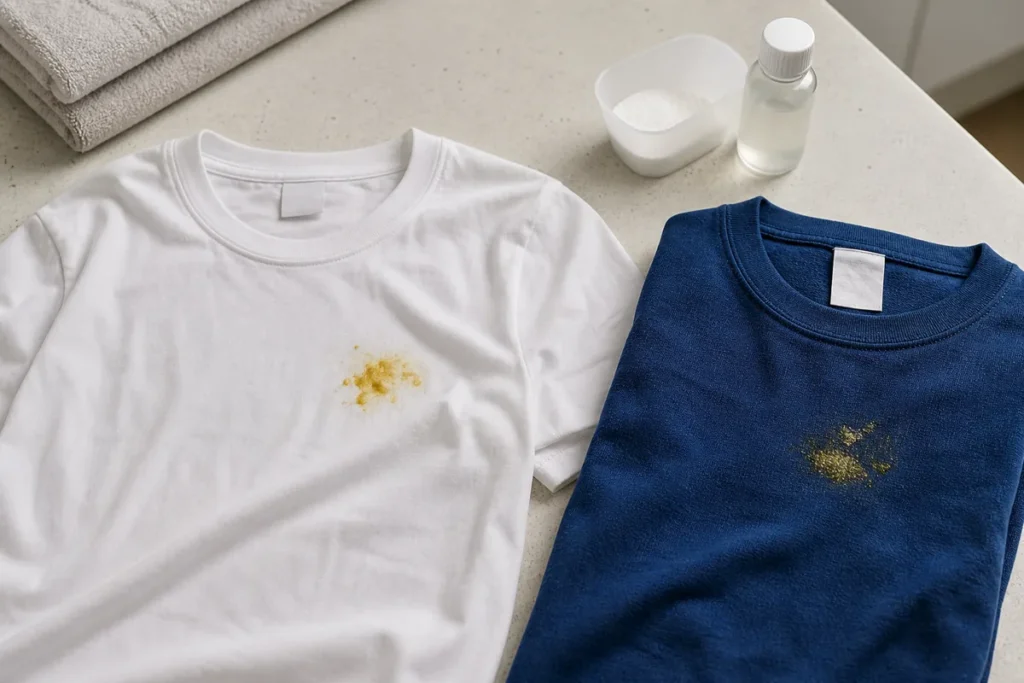
The colour of the garment changes the pigment-treatment stage, but it does not remove the need to deal with grease first. A white shirt may tolerate a labelled oxygen-based stain remover, while a coloured garment may need a shorter treatment and a colourfastness check. White fabric is not automatically chlorine-bleach safe.
| Garment | Compatible route to consider | Avoid assuming |
|---|---|---|
| Washable white cotton or linen | After degreasing, use a labelled oxygen-based laundry treatment for the stated contact time | That chlorine bleach is allowed simply because the fabric is white |
| Colourfast cotton or synthetic | Patch-test a colour-safe product and keep within its dose and time limits | That a treatment used on white clothing will preserve the dye |
| Wool, silk or embellished fabric | Follow the specialist care label or use a textile professional | That a household acid, peroxide, brush or long soak is gentle |
| Dry-clean-only or unknown fabric | Remove loose residue, blot without spreading and seek professional advice | That a home rinse is harmless |
If a yellow trace remains after one compatible cycle, repeat the same labelled process only when the fabric still looks and feels unchanged. Switching to a harsher product can turn a removable stain into colour loss or fibre damage.
Commercial Stain Removers for Curry Stain Removal
Alright, we’ve tried the DIY route, but sometimes you’ve got a stain so stubborn it laughs in the face of home remedies. Enter commercial stain removers. But before you grab the first bottle you see, let’s talk strategy, because not all stain removers were created equal.
Enzymes and solvents
Many commercial stain removers boast a blend of enzymes and solvents. Enzymes are like microscopic warriors that break down the structure of the stain, making it easier to wash away. They’re especially good for organic stains – and yes, curry counts. Solvents, on the other hand, dissolve the stain, attacking it on a chemical level. It’s like having both a sniper and a brawler on your team.
Pre-treatment
Pre-treatment can make a world of difference. Apply the stain remover directly to the curry stain and let it sit for a while before laundering. This gives the enzymes and solvents time to work their magic. It’s like marinating meat – the longer it sits, the better it gets. Don’t overdo it, though.
Eco-friendly options
Now, for those of you who are environmentally conscious, there are eco-friendly stain removers. They use plant-based ingredients and avoid harsh chemicals. While they might be gentler on the planet, don’t underestimate their stain-fighting capabilities. They can pack quite the punch, often with a pleasant, non-chemical scent. As always, I advocate for avoiding the harsh chemicals and using the more eco-friendly options.
Not just for clothes
Don’t forget that commercial stain removers aren’t just for clothes. They can be used on a variety of fabrics and surfaces. Got a curry stain on your upholstery or carpet? There’s a stain remover for that. Just ensure it’s suitable for the material you’re treating. It’s important to choose the right tool for the job.
The final wash
After pre-treating the stain, it’s time for the final showdown in the washing machine. Use your regular detergent, but consider adding a stain-removing booster if the stain is particularly villainous.
How to Remove Old Curry Stains After Washing
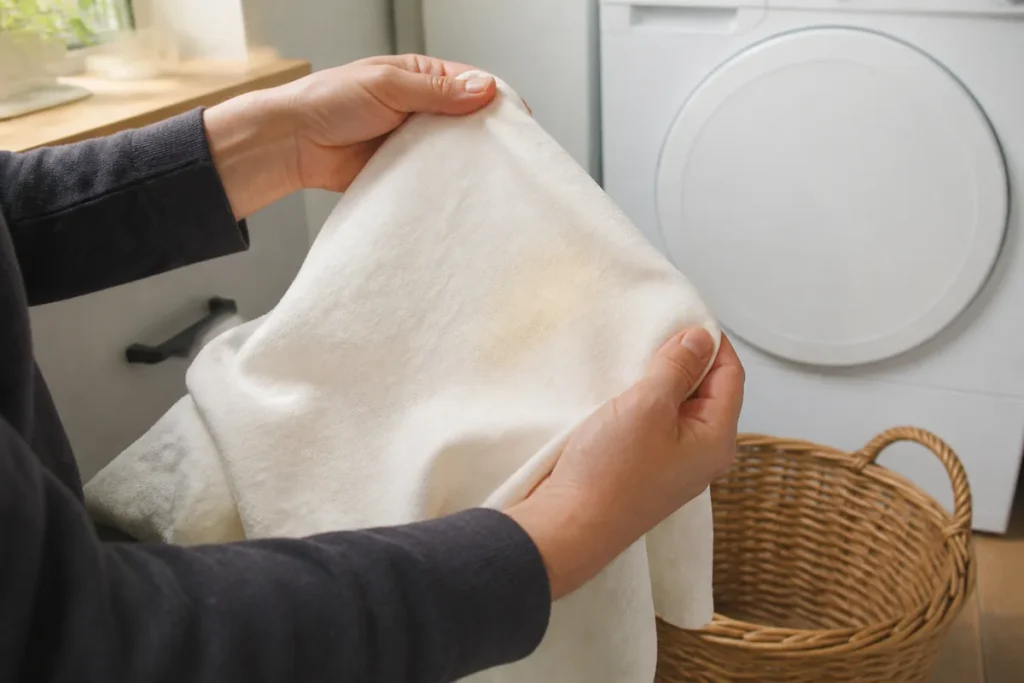
An old or washed-in curry stain needs another controlled treatment cycle. It does not need several products layered together. Heat can make the remaining oil and pigment harder to shift, so keep the garment out of the tumble dryer while the mark is still visible.
- Check the dry garment in daylight and confirm that the apparent mark is staining rather than colour loss from an earlier treatment.
- If the care label permits, rinse the reverse with cool water and apply a small amount of liquid laundry detergent or washing-up liquid to any greasy area.
- Rinse as directed, then apply one labelled stain remover suitable for the fibre and colour. Keep to its stated dose, water temperature and contact time.
- Wash on the care-label programme, air-dry and inspect again. A faint mark may need a second compatible cycle.
- Stop if the fabric loses colour, changes texture, stretches, pills or develops a pale halo. Previous tumble drying can limit what home treatment can recover.
Getting Curry Stains Off of Different Fabrics and Surfaces
Sadly, getting rid of curry stains doesn’t offer any one-size-fits-all scenarios. The complex nature of the stains necessitates a combination of approaches. Unfortunately, not all surfaces and fabrics can take these approaches. Once more, we’re locked into a delicate balancing act – trying to remove the stain while preserving the fabric.
Silk and wool
Silk and wool are like the high-maintenance stars of the fabric world. They need gentle, yet effective treatment. For these, avoid harsh chemicals or vigorous scrubbing. Opt for gentler soap solutions and warm water. Patience is key here. It’s more about finesse than force.
Cotton and synthetics
Now, cotton and synthetic fabrics are more resilient. They can handle tougher treatments. Feel free to use stronger solutions and a bit of elbow grease. But even they have their limits, so avoid boiling hot water or super harsh bleaches that could damage the fabric.
Upholstery and carpets
Moving to the trickier territories – upholstery and carpets. Here, the key is to avoid over-wetting, which can lead to watermarks or even mould. Use a targeted approach by applying your cleaning solution directly to the stain and blotting it gently. You need to be precise and careful.
Leather and suede
Leather and suede are a whole different ball game. They’re like the divas of materials. For these, avoid water-based treatments as they can cause damage or discoloration. Specialised leather or suede cleaners are your best bet here.
Carpet, fitted upholstery, leather and finished household surfaces do not follow the clothing method. Their backing, padding, finish or colour can trap moisture and cleaning residue, so use guidance written for that material rather than transferring a garment recipe.
The final rinse
Regardless of the fabric, after treating the stain, give it a gentle rinse. This helps to remove any residue from the cleaning agents. It’s like giving your dishes a final rinse after washing them – it’s about leaving things clean and fresh.
Preventive measures
As I always say, prevention is the best cure. Using fabric protectors on upholstery and carpets can make future stains less of a headache. And if you’re having trouble with the dessert, such as chocolate stains, we’ve got you covered.
Frequently asked questions
-
Does curry permanently stain clothes?
Not always. A fresh stain has a better chance of lifting because less oil and pigment have settled into the fibres. Washing or tumble drying can make the mark harder to remove. Repeat only a treatment that is compatible with the care label, and stop if the garment loses colour or changes texture.
-
Can toothpaste remove curry stains?
Toothpaste is not a controlled laundry treatment. Abrasives, whiteners, flavourings and colourants vary between formulas and may leave residue or affect the fabric. Use a product labelled for the garment and stain instead.
-
Does a labelled stain remover work on curry?
It can help after the oily part has been treated, but the product must match the fibre and colour. Follow its dose, water temperature, contact time and washing directions. Do not combine it with another cleaner or bleach unless the label specifically instructs you to do so.
Important: Follow the cleaning-product label and the garment manufacturer’s care instructions over general guidance. Patch-test where the label permits, use gloves and ventilation when required, and rinse and dry exactly as directed. Never mix stain removers, acids, peroxide or bleach, and never mix chlorine bleach with ammonia or acidic products. Stop if the colour, sheen, coating or fibre changes. Delicate, valuable, damaged, unknown or dry-clean-only items need manufacturer or textile-professional advice before further treatment.
How Samyx Cleaning Can Help After a Curry Spill
Clothing follows its care label or a textile professional. If the same spill has also reached washable kitchen surfaces, floors or the surrounding room, Samyx Cleaning’s one-off cleaning can cover that separate household clean-up without being presented as a laundry or garment-restoration service.
Book One-Off Cleaning
Enter your postcode to view our rates and availability in your area.

Conclusion
You’re now armed with knowledge and strategies to tackle those dreaded curry stains. Remember, the right approach and a bit of quick action can make all the difference. Keep these tips handy, and you’ll be the victor in this culinary clean-up. And, as always, if you need us, we’re never more than a phone call away.

Author: Atanas Dzhingarov
Hi, I’m Atanas - brand consultant and writer. I’m helping Samyx Cleaning create the best cleaning company blog on the Internet. Join us on our journey and learn how to live a cleaner, healthier, happier life in the process.
Discover more of our cleaning secrets: