
How to Clean a Bird Cage Safely: Cleaner, Routine and Disinfection

Last modified on: 13/09/2026
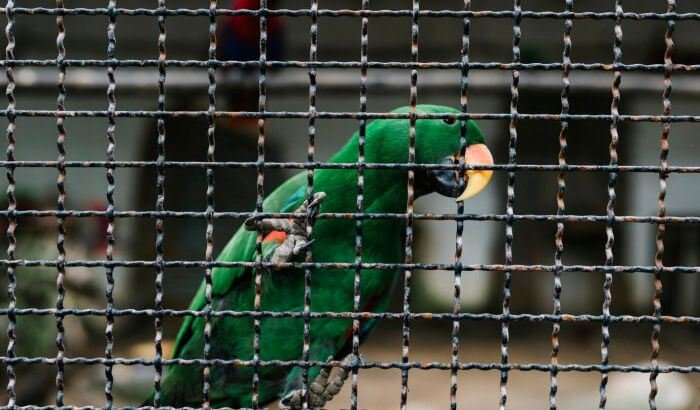
How to clean a bird cage safely starts with two rules: remove the bird from the cleaning area and control dust before you start scrubbing. Birds have sensitive respiratory systems, so a product that seems mild to a person can still be a poor choice around a cage.
The goal is not to make the cage smell strongly of lemon, vinegar or disinfectant. It is to remove droppings, food residue, feather dust and old liner material, rinse away cleaner residue and return the bird only when the enclosure is clean, dry and free from fumes.
Clean the cage without putting dust or fumes into the bird’s air
- Move the bird to a separate safe enclosure before using soap, vinegar or disinfectant.
- Dampen dried droppings and dusty debris before removal instead of dry sweeping or vacuuming them.
- Wash the cage and washable accessories, then rinse every surface thoroughly with fresh water.
- Let the cage dry and air out completely before the bird returns.
Key Takeaways
- Move the bird away from cleaning fumes and aerosols before you begin.
- Wet dusty droppings before removal instead of dry sweeping or vacuuming the cage debris.
- Use cleaning products for a defined job, then rinse away all residue.
- Clean food and water bowls daily and replace disposable cage-bottom paper frequently.
- Disinfection is a separate step from routine cleaning and needs the correct product, contact time, ventilation and final rinse.
Table of Contents
Why bird cage cleaning needs different rules
A bird cage collects droppings, food, water splashes, feathers and fine dander in one small area. Leaving that material in place makes the enclosure harder to clean and increases the amount of dust and organic residue around the bird.
The cleaning process can create its own risk if dry debris becomes airborne. The US Centers for Disease Control and Prevention recommends wetting bird cages and surfaces before cleaning and avoiding dry sweeping or vacuuming, because those methods can put contaminated dust into the air. The same guidance advises washing hands after handling birds, droppings or cage items. See the CDC bird-cage cleaning guidance.
This does not mean every dirty cage contains a dangerous infection. It means wet cleaning is the better default because it controls dust while you remove the material that should not remain in the enclosure.
What bird cage cleaner should you use?
Start with the least complicated product that will do the job. For routine soil on washable cage surfaces, a small amount of suitable liquid soap and water can remove dirt before a thorough rinse. If you use a commercial bird-cage cleaner, follow the label exactly rather than assuming that “pet safe” means it can stay on the surface.
White vinegar has a narrower role. Veterinary guidance notes that it can help remove urates and dried droppings from metal and plastic, but it should not be treated as a universal disinfectant. Vinegar can also produce irritating fumes, so the bird should be out of the room while it is being used and the cage must be rinsed afterwards.
Natural does not automatically mean bird-safe
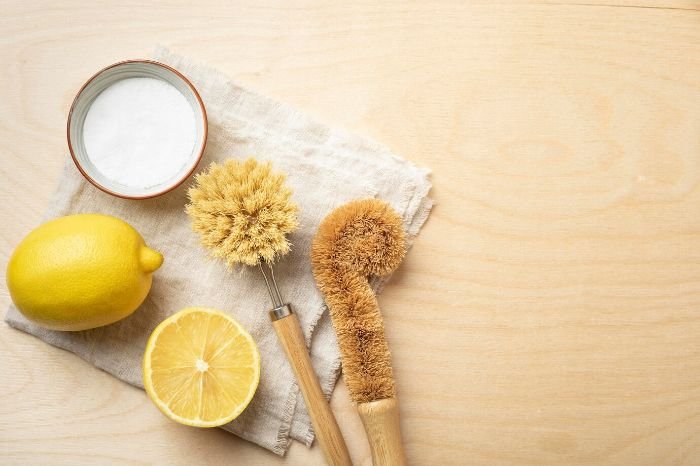
Lemon juice, essential oils, scented sprays and loose powders are often suggested in homemade cleaning lists because they smell fresh or seem less chemical. That is not a useful safety test for birds. Their respiratory systems are sensitive to airborne irritants, and veterinary sources specifically warn about perfumes, sprays, cleaning-product fumes and essential-oil diffusers around birds.
That is why I would not spray lemon mixtures around an occupied cage or rely on fragrance to “deodorise” it. Remove the source of the odour instead. The same principle applies to loose baking soda: rather than sprinkling powder under the cage as a routine deodoriser, remove soiled liner material and clean the tray. For the broader issue of scented products, see our guide to essential oils and cleaning.
How to clean a bird cage step by step
- Move the bird first. Put the bird in a secure temporary cage or another safe enclosure away from the cleaning area. Close doors and windows before transferring a free-flying bird.
- Remove bowls, toys, perches and liner material. Keep washable items separate from anything porous, frayed, damaged or heavily soiled.
- Dampen dried debris. Use water to wet droppings and dusty material before lifting it away. Do not shake dirty liner paper or dry-vacuum cage debris.
- Wash the cage. Use warm water and an appropriate cleaner on bars, tray, grate, corners and fasteners. A brush can help loosen dried material without creating airborne dust.
- Rinse thoroughly. Soap or disinfectant residue should not remain on surfaces the bird can touch, climb or chew.
- Clean accessories by material. Wash bowls every day. Scrub washable metal or hard plastic items. Replace porous or damaged items when they cannot be cleaned properly.
- Dry and ventilate. Reassemble only after the cage and accessories are dry and the cleaning smell has cleared.
Keep Dirty and Clean Items Separate During the Job
Set up two clear zones before opening the cage. The dirty zone holds the used liner, soiled accessories and cleaning brush. The clean zone is only for rinsed, dry bowls, perches and toys. Do not place a washed food bowl back on the same cloth or tray that held droppings. Wash your hands after handling waste and again before refilling food or water.
Fold or roll disposable liner inwards so the contaminated surface is contained. If droppings have dried, dampen them before lifting them and work close to the surface. The CDC bird-care guidance recommends cleaning bird cages and equipment safely and washing hands after contact. This matters for the person doing the cleaning as well as for the bird.
Use cage-only brushes and cloths where practical. Clean and dry those tools after the job, then store them away from kitchen equipment and the bird’s food. A tool that still contains organic debris can move contamination back onto the next supposedly clean surface.
Routine cleaning and disinfection are not the same job
Task
Routine cleaning
Disinfection
Purpose
Remove droppings, food, dust and visible soil.
Reduce microorganisms after the surface has already been cleaned.
Product
Water plus a suitable cage-cleaning soap where needed.
A product appropriate for the cage material and bird environment, used exactly to label directions.
Bird present?
Move the bird away before using cleaners.
No. Keep the bird out of the room and ventilate the area.
Finish
Rinse and dry.
Observe contact time, then rinse as directed and dry fully before reuse.
Disinfectant works best after visible dirt has been removed. VCA’s avian hygiene guidance also stresses that cage disinfectants and vinegar need good ventilation, the bird should not be in the room during use, and chemical residue must be rinsed away before the bird returns. See the VCA cage-hygiene guidance.
If the bird is sick, has suspected psittacosis, or the cage has been used by another bird with an unknown health history, routine household cleaning advice is not enough. Speak to an avian veterinarian about the correct disinfection procedure rather than mixing stronger products yourself.
Choose a Cleaner by Purpose, Cage Material and Rinsing Instructions
For everyday soil, the first task is physical removal with water and a suitable cleaning product, not maximum chemical strength. Check that the label permits use on the cage material and explains dilution, contact time and rinsing. Painted or coated bars, acrylic panels, metal fasteners, plastic trays and natural wood accessories do not necessarily tolerate the same product.
A bird-safe marketing claim does not remove the need to follow the label. Use the stated amount, keep the bird away from the room, and rinse surfaces the bird can stand on, climb or chew. Never combine vinegar with bleach or add fragrance or essential oil to make the cage smell cleaner. If a product leaves a persistent odour after rinsing and ventilation, do not return the bird while the smell remains.
You may also enjoy:
How often should you clean the cage?
Food and water dishes need daily cleaning. Disposable paper on the cage bottom is also useful because it can be replaced frequently and makes changes in droppings easier to notice. Heavily soiled areas should be dealt with when they appear rather than waiting for a fixed “cleaning day”.
For the full enclosure, frequency depends on the number and species of birds, cage size and how quickly debris builds up. Veterinary guidance commonly recommends a full scrub at least periodically, with more frequent attention to bowls, trays and obvious contamination. A routine that removes waste early is easier than trying to deodorise an overdue cage later.
- Every day: wash food and water bowls, replace contaminated drinking water, remove spoiled fresh food and change visibly soiled liner.
- As contamination appears: dampen and remove droppings from bars, grate, perches and the surrounding floor instead of waiting for the next full clean.
- On a regular full-clean cycle: empty the enclosure, wash the tray, bars, grate, corners and washable accessories, then inspect everything before reassembly.
- When health risk changes: ask an avian veterinarian whether a separate disinfection protocol is needed for illness, quarantine or a second-hand cage.
Perches, bowls and toys need material-specific care
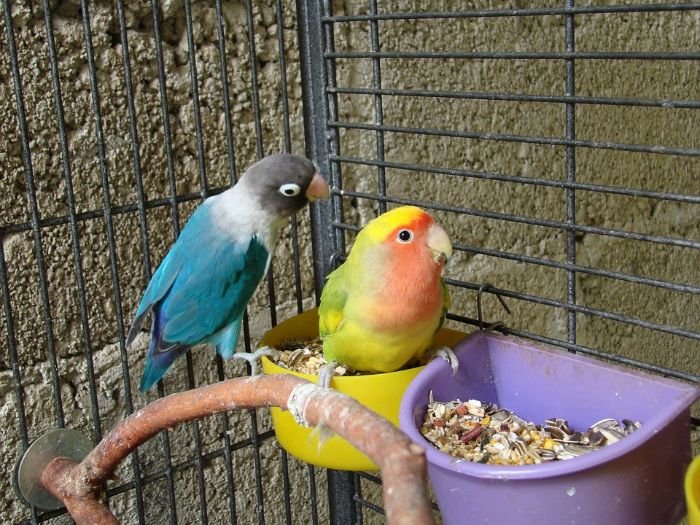
Metal and hard plastic bowls are easier to wash and rinse than porous accessories. Wood, wicker, bamboo, rope and fabric can hold organic material below the visible surface, so badly soiled or damaged items may need replacement rather than another round of spraying.
Check rope toys for fraying and cage parts for rust, peeling coating, sharp edges or loose fasteners while the cage is empty. Cleaning is a good time to find damage before the bird starts chewing or climbing on it again.
Cleaning the room around the cage
Feather dust, seed husks and tracked debris do not stay inside the enclosure. Clean the surrounding floor and nearby hard surfaces with the same dust-control principle: damp-wipe or wet-clean fine debris rather than blowing it around the room.
Keep strong fragrance, air fresheners, aerosol cleaners and essential-oil diffusers away from the bird’s air. The MSD Veterinary Manual lists cleaning-product fumes, perfumes and other sprays among household hazards for pet birds because their respiratory tracts are highly sensitive. You can also use our cleaning-product ingredients guide when checking what a household product actually contains.
If you book regular domestic cleaning for the surrounding room, keep the bird and cage-care routine separate unless the exact pet-care task has been agreed in advance. The cage itself needs the owner to control products, rinsing and the bird’s safe temporary location.
Need a cleaning service?
Enter your postcode to view our rates and availability in your area.

Bird safety note: If a bird develops breathing difficulty, weakness or unusual behaviour after exposure to cleaning fumes or aerosols, move it to fresh air and contact an avian veterinarian promptly. Do not mix cleaning products.
Frequently Asked Questions
-
What is the safest way to clean a bird cage?
Move the bird to a separate safe enclosure, dampen dusty debris before removal, wash the cage with an appropriate cleaner, rinse every surface thoroughly and let the enclosure dry and air out before the bird returns.
-
Is vinegar safe for cleaning a bird cage?
White vinegar can help remove urates and dried droppings from some metal and plastic surfaces, but it is not a universal disinfectant. Use it with ventilation, keep the bird out of the room and rinse the cage afterwards.
-
Can I use baking soda in the bottom of a bird cage?
It is better to remove odour at the source by changing the cage-bottom paper and cleaning the tray. Loose powders can add dust to the bird’s environment, so baking soda should not be treated as a routine deodorising layer.
-
How often should bird food and water bowls be cleaned?
Clean food and water bowls daily. Cage-bottom paper should also be changed frequently, and obvious droppings or food contamination should be removed when noticed.
-
Can I clean a bird cage while the bird is inside?
Do not leave the bird in the cage while using soap, vinegar, disinfectant or other cleaners. Move it to a secure temporary enclosure away from the cleaning area and return it only after the cage is rinsed, dry and free from fumes.
Author: Svetlana Georgieva (Clara)
Hi, I’m Svetlana Georgieva, but you can call me Clara. As the co-founder and heart behind Samyx Cleaning, I’m devoted to sharing the art of a clean space. Let’s journey into a cleaner, more joyful life together with tips from London's cleaning experts.

Discover more of our cleaning secrets: