
How to Deep Clean a Garage Safely: A Practical Checklist

Last modified on: 26/08/2026
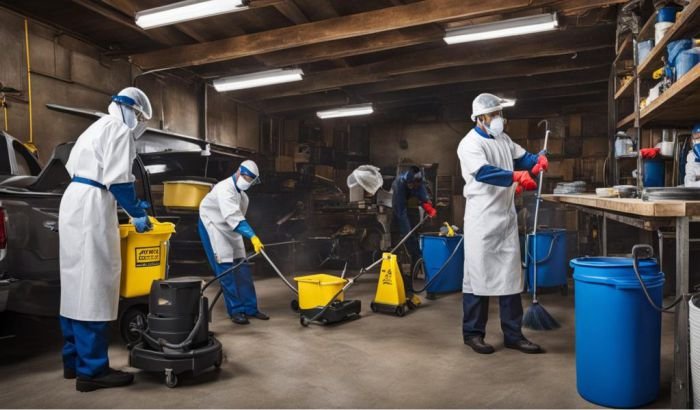
How to deep clean a garage begins with a safety check, a clear route for unwanted items and a plan for the floor finish. Remove ordinary dry dust before adding moisture, keep waste streams separate and stop when you find leaking chemicals, damaged electrics, suspected asbestos, pest contamination or another condition that ordinary household cleaning cannot control.
Key takeaways
- Hazard triage comes before decluttering because moving the wrong container, board or nest can spread a problem.
- A garage cleaning checklist works best when it separates disposal, dry cleaning, damp cleaning and storage reset into distinct stages.
- Concrete, painted concrete, resin coatings and tiles need different brushes, products and amounts of water.
- Oil, fuel, paint, solvent and contaminated wash water do not belong in surface-water drains.
- Professional cleaning becomes a sensible next step only after waste, heavy clutter and specialist hazards have been removed from the agreed work area.
Table of Contents
How to deep clean a garage: run the hazard check
Work from the doorway with good light before putting a hand behind boxes or sweeping the floor. Check for a chemical smell, damp patch, loose wiring, damaged shelving, broken glass, droppings, nests, corroded batteries and containers with missing labels. Photograph labels that are hard to read without moving the container. Keep children and pets outside the work zone.
Older garages may contain cement sheets, insulation boards or textured materials that cannot be identified by sight alone. Do not drill, scrape, sand, brush or vacuum a suspect material. A damaged garage-door spring, cable or powered mechanism also sits outside cleaning work. Isolate the area and seek competent advice before the clean continues.
| What you find | Controlled response | Stop point |
|---|---|---|
| Ordinary cobwebs, soil and settled household dust | Continue with a suitable vacuum and soft brush from high to low | Stop if the material beneath is damaged or unknown |
| Leaking paint, fuel, oil, solvent or unlabelled liquid | Keep people away and follow the product or local disposal route | Do not mop, mix, decant or hose it towards a drain |
| Droppings, nests, insects or a strong animal odour | Limit access and identify the pest route | Do not dry-sweep or vacuum widespread or unknown contamination |
| Broken glass, needles or concealed sharp metal | Keep the route closed until suitable collection and disposal are arranged | Do not reach into a blind gap or press waste into an ordinary bag |
| Bulging battery, corroded terminals or damaged power tool | Leave it undisturbed and follow the maker or local specialist route | Do not charge, crush, puncture or place it with mixed waste |
| Loose ceiling board, suspect insulation or crumbling sheet material | Keep the material intact and seek identification advice | Do not disturb it with brushes, abrasives or a vacuum |
Use a torch and a controlled tool for hard-to-reach areas. Standing on boxes, workbenches or movable shelving creates a second hazard. Leave high fittings alone when a stable floor-operated tool cannot reach them without contacting wiring or the garage-door mechanism.
Use this garage cleaning checklist in order
Set aside enough time to finish each wet stage and let the space dry. A packed garage may need more than one session. Close each session with a clear exit, stable shelving and every chemical container upright. The next phase starts only when the completion check is true.
| Stage | Action | Completion check |
|---|---|---|
| 1. Prepare | Move the vehicle, open the main door, light the space and gather gloves, labelled boxes, cloths, a soft brush and a suitable vacuum | The exit, fuse access and garage-door path remain clear |
| 2. Triage | Inspect for spills, pests, sharps, damaged electrics, suspect building material and unstable storage | Every stop item is isolated and routed before ordinary cleaning |
| 3. Sort | Create keep, move, donate, recycle, ordinary rubbish and specialist-disposal groups | No unknown container has been opened or mixed with another waste stream |
| 4. Clear | Remove portable items from one working zone at a time | The floor route is visible and heavy items remain stable |
| 5. Dry clean | Vacuum cobwebs, shelves, walls, ledges and the floor from high to low | Loose grit is gone before any damp product is introduced |
| 6. Damp clean | Wipe known washable fittings and treat the floor by its finish and soil | No liquid has reached sockets, door controls, stored chemicals or drains |
| 7. Dry and inspect | Ventilate, dry surfaces and check for leaks, damage or remaining residue | The floor and storage surfaces are dry before items return |
| 8. Reset | Return clean, dry items by zone with heavy objects low and labels facing out | Nothing obstructs the exit, vehicle clearance or garage-door movement |
Choose equipment after the hazard check. For an ordinary domestic garage, the useful set is small: a bright torch, product-specified gloves and eye protection, strong labelled sorting boxes, a vacuum suitable for the soil, soft brush heads, washable cloths, a nylon floor brush and separate containers for clean and dirty water. A disposable dust mask does not make suspected asbestos, pest contamination or unknown powder suitable for household cleaning.
Inspect extension leads, plugs and vacuum hoses before work. Keep electrical connections away from damp zones and do not run a lead beneath the garage door. A wheeled vacuum needs a clear route so it cannot pull over stacked items. Washable heads used on the floor stay separate from heads used on shelves, handles or clean storage containers.
Sort possessions without mixing waste
Clear one wall or floor bay at a time. Moving everything onto the drive can create an exposed pile that must be carried back when weather changes. Give each item a destination before it leaves your hands. A short decluttering checklist can keep decisions moving when the volume feels unmanageable.
- Keep here: clean, dry items used in the garage and suitable for its temperature and humidity.
- Move indoors: papers, fabrics, electronics or sentimental items that the garage cannot protect.
- Donate or sell: working items that no longer earn their storage space.
- Recycle: separated materials accepted by the relevant local collection point.
- Ordinary rubbish: only items accepted in the household waste stream.
- Specialist route: hazardous, electrical, automotive, chemical or sharp items that need a named collection or disposal service.
UK disposal rules depend on the material and local authority. Check the current route for hazardous household waste before transporting paint, chemicals, batteries or oil. Keep every product in its original labelled container where possible. Do not combine leftovers to save space.
Cardboard softened by damp, rusted tins and containers with residue need closer attention before they return to storage. Read the label without opening a swollen or leaking pack. Keep incompatible products apart and place each upright in the storage conditions stated by its maker. Gas cylinders, fuel and automotive fluids need their own current storage and disposal rules; ordinary shelving or a warmer spot near an appliance is not automatically suitable.
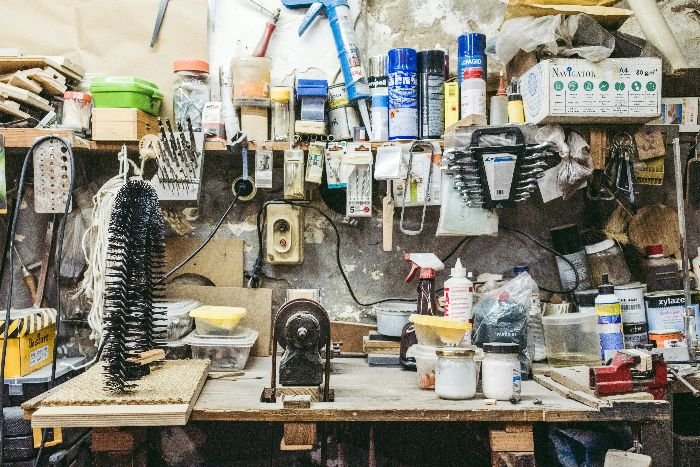
Remove dry dust from high to low
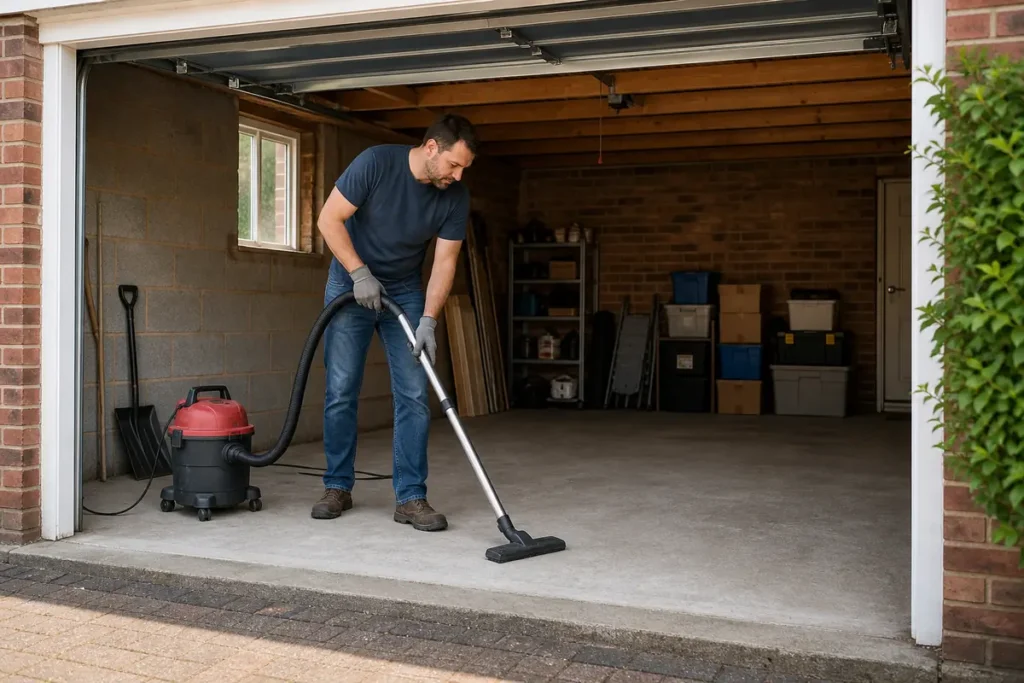
Ordinary garage dust can contain soil, tyre debris, fibres, pollen and fine material from stored objects. Open the main door for ventilation and work in small zones. A suitable vacuum collects more dust than aggressive dry sweeping. Do not use it on unknown powder, suspected asbestos, pest contamination, hot ash or liquid.
- Remove loose cobwebs from accessible ceiling edges and upper wall corners with a soft extension head.
- Vacuum the tops of stable shelves, beams and cabinets, keeping the nozzle clear of cables and door hardware.
- Work down shelf faces, window ledges, skirting edges and exposed pipework with a soft brush attachment.
- Vacuum the cleared floor slowly, including accessible edges, without dragging the lead across the exit or door track.
- Empty or clean the machine by its instructions away from the finished garage zone, then wash reusable heads and let them dry.
Watch the airflow and sound of the vacuum. Falling suction, a blocked nozzle or dust escaping at a seal means the machine needs attention before it continues. Fine ordinary dust may require a compatible filter and bag specified for that machine. Never improvise a filter or open a dust container inside the newly cleaned garage.
You may also enjoy:
Clean walls, doors and fixed fittings carefully
Bare blockwork and unfinished masonry usually need dry dust removal only unless their care requirements permit washing. A damp mark, salts on masonry, flaking paint or recurring mould-like growth points to moisture that cleaning alone cannot correct. Identify leaks and ventilation problems before covering the symptom.
For a known washable painted wall, remove loose dust, patch-test a mild labelled product and use a well-wrung cloth. The finish checks used for painted wall care apply here too. Stop if colour transfers, the coating softens or the surface becomes chalky.
Vacuum loose grit from accessible garage-door tracks without touching cables, springs, rollers or powered controls. Wipe the accessible door face only by the manufacturer’s care instructions. Switch off and isolate permitted electrical equipment before exterior cleaning, keep moisture away from sockets and controls, and leave internal electrical work to a competent person.
Choose a garage floor method by finish
Start with the least wet method that can remove the identified soil. A product suitable for bare concrete can dull paint, soften a coating or damage grout. Read cleaning product labels for dilution, contact time, ventilation, protective equipment and rinsing. The same rules for safe chemical use apply in a garage.
| Floor or soil | Controlled starting method | Stop point |
|---|---|---|
| Unsealed concrete with ordinary dirt | Vacuum grit, apply a small amount of labelled concrete-compatible cleaner, scrub with a suitable nylon brush and collect residue | Stop if the slab powders, flakes or absorbs liquid unevenly |
| Painted or sealed concrete | Vacuum, patch-test a mild compatible product and use a soft pad or mop with limited water | Stop for colour lift, tackiness, dulling or coating change |
| Resin or epoxy coating | Follow the coating maker’s cleaning method with non-abrasive tools | Do not use an unknown solvent, harsh abrasive or steam method |
| Garage tiles | Vacuum joints and clean by the tile and grout material, keeping water away from loose edges | Stop if tiles lift, joints crumble or liquid can reach wiring beneath |
| Fresh oil or greasy residue | Keep people away, identify the substance and use the product or local specialist spill route | Do not hose it across the floor or into a drain |
| Old dark stain with no active residue | Test a small compatible degreasing method and accept that discolouration may remain | Stop when the floor coating changes or the stain may be within damaged material |
| Unknown coating or unknown residue | Use dry collection around the area and seek identification advice | Do not experiment with acids, alkalis, solvents or mixtures |
A domestic garage deep clean rarely needs a pressure washer. Indoor pressure can spread contaminated droplets, force water into joints and electrics, and create runoff that is difficult to collect. Use controlled amounts of liquid, work towards a recoverable area and collect dirty solution as the product and local disposal route require.
Distinguish an active spill from an old mark. Wet edges, odour, fresh transfer to an absorbent pad or liquid emerging from a container indicate an active source that must be contained and routed before cosmetic cleaning. A dry historic stain may remain after compatible degreasing because oil can penetrate unsealed concrete. Repeated aggressive scrubbing can roughen the surface without removing the embedded colour.
Dry the garage before rebuilding storage
Keep the main door open when weather and security allow, and leave cleaned shelves and floors exposed until dry. Check corners, wall-to-floor junctions and the underside of movable storage. Returning cardboard or textiles to damp surfaces can trap moisture and hide a leak.
- Place heavy tools and containers on low stable shelves within comfortable reach.
- Keep labels facing out and record any use-by, inspection or disposal date that matters.
- Store chemicals by their labels, away from ignition sources, food, animal feed and incompatible products.
- Keep sharp tools secured and cover exposed cutting edges.
- Leave ventilation openings, fuse access, the pedestrian route and garage-door travel clear.
- Schedule a short visual check after messy projects, severe weather or any new leak.
Use condition triggers instead of a rigid calendar. Sweep or vacuum ordinary grit when it starts tracking into the house, wipe accessible shelves when visible dust returns and deal with a fresh compatible spill before it spreads. A fuller reset makes sense after building work, a storage change or a season of muddy equipment. Repeated damp, corrosion, pest signs or coating failure calls for diagnosis first.
When a garage is ready for one-off cleaning
Samyx Cleaning can discuss agreed, safely accessible ordinary cleaning within a cleared garage as part of one-off cleaning in London. Describe the floor finish, access, water availability, remaining storage and known stains when asking for a quote. Remove vehicles, loose possessions and waste before the visit unless a different preparation has been agreed.
The service is not a garage-clearance, hazardous-waste, pest-remediation, asbestos, structural-repair or garage-door engineering route. Heavy unstable storage, unknown spills, leaking chemicals, sharps and contaminated material need the appropriate specialist or disposal service before ordinary cleaners enter the affected zone.
Important: Follow product labels and the care instructions for the floor, coating, door, storage and electrical equipment over general guidance. Patch-test where compatibility varies, use the stated gloves, eye protection and ventilation, rinse only where directed and let surfaces dry. Never mix cleaning products, including bleach with ammonia, acids or other cleaners. Do not disturb suspected asbestos, widespread droppings, nests, sharps, leaking fuel, solvent, paint, damaged batteries, exposed wiring or unknown powder. Stop for discolouration, etching, dulling, coating change, crumbling material, unstable storage, persistent damp or any residue you cannot identify. Valuable, damaged or unfamiliar items need manufacturer or suitable professional advice before work continues.
Book a One-Off Deep Clean
Enter your postcode to view our rates and availability in your area.

Author: Svetlana Georgieva (Clara)
Hi, I’m Svetlana Georgieva, but you can call me Clara. As the co-founder and heart behind Samyx Cleaning, I’m devoted to sharing the art of a clean space. Let’s journey into a cleaner, more joyful life together with tips from London's cleaning experts.

Discover more of our cleaning secrets: