
10 Easy Ways to Clean Silver at Home Without Scratching it

Last modified on: 02/09/2026
Publish: 2nd Jul 2022
Views:
Category: DIY
Tags:
Cleaning silver, Cleaning tips, Eco-friendly cleaning, White vinegar

A home remedy for cleaning silver should be chosen by the object, because solid silver, silver plate, jewellery, antiques and intentionally darkened finishes do not tolerate the same treatment.
Check the object before choosing the remedy
- Look for hallmarks, plating wear, soldered or hollow parts, stones, glued settings, wood, felt and intentionally darkened detail.
- Do not immerse an antique, valuable, plated, composite or unknown item. Ask a jeweller or metal conservator before removing its patina.
- For plain modern solid silver, begin by removing loose dust and surface grime with the least abrasive compatible method.
- Stop if the finish becomes dull, patchy, yellow, scratched or lighter in decorated recesses. Tarnish removal also removes or changes material at the surface.
I’m a sucker for silver. Gold is too pretentious for my taste, but on the few occasions I wear jewelry, silver is my metal of choice. If you’re reading this article, then I assume you have the same impeccable taste as me. But you’ve also discovered silver’s biggest weakness – losing its lustre.
Indeed, if you want to keep your silver jewelry or silverware nice and shiny, you need to clean it regularly. But who has the time, right? That’s why today I’ll walk you through my favourite methods of cleaning silverware at home.
Key takeaways
- A hallmark can help identify an item, though construction and non-metal parts still affect the method.
- Silver plate, antiques, stones, glued settings, hollow parts and deliberate patina need a more cautious route than plain modern silver.
- Bicarbonate paste, toothpaste, cornflour and some polishing products are abrasive enough to leave fine scratches or wear thin plate.
- Foil methods are electrochemical tarnish removal, not simple washing, and immersion is unsuitable for many composite objects.
- Removing fingerprints, dust and grime regularly can reduce how often an item needs tarnish removal.
Table of Contents
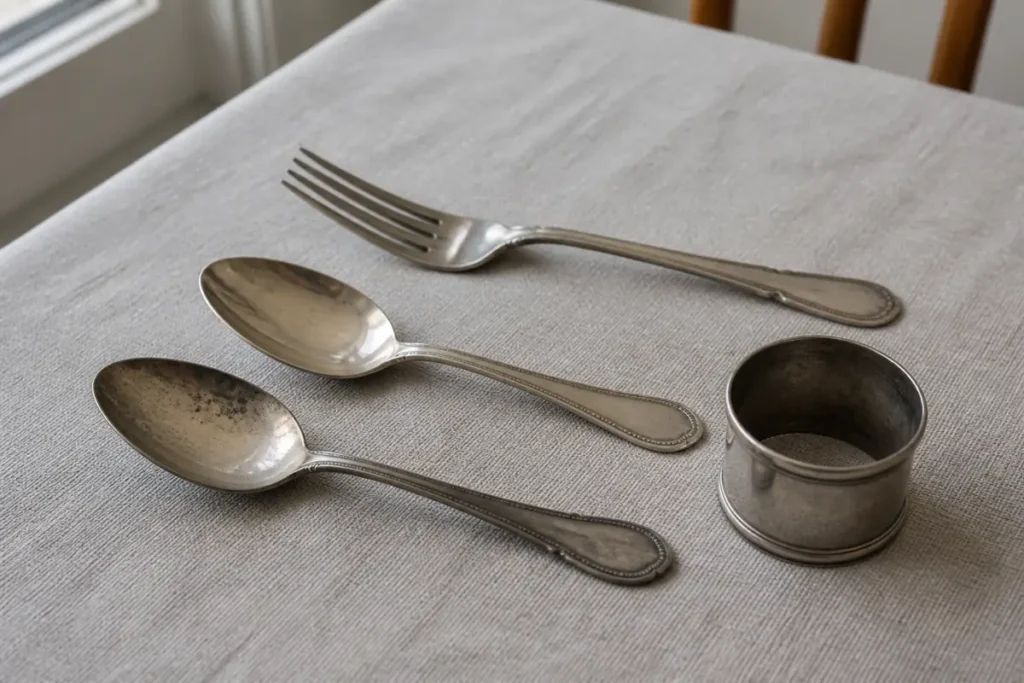
Choose a home remedy for cleaning silver by object
The colour of the surface is not enough to identify what you have. Examine marks and construction first, then use this table as a stop-or-proceed check rather than a promise that a household recipe suits the item.
| Object or feature | What changes the decision | Safer next step |
|---|---|---|
| Plain modern solid silver | No stones, glue, hollow sections, wood, felt, gilding or deliberate dark detail | Remove dust and grime first. Use a silver-care method only when tarnish remains. |
| Silver plate | The silver layer may already be thin or worn at edges and high points | Avoid abrasive pastes and repeated polishing. Ask a specialist if the base metal is showing. |
| Antique, heirloom or valuable item | Patina and surface history may be part of its appearance and value | Do not experiment. Ask a qualified metal conservator. |
| Jewellery with stones or glued settings | Liquid, acids, alcohol, heat and brushing can affect settings or the material around them | Follow the maker’s care advice or ask a jeweller. |
| Hollow or composite silverware | Liquid may enter sealed cavities or reach solder, wood, felt, resin or another material | Do not immerse it. Use object-specific professional advice. |
| Oxidised or intentionally darkened detail | The dark recesses are decorative, not unwanted dirt | Do not use foil, dips or broad polishing that removes the contrast. |
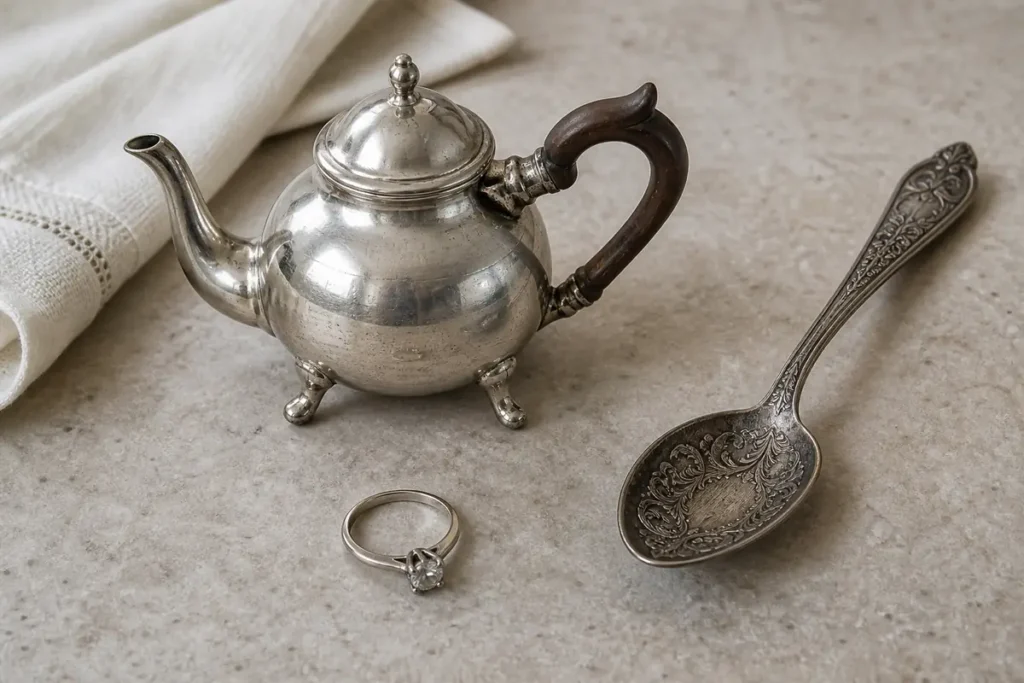
What is tarnish?
Tarnish is the reason your silver loses its lustre over time. It’s a thin corrosive layer resulting from the chemical reaction between silver and oxygen in the air.
Material note: on silver, dark tarnish consists mainly of silver sulphide formed by sulphur-containing compounds in the air. The silver tarnish should be removed only when needed because polishing, chemical dips and electrochemical treatment can all change the surface.
The good news is tarnish is a self-containing reaction. Unlike rust, which completely eats away at the metals it affects, tarnish remains on the surface.
The bad news is that it’s ugly and it has to go. Luckily, we’ve perfected multiple ways of dealing with it over the years. I’ll share some of the most popular methods below and I’m sure at least a few of them will strike your fancy.
Clean off grime before removing tarnish
Surface grime, fingerprints and dust can make silver look dull even when the tarnish layer is light. Start with a soft dry cloth. If the item is plain, modern and safe to wet, follow its care instructions for a mild wash, rinse away residue and dry every seam at once.
Tarnish removal is a different job. A polish removes tarnish mechanically, a dip removes it chemically, and contact with aluminium in a suitable electrolyte changes it electrochemically. Each route has a different risk, so a stronger reaction is not automatically a better clean.
10 ways to quickly clean silverware at home
Whichever method you choose, there are a few things you need to prepare in advance.
You will need a soft-bristled toothbrush. They’re perfect for cleaning silver details without scratching them. If you need to clean something with more detail or a chain, this is an absolute must.
Next, you’ll want to polish your silver when you’re done and there’s no better way to do it than a microfibre cloth. The fibres are small enough to delicately polish the metal without leaving obvious cratches. Have two microfibre cloths at the ready.
Disclaimer: None of the recipes below are appropriate for antique silver or silverware. If you’re going to clean antique silver or a family heirloom, you should consider seeking professional help.
Compatibility warning: the ten household methods below are part of Atanas’s original article, not a universal recommendation. Skip them for silver plate, valuable or antique objects, hollow or composite pieces, jewellery with stones or adhesive, gilding and intentional patina unless the maker or a qualified specialist confirms the method.
Now, let’s clean and polish your silver.
1. Cleaning silver with baking soda and water
Method limit: bicarbonate is abrasive. Do not use this paste on silver plate, antiques, mirror-finished surfaces or deliberate patina.
Baking soda and water is a classical homemade cleaning product. It has a lot of uses, and as it turns out – one of those uses is cleaning silver. Here’s how.
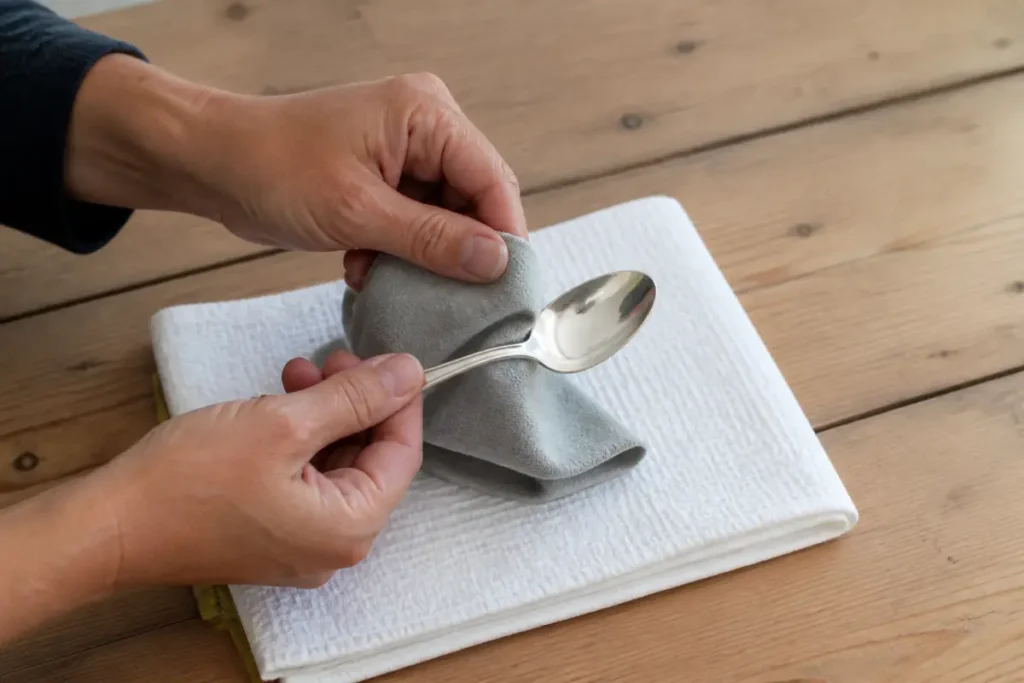
Create a paste using baking soda and lukewarm water. Use one of the microfibre cloths to apply the paste to your tarnished silver. Let it work its magic for a few minutes.
If there are small details, use the soft-bristled toothbrush to clean them. This is a great way to clean up chain links. After that, simply rinse with cold water.
Finally, wipe the silver with a dry microfibre cloth. The cloth should protect your jewelry or silverware from scratches and give it a nice polished look.
You may also enjoy:

2. Baking soda and white vinegar
Method limit: the fizz is an acid-base reaction and is not proof that tarnish is being removed safely. Vinegar and bicarbonate also neutralise much of each other’s useful chemistry.
An age-old combination that doesn’t work in most scenarios, baking soda and vinegar will nonetheless help you clean and polish your silver at home.
When you mix baking soda and white vinegar, there’s a strong chemical reaction that’s great at dealing with tarnish. Place your silver in a container of appropriate size (avoid metal containers – the ensuing chemical reactions might not be optimal).
Powder your silver with baking soda and then pour enough white vinegar to dissolve it. As the soda dissolves, there will be a bubbly chemical reaction that will remove the tarnish from your silver.
Leave the silver in the mixture until the reaction is completely done, then rinse it and polish it with the microfibre cloth.
3. Window cleaner
Method limit: window-cleaner formulas vary and may contain ammonia, alcohol, fragrance or other additives. Do not treat an unknown formula as a silver-care product.
Window cleaning detergents can do more than keep your windows shiny. They’re pretty good at polishing your silver, as well. I have to note this method mostly works for silver that’s only slightly tarnished. It’s more of a maintenance than a deep clean kind of solution.
How can you use a window cleaning product to polish your silver? It’s simple – spray some product on your microfibre cloth and polish your silver. It’s that simple.
4. Lemon-lime soda
Another method that works only for slightly tarnished silver involves lemon-lime soda. Place your silver in a container, pour lemon-lime soda over it, and then let it sit for an hour.
After you’ve had your tea or caught up on some telly or reading, rinse your silver and polish it.
5. Hand sanitiser
One time I noticed my silver bracelet was slightly tarnished right before a job interview. It’s weird how you never notice some things until it’s too late.
Anyway, overthinking as always I do, I thought the interviewer would notice and I’d make a bad first impression. So I did what any sensible person would do. No, I didn’t remove the bracelet, don’t be silly. I polished it with hand sanitiser. It worked like a charm.
6. Cleaning silver with ketchup
Ketchup has been making food edible for more than 200 years. But another hidden talent of this magical condiment is polishing your silver. Yes, really.
Apply ketchup on tarnished areas of your silverware or silver jewelry and let it sit for a few minutes. After that, use the toothbrush to carefully clean any ornaments or a microfibre cloth for smooth surfaces.
Finally, rinse with water and polish with the other microfibre cloth.
7. Cornflour and water
Cornflour and water create a paste that’s perfect for polishing silver. Simply mix the two ingredients until you get a nice paste, apply it to your silver and rub it off with a microfibre cloth. This will restore the shine and lustre of your silver.
8. Aluminium foil and baking soda
Method limit: this is electrochemical tarnish removal. It can leave a dull surface, remove wanted dark detail and trap solution inside hollow parts. Never use it on plated, antique, composite, stone-set or intentionally oxidised pieces.
This one gets a little trickier but it’s perfect if you have a bulk order of silver you need to clean and polish.
Place a sheet of aluminium foil in a non-metal container big enough to fit your needs. Sprinkle baking soda over the silver and bring some water to a boil. Then carefully pour the boiling water over the silver.
Let it sit for a few seconds and take it out using plastic kitchen tongs. You want to use plastic to avoid scratching it (wood can work, too). Place the silver pieces somewhere where they can cool off, then polish them with a microfibre cloth.
9. Aluminium foil and laundry detergent
Method limit: laundry detergents have different ingredients and are not silver-care products. Do not combine an unknown detergent formula with hot immersion and metal contact.
Place a sheet of aluminium foil in a non-metal container big enough to fit your needs (having deja vu, yet?). Fill the container with hot water and add laundry detergent. Give it a good stir but be careful with the hot mix.
Carefully place your silver into the mix and leave it for a minute. Then take it out and rinse it with cold water. Polish with a microfibre cloth and you’re done.
10. Toothpaste
Method limit: toothpaste is made to abrade tooth deposits, and formulas vary. It can leave fine scratches and wear plating, so it is not a controlled silver polish.
Aside from dental hygiene, toothpaste can be used for silver cleaning. Squeeze a bit of toothpaste on your microfibre cloth and polish your silver. Then rinse it with water and polish it with the other microfibre cloth. Easy as can be.
Slow down tarnish between cleans
Handle silver with clean, dry hands or cotton gloves when fingerprints matter. Dust it with a soft cloth before particles are rubbed across the surface, and dry washable items promptly so moisture does not remain in joins or decoration.
Store separate pieces so they do not knock or scratch one another. For valuable silver, use conservation-grade, sulphur-free storage materials and ask a conservator before adding anti-tarnish products, coatings or household absorbents. Tarnish does not have to be stripped away before every period of storage.
When silver needs specialist care
Stop home treatment when the item is antique, valuable, plated through to the base metal, structurally loose, set with stones, lined with another material or darkened by design. A jeweller can advise on jewellery and settings; a qualified metal conservator can assess historic silver and patina. Replating, repair and conservation are different from routine household cleaning.
Frequently asked questions
-
What is the best natural cleaner for silver?
There is no single natural cleaner that suits every silver item. Plain modern solid silver, silver plate, antiques, jewellery, hollowware and intentionally darkened finishes need different decisions. Identify the construction first, remove surface grime gently and use a product or method confirmed for that item.
-
Can toothpaste clean silver?
Toothpaste may lift some tarnish because it is abrasive, but its particles and additives vary. It can leave fine scratches and wear silver plate. A purpose-made silver-care method that suits the item’s construction gives more control.
-
How do you make badly tarnished silver shiny again?
Do not begin with the strongest recipe. Check for plate, hallmarks, hollow parts, solder, stones, glue, gilding and deliberate patina. Valuable, antique, composite or damaged items need a jeweller or metal conservator. Plain compatible silver can then be cleaned and treated with the least aggressive suitable method.
-
Can you clean silver with aluminium foil and bicarbonate of soda?
The method uses an electrochemical reaction, so it is more than a wash. It may leave a dull surface, alter dark decorative detail and trap solution in hollow parts. Do not use it on antiques, plate, composite objects, stone-set jewellery or intentionally oxidised finishes without specialist confirmation.
Important: manufacturer and maker care instructions override general household advice. Patch-test only where a hidden area and the item’s construction make that meaningful. Wear suitable gloves, work with ventilation when a product label requires it, rinse compatible washable items as directed and dry them fully. Never mix cleaning products, especially bleach with acids, ammonia or an unknown residue. Stop at discolouration, dulling, scratches, loose settings, plating loss or a change in decorative patina. Valuable, antique, damaged or unidentified items need a jeweller or metal conservator first.
Conclusion
Silver is amazing but it’s prone to losing its lustre. Sometimes it needs your help to get it back into shape. Lucky for you, there are plenty of ways you can clean your silver at home.

Author: Atanas Dzhingarov
Hi, I’m Atanas - brand consultant and writer. I’m helping Samyx Cleaning create the best cleaning company blog on the Internet. Join us on our journey and learn how to live a cleaner, healthier, happier life in the process.
Discover more of our cleaning secrets: