
How to Remove Masking Tape Residue from Your Windows

Last modified on: 03/09/2026
Publish: 29th Sep 2022
Views:
Category: DIY
Tags:
Cleaning tips, Eco-friendly cleaning, White vinegar

To remove adhesive from glass safely, identify both the glass assembly and the adhesive before choosing heat, moisture, a scraper or a solvent.
Removing tape residue from glass is no walk in the park. It’s often a time-consuming and irritating endeavour that ends up with you throwing your hands in the air and calling it quits.
It’s alright, we’ve all been there. At some point, you don’t feel the result justifies the effort (especially when the effort feels like something coming out of a Greek tragedy).
But it doesn’t have to be this way. Removing tape residue from your windows doesn’t need to feel like a Herculean task. There are ways to make it easier and more manageable.
Key Takeaways
- Identify the glass assembly and adhesive before choosing a cleaner or tool.
- Begin with warm soapy dwell and a plastic scraper rather than a blade or strong solvent.
- Keep liquids and solvents away from tint, coatings, mirror edges, frames, seals and heated elements unless their instructions permit the method.
- Use one compatible product at a time, provide the labelled ventilation and never mix cleaners.
- Finish by removing the cleaning film, then stop if the glass, coating, frame or seal changes.
Table of Contents
Check the glass before choosing a method
What looks like one smooth surface may be a complete window assembly. The glass can carry a tint, solar-control coating, privacy film or heating elements, while the edges meet rubber seals, paint, sealant, timber, aluminium or uPVC. A remover that is acceptable on plain glass may still discolour the frame or loosen a film.
| Surface or assembly | Safer starting point | What needs checking first |
|---|---|---|
| Plain uncoated glass or a loose glass jar | Warm soapy cloth, dwell time and a plastic scraper | Chips, cracks, decoration, printing and whether the item is valuable |
| Tinted, filmed or coated glass | Manufacturer- or installer-approved care only | Film position, coating type and prohibited solvents or tools |
| Mirror | Minimal moisture on a cloth | Edges and backing must not be flooded; abrasives and solvents may damage finishes |
| Laminated, automotive or heated glass | Vehicle or glazing-maker guidance | Tint, demister lines, sensors, seals and laminated edges |
| Framed domestic window | Apply liquid to a cloth and protect the frame | uPVC, paint, timber, rubber gaskets and sealant may have different compatibility limits |
Look for a window, film or appliance care label and check the manufacturer’s current instructions. If the glass type is unknown, valuable or already damaged, do not use the uncertainty as a reason to try a stronger product.
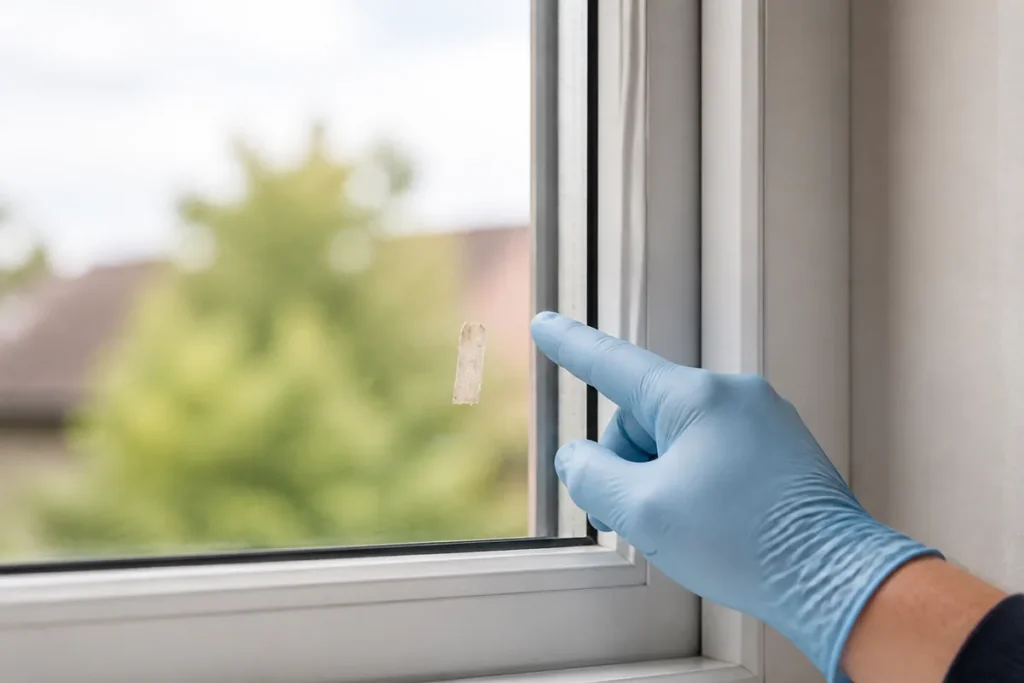
How to remove adhesive from glass safely
The useful principle is a method ladder: begin with the least aggressive compatible step and move up only while the surface remains unchanged. More chemical strength does not compensate for the wrong glass, frame or adhesive.
- Remove loose material. Peel away tape backing or a label only while it releases without pulling a film or finish. Work slowly and support the loose material close to the glass.
- Soften the residue. Hold a warm damp microfibre cloth against the adhesive for several minutes. Use warm, not boiling, water and avoid rapid temperature changes.
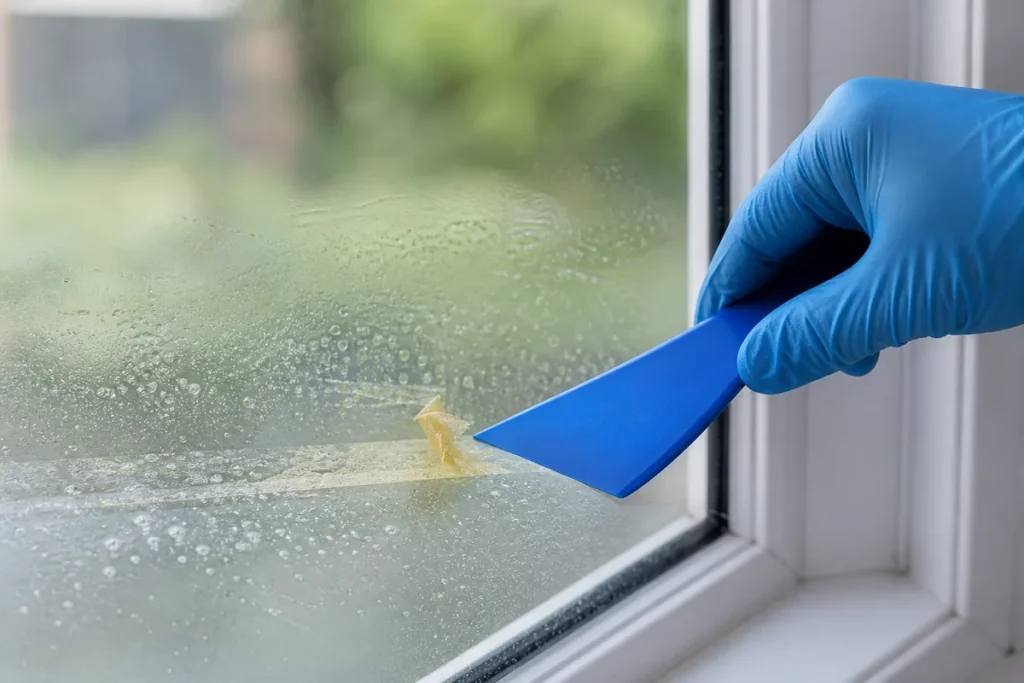
- Lift while wet. Use a clean plastic scraper at a shallow angle, working from the residue edge towards its centre. Keep the area lubricated and stay away from the frame, seals and glass edge.
- Escalate only if allowed. If a film remains, choose one product labelled as compatible with that adhesive and the complete glass assembly. Patch-test where the manufacturer allows, apply the product to a cloth and observe its contact time.
- Remove the softened glue. Blot and lift rather than spreading it across a larger area. Turn the cloth to a clean section as residue transfers.
- Finish the surface. Remove the cleaner or oily film exactly as its label directs, then wash with a compatible mild solution and dry with a clean microfibre cloth.
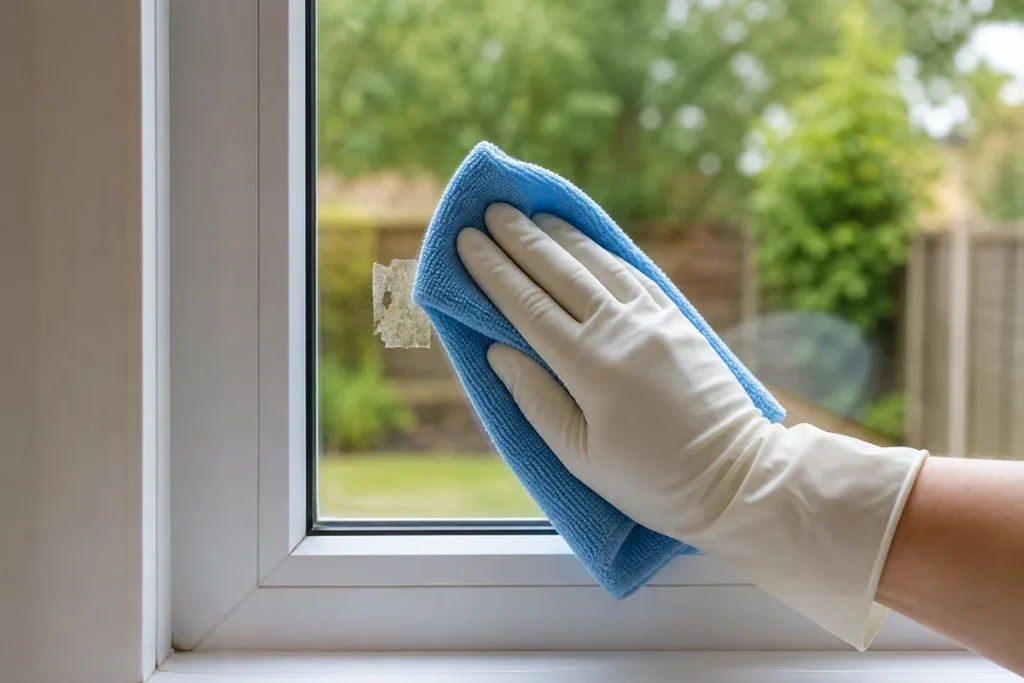
Do not combine products or move straight from one chemical to another. Complete every required wipe, rinse and drying step first. Provide the ventilation and personal protection stated on the label, and remove flames, smoking materials and other ignition sources when a product is flammable.
You may also enjoy:

Removing masking tape residue using a razor
When it comes to residue removal, this is the first (and only method) that crosses most people’s minds. That’s why the whole process becomes so unbearably tedious.
Performing this operation properly requires a tremendous amount of concentration. You need to focus on what you’re doing 100%, otherwise, you might scratch your window.
Lucky for you, there’s a way to make this type of residue removal a bit easier. Instead of using a razor, you can use a scraper. Scrapers are made with glass cleaning in mind. There are models with ceramic blades that make it that much less likely to scratch your window when appropriately used. Not to mention safer.
If you attempt to remove masking tape residue using this method, start small. Test the method on a small part of the window where it won’t show even if you scratch it. Be sure to hold the scraper at a 45-degree angle and work slowly. Even so, I don’t recommend using this method because of the risks involved.
Current blade-compatibility note: A plastic scraper is the safer default. Do not use any blade on tinted, filmed, coated, mirrored, laminated, heated or unknown glass, or close to seals and edges. A dedicated, intact glass scraper may be considered only on confirmed plain uncoated glass when both the glass and tool manufacturers permit it. Keep the surface lubricated and follow the tool’s specified shallow working angle rather than treating 45 degrees as universal. Never improvise with a loose razor, knife, chipped blade or ceramic blade whose compatibility is unknown.
Removing tape residue with white vinegar
If you don’t want to use harsh chemicals, then turn your sights no further than white vinegar. It’s a great, natural cleaning agent you can use in many ways, and removing tape residue is one of them.
Pour some distilled white vinegar into a spray bottle and dilute it with water to create a 1:1 solution. If you’re worried about the smell, you can learn to make scented white vinegar at home.
Spray the residue with the vinegar solution and let it do its magic for a few minutes. Then wipe it off with a microfibre towel. You may need to rinse and repeat several times if the residue is particularly stubborn.
Current vinegar-compatibility note: Vinegar is acidic and is not a universal choice for window assemblies. It can affect some films, coatings, stone surrounds, sealants, metal finishes and frame materials. Check the glass, window and adhesive guidance first. Where vinegar is permitted, apply the solution to a cloth rather than spraying broadly across the frame, keep it out of joints and remove the residue afterwards. Never mix vinegar with bleach or another cleaner.
How to remove masking tape residue with baking soda
Aside from baking, baking soda is another trusty natural cleaner. When you turn it into a cleaning paste, it becomes an incredibly powerful tool.
Pour some baking soda into a bowl and add a bit of water until you get a paste-like mixture. Then stir and apply the resulting paste to the residue you wish to remove. Let it sit for half an hour and then wash it off. The residue should be coming off with the paste.
Current bicarbonate-compatibility note: Bicarbonate particles make a paste mildly abrasive. Do not use it on tint, film, coated glass, mirrors, printed or decorated glass, or an unknown finish unless the manufacturer expressly permits it. Even on compatible plain glass, avoid dry rubbing, use light pressure, test cautiously and rinse every particle away before polishing.
Removing tape residue with WD40
WD40 is another potential way you can deal with your tape residue problem. WD40 hardens the residue and makes it easier to peel off. The downside to using this method is you have to leave the WD40 for at least a few hours so it’s not the best solution if you’re looking for quick results.
Current product note: WD-40 products differ, and the effect on an adhesive is not universally described as hardening it. Check the exact product label and the glass, coating, frame and seal instructions. If the product is permitted, apply a small amount to a cloth in a ventilated area, keep it away from ignition sources and prevent it from reaching frames, gaskets and joints. Remove the oily film completely afterwards. Do not use this as a default method for super glue, and do not combine it with another remover.
Match the remover to the adhesive
An adhesive’s name matters because pressure-sensitive label glue, aged masking tape, foam mounting tape and cured reactive glue do not soften in the same way. If you know the tape, label or glue brand, its removal instructions are a better starting point than a generic solvent list.
| Adhesive | Practical first route | When to stop |
|---|---|---|
| Fresh masking tape or paper label | Warm damp dwell, slow peel and plastic scraper | The coating, film or print begins to lift |
| Aged sticky label residue | Repeat warm dwell; use one compatible label remover only if needed | The residue smears into a larger area or the finish changes |
| Foam or mounting tape | Remove the foam layer gradually, then treat the thin residue separately | The tape is bonded to tint, film, a seal or an unknown coating |
| Contact adhesive | Use the adhesive manufacturer’s named remover if compatible with the assembly | A strong solvent or prolonged dwell would reach the frame, edge or laminate |
| Super glue, epoxy or construction adhesive | Use adhesive-maker or glazing-specialist advice | The deposit is cured, thick, structural, inside glazing or close to a heated element |
Remove the final film without restarting the problem
A transparent haze after the glue has gone is often cleaner, oil or redistributed adhesive rather than a reason to reach for another strong product. Use the remover’s own clean-up instruction first. Then, where compatible, wipe with a small amount of mild soapy water on a clean cloth, follow with a separate damp cloth and dry from the clean area towards the former mark.
Use fresh cloth sections so that softened glue is not returned to the glass. Inspect the surface in side light after it dries. If a mark remains but feels smooth, do not assume it is still adhesive: it may be coating damage, etching, trapped residue at an edge or a change that cleaning cannot reverse.
When a wider one-off clean would help
If the adhesive mark is one part of a wider clean, one-off cleaning in London may be a useful service to discuss with Samyx Cleaning. The office must confirm the agreed tasks before booking. Adhesive removal, specialist window work, tint treatment, glazing restoration and frame repair should never be assumed to be included.
Plan a One-Off Home Clean
Enter your postcode to view our rates and availability in your area.

Frequently asked questions
-
Does WD-40 remove adhesive from glass?
Some WD-40 products may soften certain pressure-sensitive residues, but the result depends on the adhesive and the complete glass assembly. Check the exact product label and the glass, film, coating, frame and seal instructions. If permitted, use a small amount on a cloth, ventilate, keep away from ignition sources and wash off the oily film afterwards.
-
Does WD-40 remove super glue from glass?
Do not treat WD-40 as a universal super-glue remover. Cured cyanoacrylate may need the adhesive manufacturer’s named remover, and that solvent may be unsuitable for tint, coatings, laminated edges, frames or seals. Use specialist advice where the glass assembly is unknown, valuable or vulnerable.
-
How do professionals remove sticker residue?
A careful process begins by identifying the glass and adhesive, protecting nearby materials, using controlled dwell time and starting with a plastic scraper. A professional chooses a compatible remover only when needed, applies it without flooding edges or frames, follows the labelled contact time and removes the final cleaner film.
-
What will remove sticky label residue from glass?
On confirmed plain, undamaged glass, start with warm soapy dwell and a plastic scraper. If residue remains, use one label remover that both the product and glass instructions permit. Coated, tinted, filmed, mirrored, laminated, heated or framed glass needs its own compatibility check before using vinegar, oil, bicarbonate, solvent or a blade.
Important: Follow the glass, window, film, frame, adhesive and cleaning-product instructions over general advice. Use warm rather than boiling water, protect edges, seals, coatings and nearby finishes, and use one compatible product at a time with the stated ventilation, PPE and fire precautions. Never mix cleaners. Do not use blades on tinted, filmed, coated, mirrored, laminated, heated or unknown glass. Stop for cracks, chips, damaged coating or film, changed colour or texture, softened seals, trapped adhesive, electrical elements, valuable glass or cured structural adhesive, and seek manufacturer, installer or glazing-specialist advice.
Conclusion
Masking tape residue can be a pain, but removing it doesn’t have to be a nightmare. All you have to do is use some of the methods I’ve showcased in this article to make your life easier. And, of course, you can always count on us for all your cleaning problems.

Author: Atanas Dzhingarov
Hi, I’m Atanas - brand consultant and writer. I’m helping Samyx Cleaning create the best cleaning company blog on the Internet. Join us on our journey and learn how to live a cleaner, healthier, happier life in the process.
Discover more of our cleaning secrets: