
A Complete Guide to Cleaning Your Washing Machine’s Rubber Seal

Last modified on: 03/09/2026
Publish: 23rd Oct 2023
Views:
Category: DIY
Tags:
Baking soda, Cleaning tips, Eco-friendly cleaning, Washing machine, White vinegar

A mouldy washing machine seal needs a model-compatible cleaning method: inspect the gasket, check the manufacturer’s instructions, use one permitted product at its labelled dose, rinse completely and dry the folds before deciding whether the seal needs replacement.
Alright, folks, who here has ever caught a whiff of something unpleasant wafting from their trusty washing machine? Don’t worry, it happens to the best of us. The usual suspect? Mould hiding in the rubber seal on the machine’s door (also known as the gasket).
In our last article, we learned how to clean our washing machines. In this article, we’ll focus on the gasket. This rubber seal has a thing for moisture, making it the perfect hideout for unwelcome guests like mould and mildew.
But don’t fret, we’re here with a step-by-step guide on how to clean your washing machine’s rubber seal and keep it in tip-top shape.
Key takeaways
- Check the machine manual before putting vinegar, bleach, bicarbonate or a mould product on the gasket.
- Remove lint and loose residue before treating a mark so the cleaner can reach the rubber without flooding the folds.
- Use one compatible product at a time and rinse it away completely; never improvise a mixture.
- Drying the lower folds, dosing detergent correctly and using the manufacturer’s maintenance routine help reduce recurrence.
- Persistent black staining is not always removable mould, while tears, leaks and inaccessible contamination belong with an appliance-repair specialist.
Table of Contents
Check the seal before cleaning
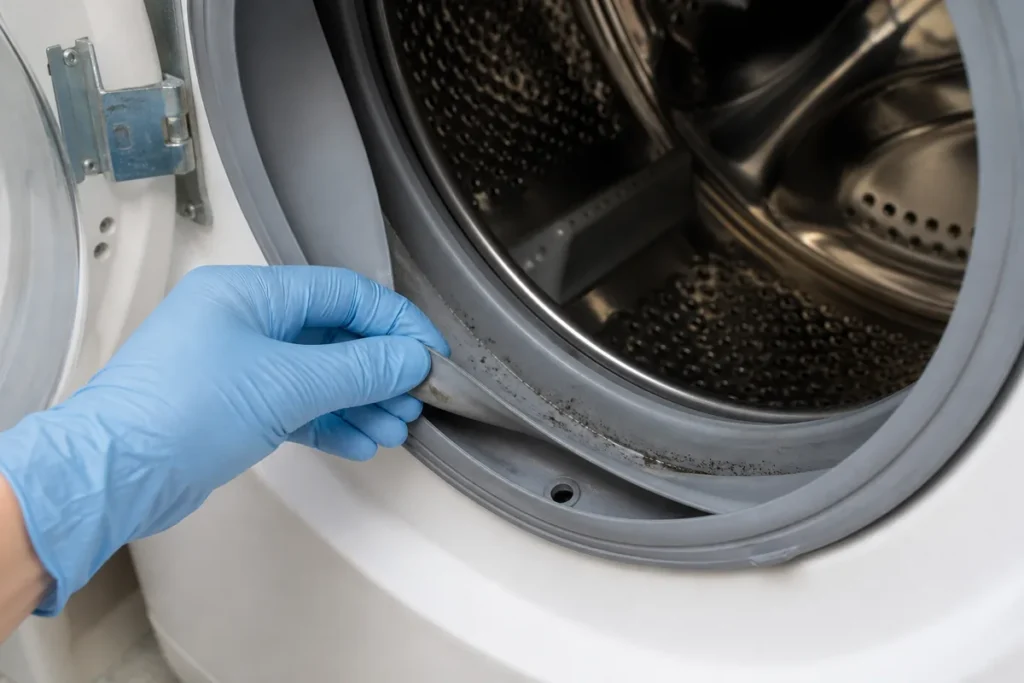
Open the door with the machine switched off and use good light. Pull back only the flexible folds that are designed to move; do not detach clamps or prise the gasket away from the cabinet. The lower part often holds lint, hair, detergent film and water, but a dark mark can also be ingrained staining or damaged rubber rather than loose surface growth.
| What you find | What it may mean | Next action |
|---|---|---|
| Hair, lint or a slippery removable film | Accessible debris and detergent or softener residue | Lift out loose material and wipe with a damp cloth before choosing any cleaner |
| Small surface spots on intact rubber | Possible surface mould or mildew | Use one manual-compatible product, then rinse and dry fully |
| A smooth black mark that remains after correct cleaning | Permanent staining may remain in the gasket | Do not escalate to abrasives or stronger mixtures simply to change the colour |
| A tear, loose lip, deformation or leak | The seal may no longer be serviceable | Stop cleaning and arrange manufacturer or appliance-repair advice |
| Growth or debris behind an inaccessible section | The affected area cannot be safely reached without dismantling | Do not remove clamps or panels; use a repair specialist |
Tools of the trade
Cleaning the rubber on your washing machine doesn’t require a huge investment on your part. Here are the things you’ll need:
- Baking soda
- White vinegar or bleach (if you’re a regular reader, you know which one I prefer)
- A clean towel or cloth
- Washing-up liquid
Current compatibility note: This list is part of the original guide, but it is not a universal shopping list. Check the manual first and select one permitted product for the task. Do not assemble several ingredients with the intention of mixing or using them one after another.
How to clean a mouldy washing machine seal safely
- Switch off and prepare. Empty the drum, switch off the appliance and follow any isolation step in its manual. Ventilate the room and keep children and pets away from the work area.
- Inspect the folds. Wear suitable gloves, gently open the accessible folds and remove hair, lint or small objects with a disposable towel or damp cloth. Do not force tools into drainage openings or disturb retaining wires.
- Choose one compatible product. Use the machine manual and the cleaner label together. The label must permit the surface, concentration, contact time, ventilation and rinsing method; a social-media recipe is not a substitute for those instructions.
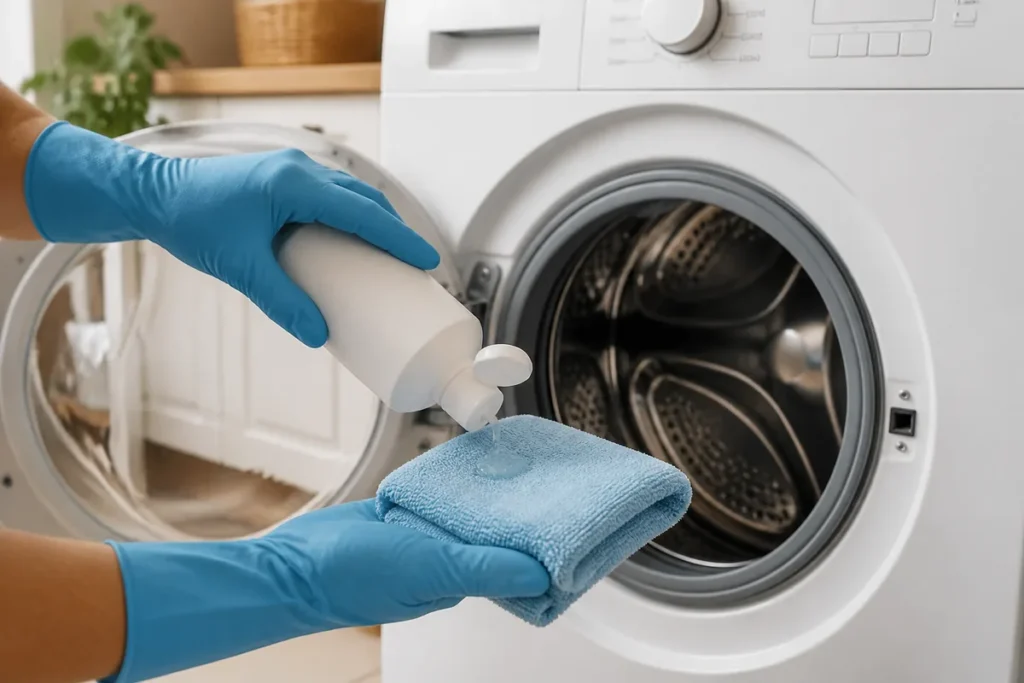
- Control the application. When the label permits, put a small amount on the cloth instead of spraying into the seal. Work across the accessible face and folds without soaking the door lock, controls, vents, wiring or cabinet seams.
- Remove the residue. Wipe with a clean damp cloth as many times as the product instructions require. No cleaner should be left pooled in a fold, and a second product should never be introduced onto the first.
- Dry and reassess. Dry the gasket, glass and accessible lower channel. Run only the maintenance or rinse cycle specified by the manufacturer. If the rubber is damaged, leaking, still has a strong chemical odour or the contamination is inaccessible, stop and seek appliance advice.
You may also enjoy:

Method boundary: Gasket materials, chlorine instructions and maintenance cycles differ between machines. The original methods below remain useful context, but they must not override the model manual, product label or the one-product-at-a-time rule.
Here’s how to clean a rubber seal on a washing machine.
If you’re after some safe and effective home remedies to kick that unsightly black residue to the curb, you’re in luck. We’ve got one method that uses all-natural ingredients and one that uses bleach. However, both methods are straightforward and will help you give that rubber seal a good scrub.
Remove mould with white vinegar
If you’re dealing with a mouldy seal, this method is your not-so-secret weapon:
- Swing the washing machine door wide open and fully expose the rubber seal.
- Grab a cotton pad or ball, dip it in white vinegar, and put it to work. Wipe or scrub away any visible mould from the rubber.
- Use a cotton swab soaked in white vinegar for those hard-to-reach spots within the rubber seal. Always make sure to give it a dip in vinegar before you continue with the rubber cleaning.
- If mould and debris are putting up a stubborn fight in the seal’s folds, use your fingers to coax them out and let the cotton swab do its magic. Be ready to use several swabs if needed to get the job done.
- Remember, mould and debris can hide in various nooks and crannies, so be thorough.
The good thing about using vinegar is that it’s all natural. You don’t have to worry about toxic fumes or your family’s health. That being said, you can’t overuse this method. If you overuse it, the vinegar may end up damaging your rubber seal over time.
Current vinegar note: Natural does not mean compatible with every elastomer or harmless in every situation. Use vinegar only when the appliance manufacturer allows it, ventilate, avoid unnecessary skin and eye contact, and rinse as instructed. Never apply it where chlorine bleach or another cleaner may still be present.
Bleach and baking soda
I’m not a huge fan of using bleach, but sometimes, it’s a necessary evil.
Current chlorine warning: Do not follow the combined cup-and-90°C recipe below as a general washing-machine method. Use chlorine only if the machine manual and product label permit it for this gasket and give the exact dose, contact time, rinse and cycle. Never mix chlorine bleach with vinegar, acids, ammonia or other cleaners. Do not combine or sequence bleach and bicarbonate unless both instructions explicitly permit that exact procedure.
Note: If you do decide to clean your washing machine’s rubber seal this way, bear in mind you should take some precautions. Always air out your home when using bleach. Never mix bleach and other cleaning products. Wearing gloves, glasses, and a mask is a good idea.
Current PPE note: Use the ventilation and protective equipment stated on the product label. An ordinary face covering is not a substitute for any respiratory protection the label requires, and no mask makes an incompatible mixture acceptable.
Now, here’s how to clean your washing machine’s door seal using bleach and baking soda:
- Sprinkle a generous cup of baking soda around the seal inside the drum of your washing machine.
- Fire up an empty washing cycle, opting for the 90°C setting for the best results. This will do wonders in cleaning both the rubber seal and the entire washing machine.
- Pour one cup of bleach and another cup of baking soda into the detergent drawer.
- Once those cycles have wrapped up, whip up a mixture of warm water and a few drops of washing-up liquid. Use a clean cloth to give the rubber seal a good wipe-down.
- Don’t forget to give the nooks and crannies around and underneath the seal some attention; they deserve it.
Rinse away any lingering dirt particles from the rubber seal. Make use of the self-cleaning function if available, or kick off another empty cycle with warm or hot water to finish the job. This method is a bit wasteful when it comes to water, but it’s sometimes necessary.
Current recommendation: Unless the manual and label expressly authorise the exact quantities and cycle above, do not use that combined method. If chlorine has already been used, remove and rinse it exactly as directed before doing anything else. Do not add bicarbonate, vinegar, washing-up liquid or another cleaner to a machine that may still contain chlorine residue.
Preventing mould and keeping that rubber seal clean
Here are the golden rules to keep mould and mildew at bay on your washing machine’s rubber seal:
- Don’t forget to leave the washing machine door wide open after a laundry cycle.
- Make it a habit to remove your freshly laundered clothes promptly once the cycle has wrapped up.
- After every use, grab a clean cloth or towel and give the door, seal, and glass a good drying.
- Bear in mind, if you’re a fan of low-temperature washes or tend to go heavy on the detergent, mould and stubborn grime can make your rubber seal their home. Washing at temperatures below 40°C might not do a thorough job of rinsing detergent residue, leading to the buildup of mould, dirt, and grease on your gasket.
Current prevention note: Leave the door and detergent drawer only as open as the manufacturer recommends and the household can manage safely; an ajar door may not be appropriate around young children, pets or a narrow walkway. Dose detergent for the product, load and local water conditions. Use the machine’s stated maintenance programme and frequency instead of assuming that every model needs a monthly 60°C or 90°C cycle.
When the seal needs repair or replacement
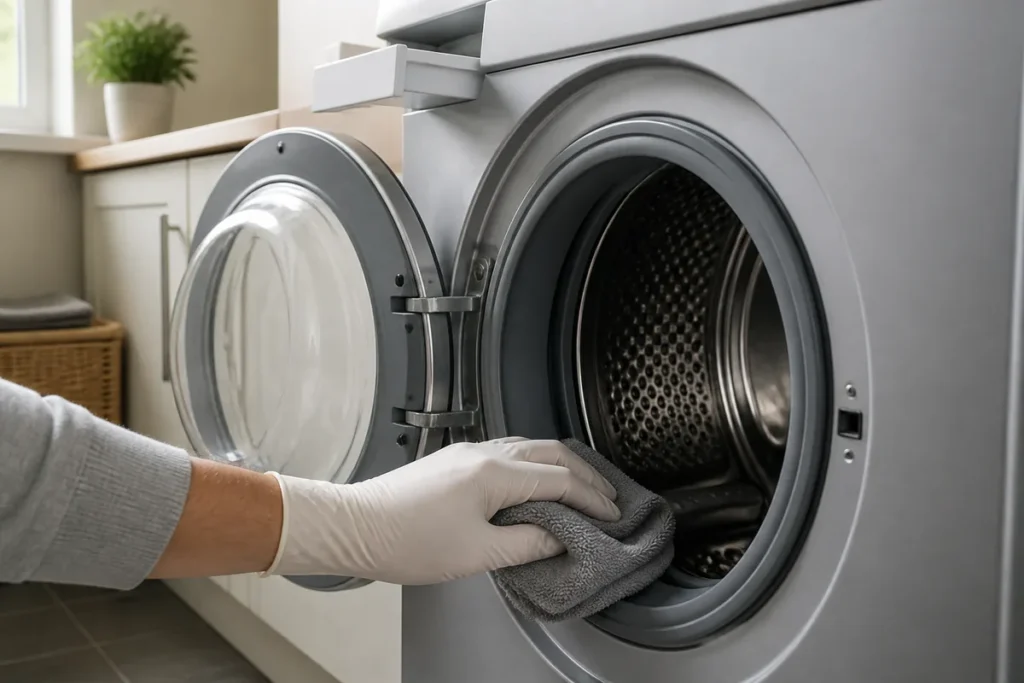
Cleaning can remove accessible residue and some surface growth, but it cannot rebuild rubber or guarantee that every dark mark disappears. Stop if the gasket is split, stretched, loose, leaking, trapping water because it has deformed, or contaminated behind a section that cannot be reached without dismantling the machine. A persistent mark on otherwise sound rubber may be staining, so stronger chemistry and abrasive scrubbing can create damage without improving the colour.
Use the model number when speaking to the manufacturer or a qualified appliance-repair specialist. They can decide whether the seal can remain in service, needs deeper access or should be replaced. Do not remove retaining wires, clamps, panels or the gasket as part of an ordinary cleaning job.
When a wider one-off clean would help
A washer-gasket problem is primarily an appliance-maintenance decision. If the surrounding utility area or the rest of the London home also needs attention, Samyx Cleaning can discuss an agreed one-off cleaning service. Ask the office to confirm any appliance-related scope before booking. Rubber-seal treatment, internal appliance work, mould remediation, parts replacement and repair are not assumed.
Plan a One-Off Home Clean
Enter your postcode to view our rates and availability in your area.

Frequently asked questions
-
How do I remove black mould from a washing machine rubber seal?
Switch off the machine, remove loose debris, then check the appliance manual before using one compatible product at its labelled dilution and contact time. Wipe and rinse the folds thoroughly, clear only accessible drainage openings without forcing tools into them, and dry the seal. Do not mix products or treat permanent staining as removable mould.
-
Why do washing machine seals go mouldy?
Moisture, detergent or softener residue, lint and poor drying can remain in the gasket folds after a wash. The exact cause varies with the machine, dosing, load, water and maintenance routine, so follow the manufacturer’s cleaning and maintenance instructions.
-
Is black mould in a washing machine harmful?
Visible black growth should be handled cautiously, but colour alone does not identify a species or prove a medical risk. Avoid unnecessary contact, ventilate the room, wear suitable gloves, keep vulnerable people away from the task and seek medical advice for symptoms rather than diagnosing them from the seal.
-
Can a moldy washing machine be fixed?
Often, accessible residue can be cleaned and recurrence reduced through correct dosing, rinsing and drying. If black marks remain after a compatible method, they may be permanent staining. A torn, deformed, leaking or persistently contaminated seal needs assessment and possible replacement by the manufacturer or an appliance-repair specialist.
Important: Follow the appliance manual and product label over general cleaning advice. Use one compatible cleaner at a time, test cautiously where the manufacturer allows, provide the stated ventilation and PPE, and complete all required rinsing and drying. Never mix chlorine bleach with vinegar, acids, ammonia or other cleaners, and do not add bicarbonate to chlorine residue. Stop if the rubber discolours, swells, becomes sticky, cracks, loosens or leaks. For an unknown, damaged or valuable appliance, or contamination that requires dismantling, use manufacturer or qualified appliance-repair advice.
And remember, if, despite your valiant cleaning efforts, mould continues to be a stubborn guest, it might be time to replace the seal. Best leave this task to a seasoned washing machine repairs specialist, and you’ll have your appliance back to its prime in no time. As for cleaning, if you need us, we’re never more than a phone call away.
Conclusion
Maintaining a clean and mould-free washing machine rubber seal is essential for the longevity and efficiency of your appliance. Regular cleaning using natural ingredients like white vinegar or baking soda and not-so-natural ingredients like bleach can effectively remove mould and mildew.
Remember to be thorough in reaching all the nooks and crannies, and follow preventive measures such as leaving the machine door open after use and promptly removing laundered clothes. Adopt these practices and you’ll ensure a fresh and hygienic washing machine seal, which leads to a healthier laundry routine.
If persistent mould issues arise, consider consulting a professional washing machine repairs specialist for expert assistance. We’re at your service for any other cleaning needs – just a phone call away.

Author: Atanas Dzhingarov
Hi, I’m Atanas - brand consultant and writer. I’m helping Samyx Cleaning create the best cleaning company blog on the Internet. Join us on our journey and learn how to live a cleaner, healthier, happier life in the process.
Discover more of our cleaning secrets: