
Cleaning Stainless Steel Splashbacks and Countertops

Last modified on: 03/09/2026
Publish: 22nd Jan 2024
Views:
Category: DIY
Tags:
Baking soda, Eco-friendly cleaning, Kitchen cleaning, White vinegar

How to clean stainless steel appliances safely starts with identifying the finish, checking the manufacturer’s care instructions and using the least aggressive compatible method.
Stainless steel was invented over a century ago but it’s going strong even today. Most modern kitchens feature at least some stainless steel appliances. Not only do they create that awesome feeling of contemporary design, but they’re also durable and relatively easy to maintain. Many London landlords prefer them for this reason. And homeowners are joining the party.
Today, we’ll focus on cleaning stainless steel splashbacks and countertops. They used to be staples of professional restaurant kitchens, but they’ve made their way into our homes (if not our hearts). Whether you like them or not is a matter of taste, but you can’t deny how awesome it is to have something so durable in your kitchen. Stainless steel splashbacks and countertops fit this description to a T. And while they’re extremely easy to clean, there are still a few things you need to beware of, which we’ll explore today.
Key takeaways
- Check the appliance finish and its manual before choosing a cleaner.
- For routine grease and fingerprints, start with a soft cloth, warm water and a little compatible washing-up liquid.
- Apply product to the cloth, wipe with the grain, remove residue and dry immediately.
- Do not treat vinegar, bicarbonate of soda, polish or oil as safe for every stainless-looking finish.
- Scratches, rust, pitting, heat tint and failed coatings need a different decision from ordinary cleaning.
Table of Contents
Identify the finish before you clean
“Stainless steel appliance” describes the look, not one universal surface. A fridge door may be bare brushed steel, clear-coated steel, a fingerprint-resistant laminate or a coloured finish. An oven may combine steel, glass, plastic trim, rubber seals, a display and ventilation slots within a few centimetres. One method cannot be assumed safe across all of them.
| What you see | First cleaning decision | What needs extra caution |
|---|---|---|
| Bare brushed stainless steel with visible grain | Use a soft cloth and a compatible mild detergent; wipe parallel with the grain | Abrasives, chlorine products, residue and cross-grain rubbing |
| Fingerprint-resistant or clear-coated steel | Follow the appliance manual and use only products permitted for the coating | Vinegar, bicarbonate, polish and solvents may dull or strip the finish |
| Black or coloured stainless finish | Treat it as a coated surface, not as bare steel | Scratch visibility, colour change and coating lift |
| Polished or mirror-like steel | Use a clean, non-abrasive cloth and minimal pressure | Fine scratches and haze can be more visible than on brushed steel |
| Mixed front with controls, trim, glass or seals | Clean each material according to its own instructions | Never force liquid into controls, displays, vents, seams or seals |
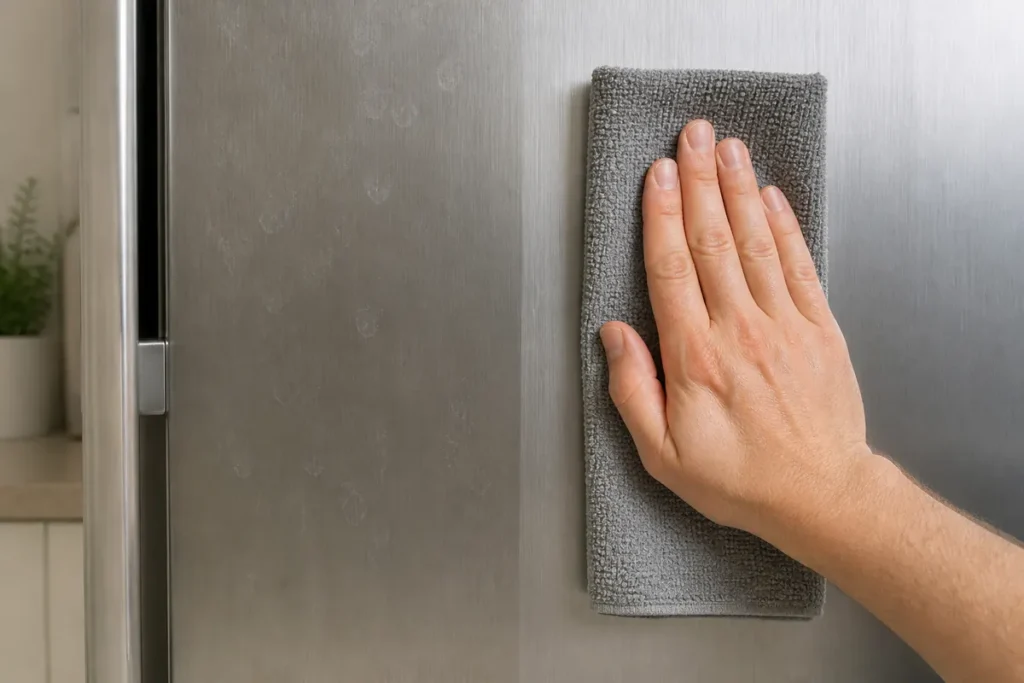
How to clean stainless steel appliances without streaks
This method is for ordinary fingerprints, light kitchen grease and washable residue on a compatible appliance exterior. It is not a substitute for the manual, and it does not apply to hot surfaces, exposed electrical parts or a damaged coating.
1. Make the appliance safe to approach
Follow the manufacturer’s instructions for switching off, unplugging or cooling the appliance. Do not clean a hot hob, oven door or heated panel. Remove loose crumbs and dry dust with a clean soft cloth before moisture is introduced.
2. Prepare three clean cloths
Use one cloth for the cleaning solution, a second clean and well-wrung cloth to remove residue, and a third dry cloth for finishing. A cloth already loaded with grease or old polish can create the very streaks you are trying to remove.
3. Put the cleaner on the cloth
For a finish that permits it, start with warm water and a small amount of mild washing-up liquid. Dampen the cloth rather than spraying the appliance. Keep the cloth controlled around handles, control panels, ventilation slots, joins and rubber seals.
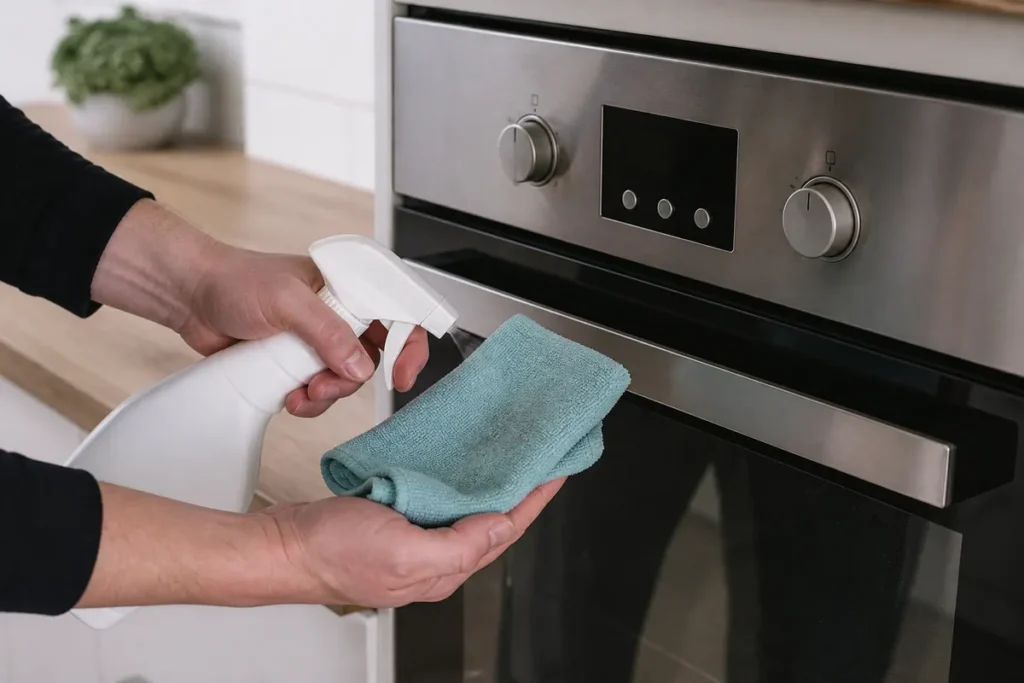
4. Follow the visible grain
On brushed steel, make straight overlapping passes in the direction of the grain. Do not scrub in circles or change direction repeatedly. Use light pressure and repeat a compatible mild pass before reaching for a stronger product.
5. Remove the detergent film
A pale haze or “permanent” streak may be cleaner residue. Wipe the area with the second cloth, dampened with clean water and wrung out thoroughly. Turn it to a clean face as residue transfers. Do not flood the surface.
6. Dry immediately
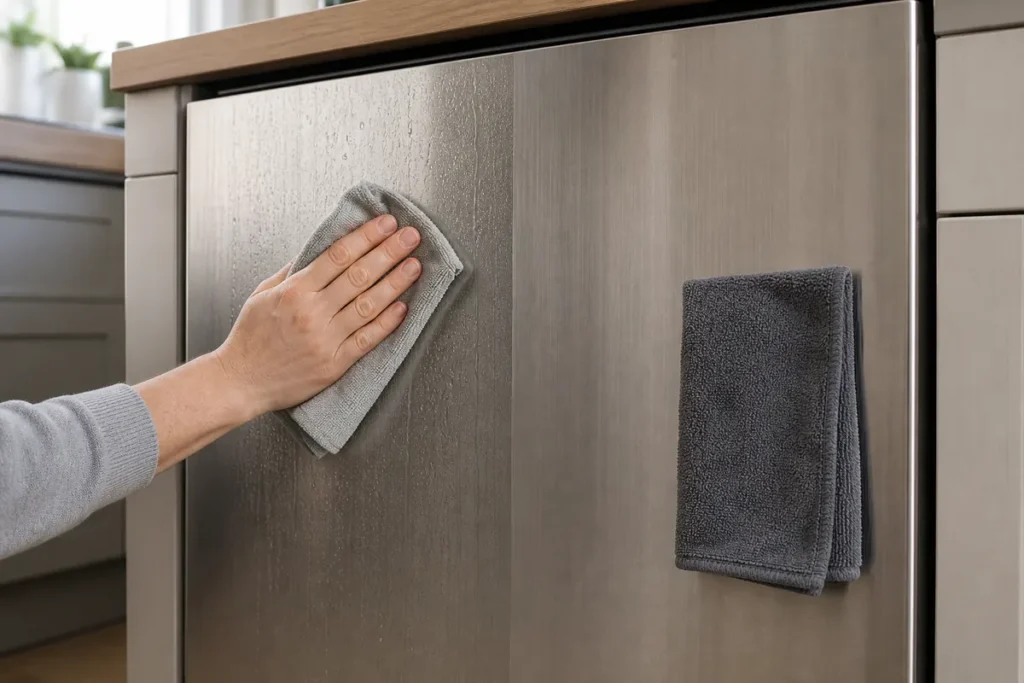
Use the third cloth to dry in the same direction. Check the result from more than one angle. If the mark remains unchanged after the residue is gone, identify whether it is mineral deposit, corrosion, a scratch, heat discolouration or coating damage before doing anything more aggressive.
You may also enjoy:

Stainless steel splashbacks and countertops cleaning supplies
Cleaning stainless steel splashbacks and countertops is not as tough as some other chores you need to tackle, but it still requires some preparation:
- Soft cloths or microfiber towels
- Mild detergent or a dedicated stainless steel cleaner (no harsh chemicals, please)
- Warm water
- Baking soda
Current compatibility note: this original supply list applies only where the known surface and its manufacturer permit the item. Bicarbonate of soda is mildly abrasive and should not be treated as a universal choice for coated, coloured, polished or fingerprint-resistant appliance finishes.
Your step-by-step guide to spotless stainless steel countertops
Let’s go through the step-by-step process of returning the lustre of your stainless steel countertops.
Step 1: The initial wipe-down
Kick things off with a damp cloth to remove any loose debris or crumbs. Think of it as prepping the field for the next steps.
Step 2: Mix your cleaning solution
Stir up a mild soapy solution or grab your stainless steel cleaner. Remember, gentle is the name of the game here. It’s tough to ruin stainless steel, but not impossible.
Step 3: Go with the grain
I’m usually a “go against the grain” type of guy, but here we’ll make an exception. Dip your cloth in the solution and gently wipe the countertop, paying attention to the metal’s grain. This is crucial – you don’t want to leave any scratches on the surface.
Step 4: Tackle tough stains
For those stubborn stains, baking soda comes to the rescue. Mix it with water, apply the paste, let it sit, then gently scrub – still going with the grain.
Note: Do not use baking soda in its powdery state or you may scratch your countertop. If you’re worried about scratches, it’s best to use a stainless steel cleaner, instead.
Side note: It’s best to test this method on a small, out-of-sight area just to be sure there won’t be any unpleasant surprises.
Current compatibility note: a paste still contains abrasive particles. Use this legacy method only on a finish whose care instructions permit bicarbonate, after a hidden patch test. Do not use it on coated, coloured, mirror-polished or unknown appliance finishes.
Step 5: Rinse and shine
Rinse off any residue with clean water and dry thoroughly with a clean towel. This step is a game-changer for avoiding water spots.
Step 6: A final buff
For that extra shine, give it a good buff with a dry microfiber cloth. Circular motions work best here.
Current grain note: do not carry the circular-motion sentence across to visibly brushed appliance steel. For those surfaces, dry and buff in straight passes with the grain unless the manufacturer gives different instructions.
Step 7: Want even more shine?
Consider a stainless steel polisher for that extra oomph in shine. Apply a small amount and work it in the direction of the grain.
Current product note: polish is optional and must be approved for the exact finish and location. Do not use a product that can transfer to food-contact areas, leave a slippery handle, obstruct ventilation or build residue around controls.
That’s it. The process is about as straightforward as they come and you can expect excellent results with it.
How to clean your stainless steel splashbacks
The process here is pretty similar to what we already covered above. Here’s how to clean your stainless steel splashbacks:
Step 1: Daily cleaning
A quick wipe with a damp microfiber cloth daily does wonders. It keeps the lustre and says goodbye to light grease and fingerprints. This makes deep cleaning a lot easier.
Step 2: Dishwashing soap and warm water
Mix a mild dishwashing soap with some warm water and use it to clean your stainless steel splashbacks. The dish soap should do a pretty good job of handling the oil splashes that would invariably be there.
Step 3: Baking soda paste for tough stains
As above, we’re using a baking soda paste for tougher stains. Many people recommend using white vinegar to cut through oil and grease, but this is a poor recommendation. You’ll see much better results with baking soda.
Note: Test it on a small, inconspicuous area before going all in. Make sure it doesn’t scratch your stainless steel splashback.
Current compatibility note: this remains a surface-specific legacy method, not a recommendation for every splashback or appliance. If the finish is coated, coloured, polished, unknown or already scratched, use the manufacturer-approved route instead of increasing abrasion.
Step 4: Polishing for that extra sparkle
If you’re feeling fancy, polish it up with a stainless steel polish, following the grain for that mirror-like finish.
Note: Stay away from the rough stuff – harsh chemicals and abrasive materials are a big no-no.
Regular deep cleans are a must
Besides your daily routine, give your splashback a deeper clean regularly, depending on how much action your kitchen sees.
Common Mistakes in Stainless Steel Cleaning
Here are some common mistakes you want to avoid. I’ve already mentioned some of them, but they merit a repeat.
Abrasive materials are out of the question
Steel wool or scouring pads? Forget about them. They’re more likely to harm than help.
Going against the grain
Always clean in the direction of the grain to avoid scratches.
Using harsh chemical
Steer clear of chlorine, bleach, or anything too harsh. They can do more harm than good.
Water spots
Dry your surfaces well to avoid water spots – they can be a pain to remove later.
Note: If you’re trying to remove water spots, this is where white vinegar shines.
Current acid note: use vinegar only when the appliance or surface manufacturer permits it. Apply it to the cloth, keep it off stone, seals, trims and coated areas, then remove residue and dry. Do not combine it with another cleaner.
Clean regularly
Regular cleaning is your friend. It prevents buildup and keeps your surfaces in prime condition.
Using cooking oil for polish
No idea who came up with this, but it’s a bad idea. Using cooking oils for polishing attracts dust and grime, turning your sparkling surface into a magnet for dirt.
Stick to the manufacturer’s instructions
Every stainless steel appliance has its quirks. Always follow the manufacturer’s cleaning and maintenance guidelines to keep your warranty intact and your surfaces looking sparkly.
Match the mark to the next step
| What the mark may be | Least aggressive next step | When to stop |
|---|---|---|
| Fingerprints or light grease | Compatible mild detergent on a cloth, followed by clean-water residue removal and drying | Stop if the finish changes colour, gloss or texture |
| Cloudy film or streaks | Use a fresh well-wrung cloth to remove detergent residue, then dry with the grain | If the line does not change, it may be a scratch or coating mark |
| Water spots or mineral residue | Check the manual for an approved descaling method; keep acids away from incompatible adjacent materials | Stop if an acid is not permitted or the mark is etched/pitted |
| Brown or orange mark | Remove surface soil gently and identify whether it is transferred contamination, rust or coating failure | Do not keep scrubbing a fixed mark; seek manufacturer or specialist advice |
| Scratch, pitting, heat tint or peeling finish | Clean only loose soil around it and document the damage | Cleaning cannot reverse physical or finish damage |
How Samyx Cleaning can help with kitchen buildup
If grease and residue extend across appliance exteriors, splashbacks, worktops and the surrounding kitchen, a one-off deep clean may be more practical than treating each mark separately. Ask the Samyx office to confirm which appliance exteriors, splashbacks or worktops are included in the agreed scope. Cleaning does not include scratch removal, rust restoration, coating repair or appliance servicing.
Book a One-Off Deep Clean
Enter your postcode to view our rates and availability in your area.

FAQ – answering your stainless steel cleaning questions
-
Can I use vinegar on stainless steel?
You can, but make sure to dilute it and rinse thoroughly to avoid any potential damage from the acidity. Also, don’t use it on oil stains – use it on water stains.
-
How often should I clean my stainless steel kitchen surfaces?
Daily wipes maintain the shine, while deeper cleaning every week or two, especially for high-traffic areas, is ideal.
-
Are there any cleaning agents to avoid with stainless steel?
You bet! Stay away from bleach, chlorine, and abrasive cleaners.
-
Can I keep fingerprints at bay on stainless steel?
While you can’t banish them completely, a daily wipe with a microfiber cloth can significantly reduce their appearance. Some stainless steel cleaners even offer fingerprint-resistant coatings. How consistent this is is anyone’s guess.
-
Is stainless steel polishing necessary, and how often?
It’s not a must, but it adds that extra shine. Polish every few months or as often as you like to keep things gleaming. However, make sure it’s not a harsh chemical. You don’t want harsh chemicals where you cook your food.
-
How do I clean stainless steel without streaks?
To avoid streaks, always go with the grain, use a clean, dry microfiber cloth for drying and buffing, and ensure your cleaning agents are rinsed off thoroughly.
-
What if my stainless steel gets scratched?
Minor scratches can be buffed out with a non-abrasive cleaner and a microfiber cloth. For deeper scratches, consult a professional to avoid making it worse.
Current restoration note: the original answers above remain part of Atanas’s article. Before attempting to “buff out” a scratch, confirm the finish and manufacturer guidance. A line that does not respond to residue removal is physical damage, not soil; rubbing it with even a nominally non-abrasive product can change the surrounding sheen or coating. Rust, pitting, peeling and deep scratches need manufacturer or finish-specialist advice.
Safety note: this guide covers ordinary household soil on known, intact and accessible kitchen surfaces. Follow the appliance manual and product label, ventilate as directed, wear any stated protective equipment and keep products away from children, pets and food. Never mix cleaning products. Never force liquid into controls, displays, vents, seams, seals, trims or electrical areas. Stop if a surface becomes sticky, dull, discoloured, etched, scratched or begins to lift. Unknown finishes, powered faults, corrosion, pitting, heat damage and failed coatings need appropriate manufacturer, repair or restoration advice.
Conclusion
Keeping your stainless steel surfaces in tip-top shape is a breeze when you know the ropes. With the right tools and a bit of elbow grease, your kitchen will continue to shine, making every meal prep a delightful experience.
So, roll up your sleeves, follow these tips, and enjoy the gleaming results! And, as always, if you need us, we’re never more than a phone call away.

Author: Atanas Dzhingarov
Hi, I’m Atanas - brand consultant and writer. I’m helping Samyx Cleaning create the best cleaning company blog on the Internet. Join us on our journey and learn how to live a cleaner, healthier, happier life in the process.
Discover more of our cleaning secrets: